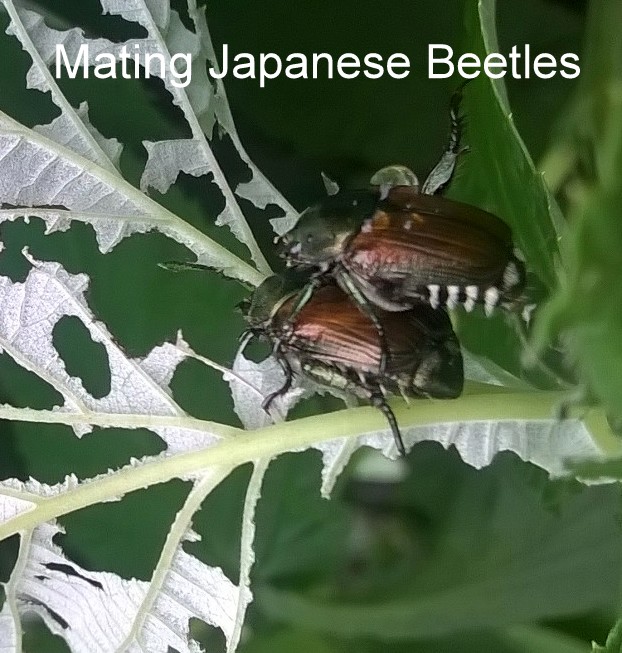
These beautiful creatures have metallic green bodies with copper colored wings. They are 3/8 inch long and 1/4 inch wide. Japanese beetles are quite unique!
![beetle - Japanese Beetle (Popillia japonica) [MO 06]](https://papas.garden/wp-content/uploads/2015/05/beetle-japanese-beetle-popillia-japonica-mo-06.jpg?w=300&h=264)
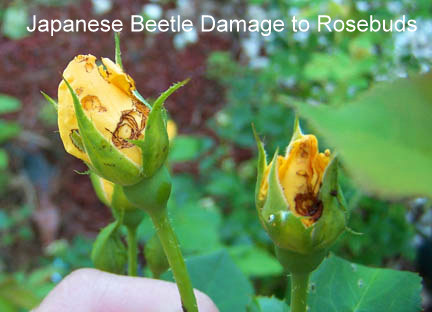
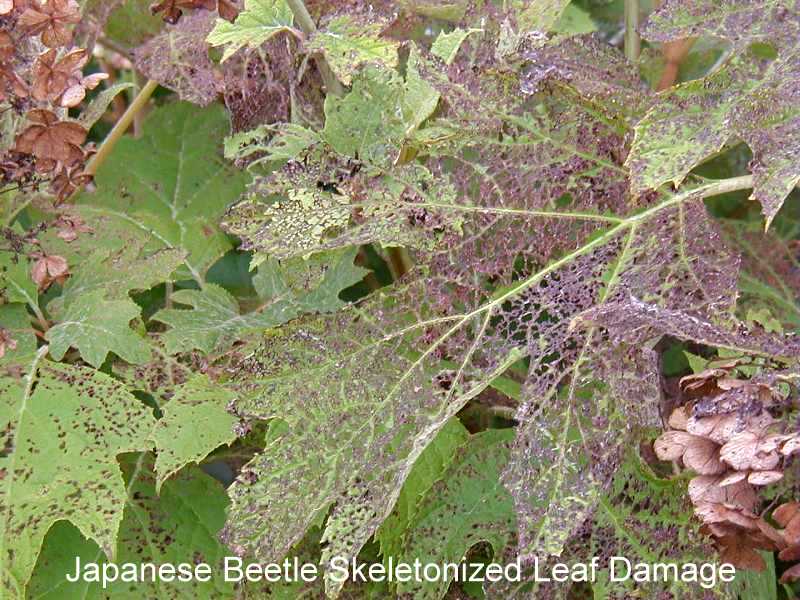
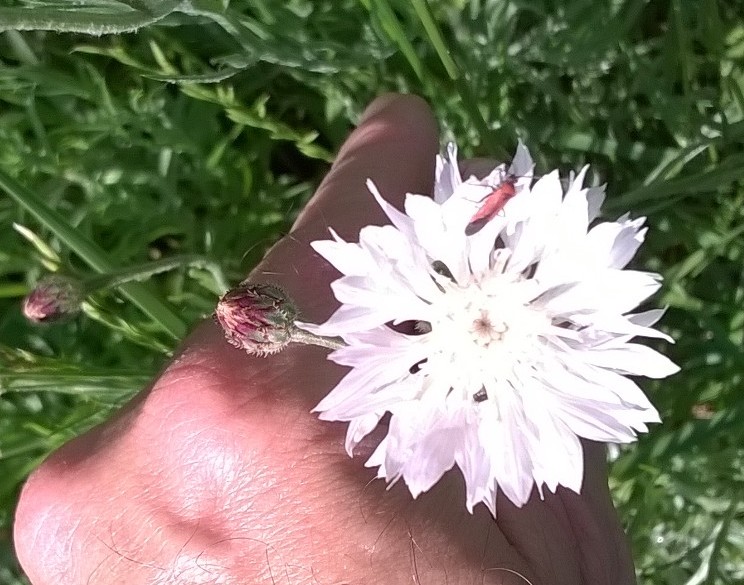
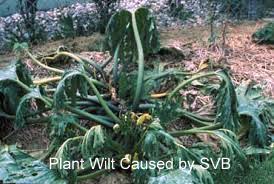
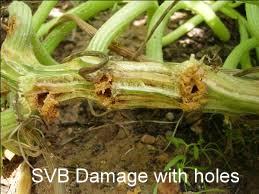
It is amazing the damage these imported invaders can do!


This is damage from one or two beetles. Imagine what a few dozen can do!

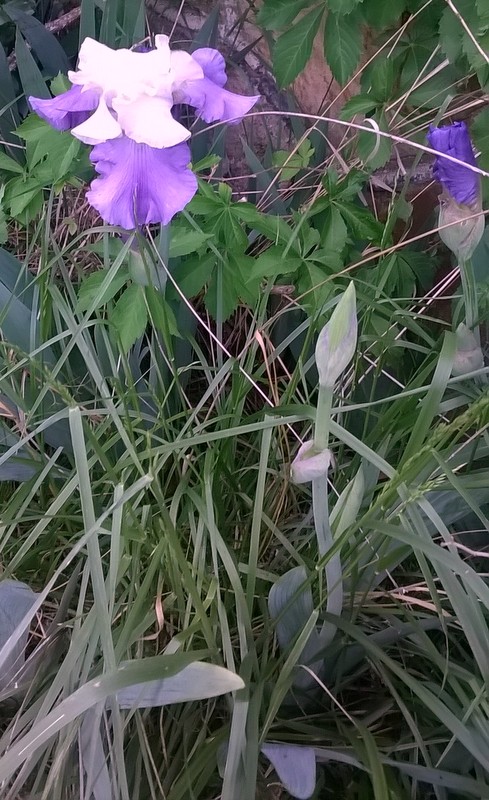
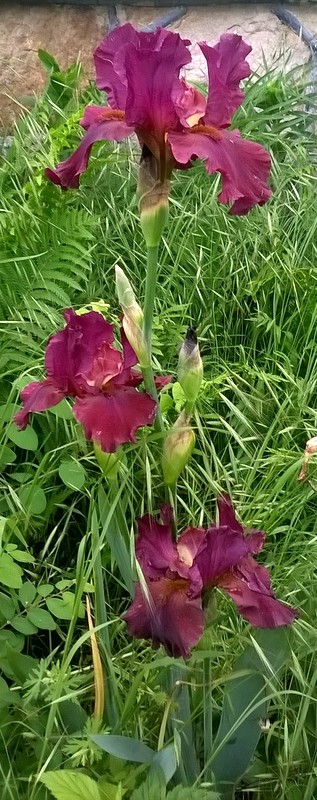
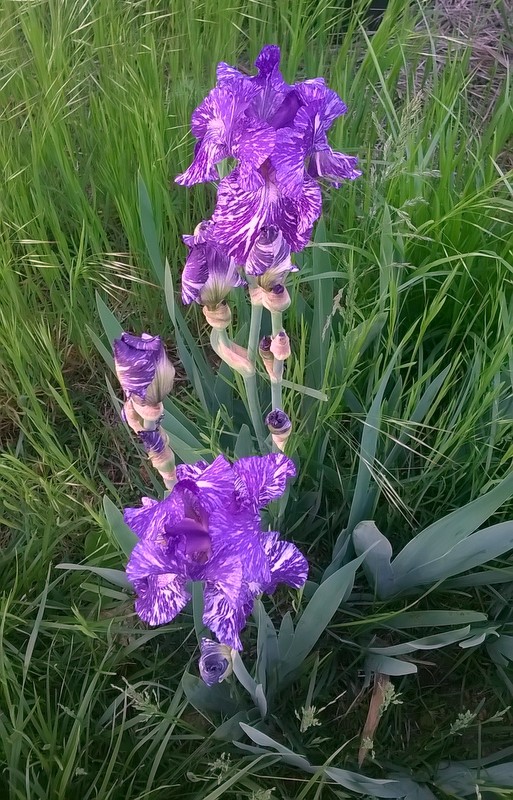
Japanese Beetles (Popillia japonica Newman, 1841) came to our shores in 1912 on Japanese iris.
Stages of development are as follows:
- Egg
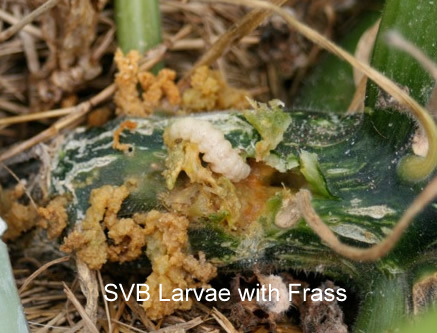
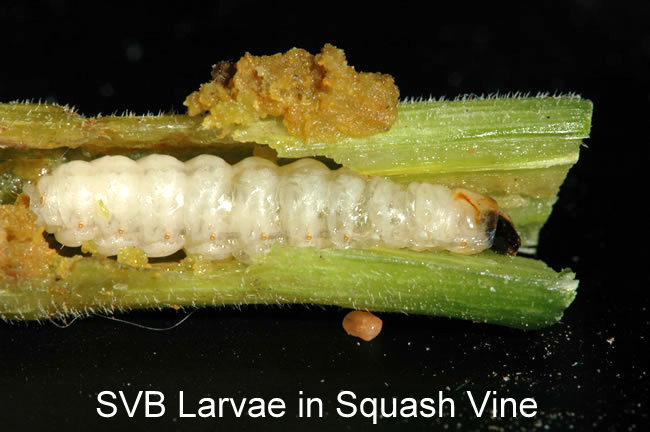
- Larvae (white grub)
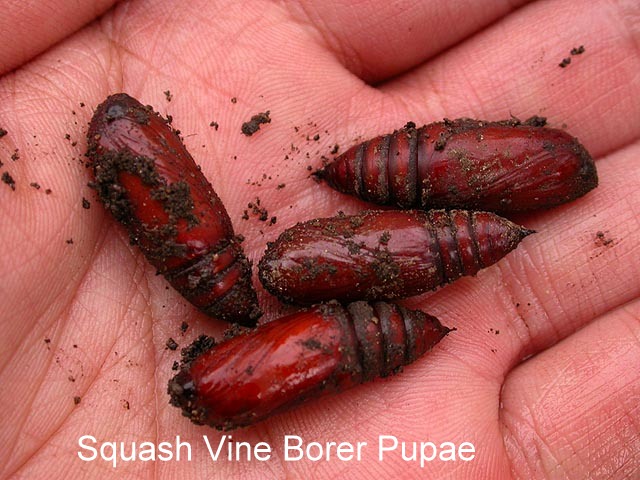
- Pupae (grub transforms into a cream colored/reddish brown cocoon)
- Adult beetle emerge from soil May through June. It is a voracious eater for 30 to 50 days.
- Once emerged it searches for food sources.
- A pheromone (a scent produced by Japanese beetles to attract other Japanese beetles) is sent out to help other Japanese beetles find the food source.
- Mating is soon to occur.

- Females feed for a few days on a plant food source and burrow 3 inches into the soil to lay eggs.
- Once the eggs are laid the females emerge again to feed, mate and lay eggs again.
- This cycle is repeated until their season is over, laying upwards to 40 to 60 eggs.
- Eggs develop depending on soil temperature. The warmer the soil the quicker larval development.
- Once they are larvae, they move upwards in the soil to feed on organic matter and roots.
- Soil cooling moves the larvae (grubs) deeper in the soil for winter.
- Soil warming moves the grubs upwards in the soil where they pupate and transform into an adult Japanese beetles and their life cycle begins again.

The most effective natural control of Japanese beetles is daily, hand picking early in the morning as the beetles are lethargic.
- Your arsenal of weaponry includes a bucket, soapy water and vigilant monitoring daily!
- Early detection of the scout Japanese beetles is key to this strategy! This will reduce the following years population!!!
- Place the bucket under the infested plant. Shake the plant and the beetles will fall into the soapy water.
- Hand pick any beetles not falling into the bucket of soapy water.
- This action reduces the pheremones of the exploratory first wave of Japanese beetles. This must be done daily!!
- Leave the beetles to die and decompose in the bucket of soapy water. The odor of dying and decomposing beetles in the soapy water will repel/deter additional beetles from invading your area. (Many thanks to The Herb Gardener for this insight)
- Place the bucket(s) near areas of previous Japanese beetle attack.
- Insecticidal soap applied directly to the beetle will cause its demise.
- Lemon dish soap sprayed directly on the beetle is another effective way to kill these pests!
Prevention: Kill grubs in the soil which turn into the Japanese beetle.
- Milky Spore Disease (Bacillus popillae) will kill grubs but will take up to a year to inoculate the soil. This inoculation will last up to 10 years in the areas of heavy, consistent infestations.
- Milky Spore when ingested in the grubs gut germinate, enter the blood and multiply.
- The build up of spores causes the grub to have a milky white appearance.
- Grubs continue to ingest the spore, become infected and die, each releasing 1 – 2 billion spores back into the soil.
- Apply as labeled. May be purchased through biological mail order catalogs.
- Beneficial nematodes actively seek out grubs in the soil.
- The nematodes penetrate the grub releasing a bacteria.
- This bacteria produces quickly feeding on the tissue of the grub.
- The nematodes feed on the bacteria and continues their life cycle. They reproduce, release bacteria and kill the grubs.
- Apply as labeled. May be purchased through biological mail order catalogs.
Both of the above methods are encouraged by the USDA and several well known universities as a safe and effective means to control Japanese beetles. These biological controls are species specific!! There are no other creatures affected by these methods.
Just remember you may have great prevention measures but your neighbors may not. Japanese beetles are with us for short 30 -50 day window. Killing them early may reduce the populations in your immediate area!
Birds are another way to deal with these nasty pests. They eat both the beetles and their grubs.
- Bobwhite
- Eastern Kingbird
- Crows
- Eastern Starling (I knew there must be something good about these birds)
- Red-winged Blackbirds
- Catbirds
- Song Sparrows
- Robins
- Grackles (Again, I knew there must be something good about these birds!)
Sanitation is a wonderful way to rid your self of these pests. Clean up all debris around their favored plants. Till in the fall to expose the grubs for birds and other creatures to consume. Till again in the spring to again expose the pupae and emerging adult beetles.
Be diligent and decrease their surplus population!
Papa


![beetle - Japanese Beetle (Popillia japonica) [MO 06]](https://papas.garden/wp-content/uploads/2015/05/beetle-japanese-beetle-popillia-japonica-mo-06.jpg)