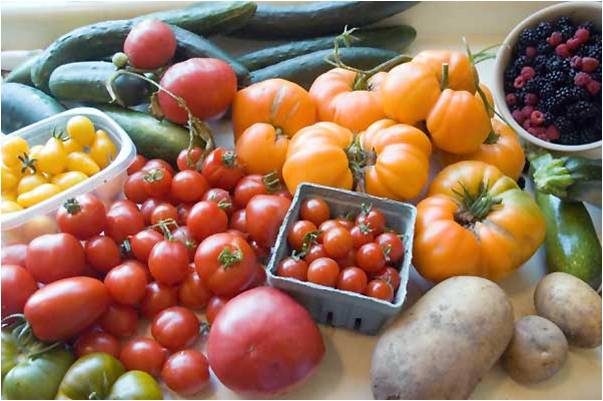
There is no more popular vegetable than the tomato. The seed is easy to save and well worth while!
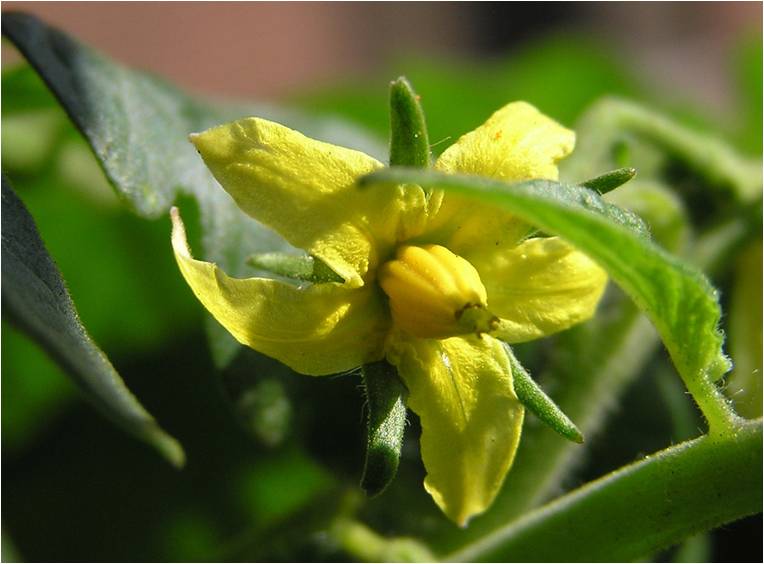
–Inserted stigma: the female part of the flower is encased inside the anther cone in the center of the flower.
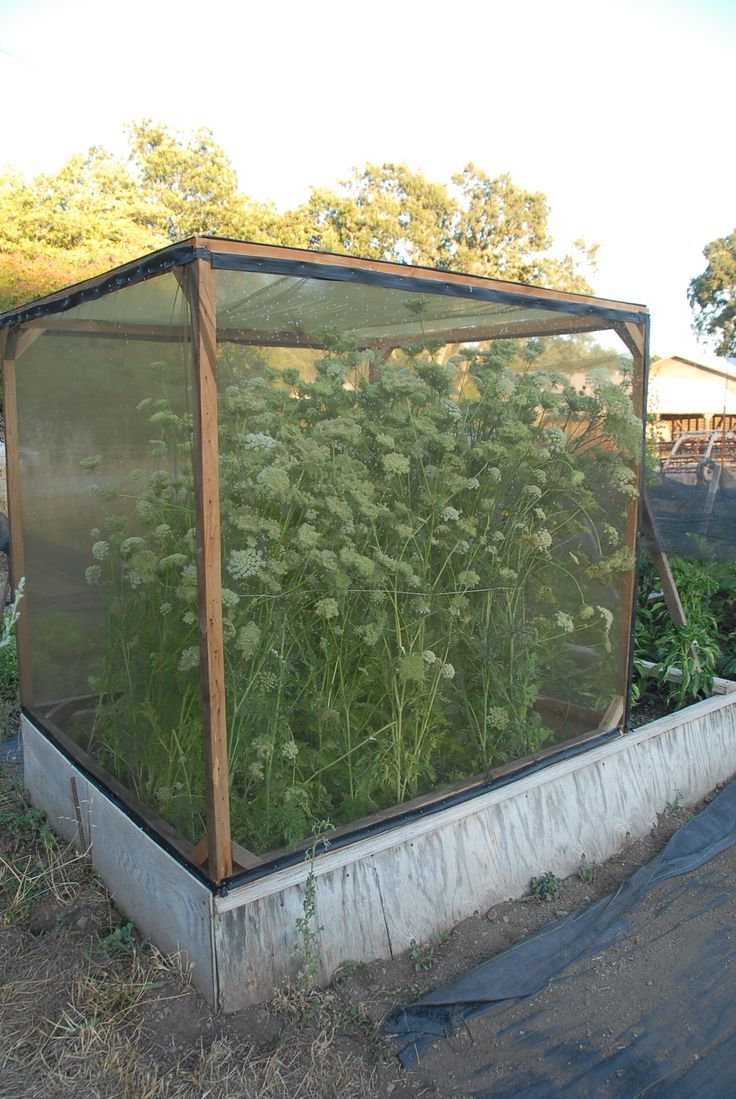
-10 – 20 feet between varieties

–Most tomato varieties have this blossom structure.
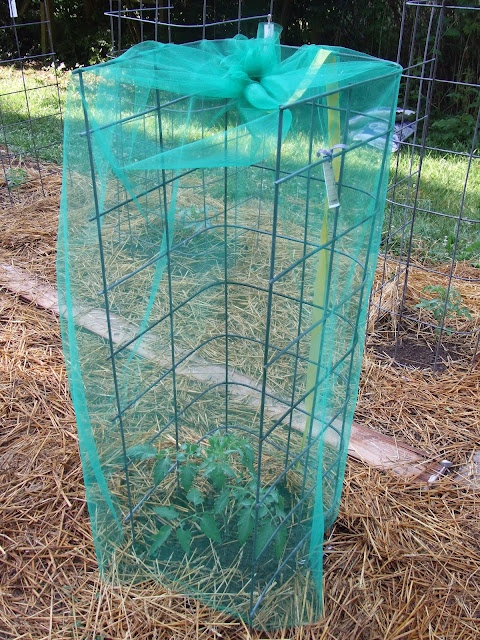
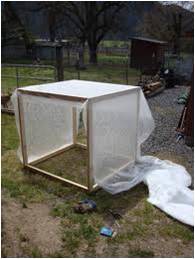
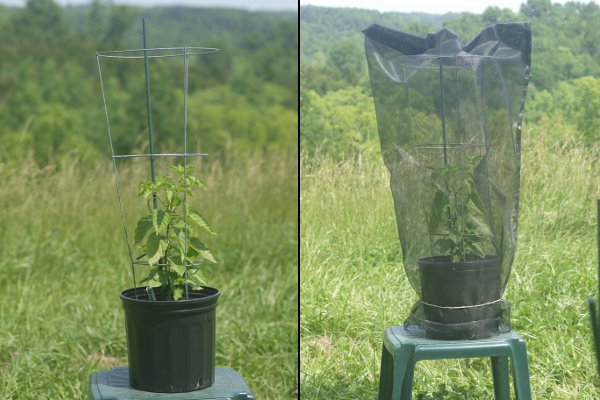
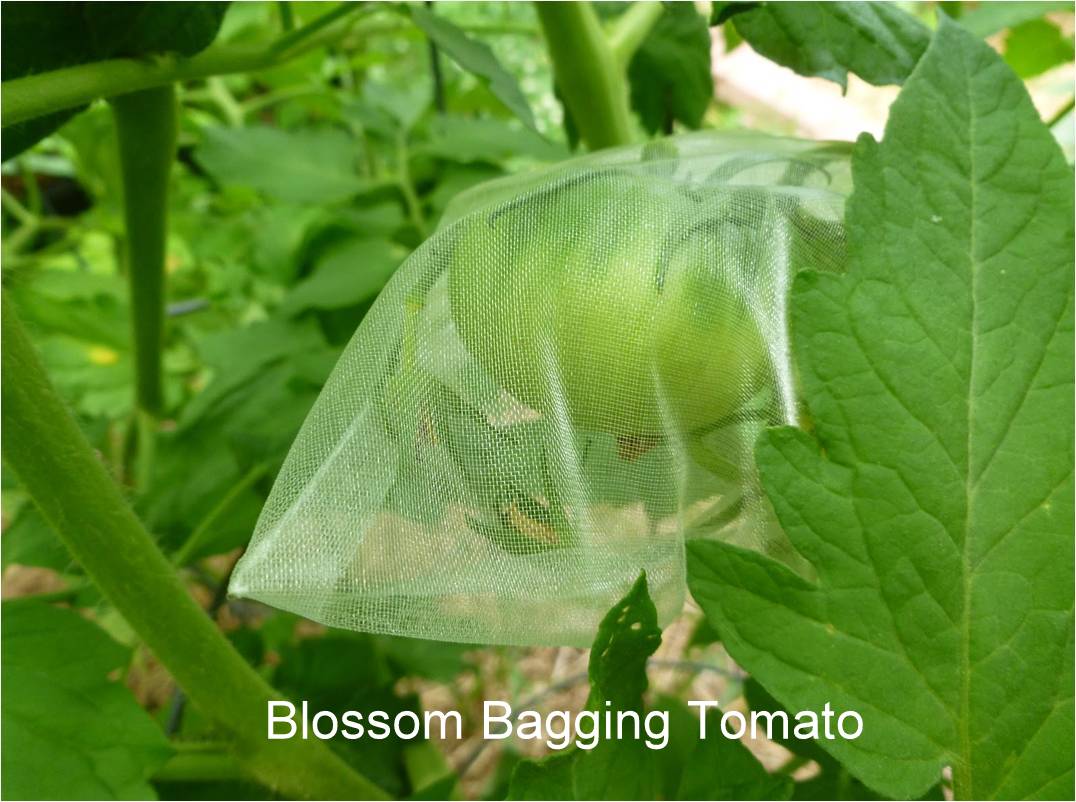
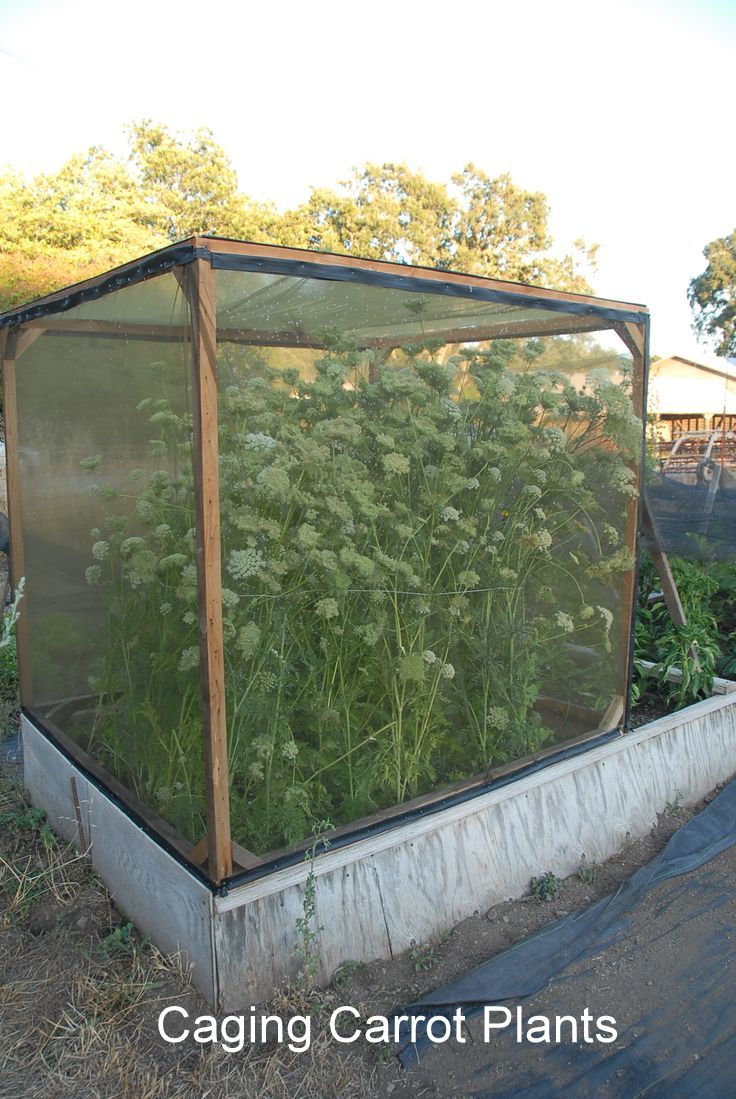
–Blossom bag around cluster if garden is small and isolation distances cannot be met.
–10 plants for sufficient seed quantities
–Seeds are viable 4 – 6 years
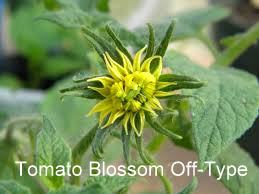
–Exposed stigma: the female part of the flower is outside the anther cone in the center of the flower.
-20 – 50 feet between varieties

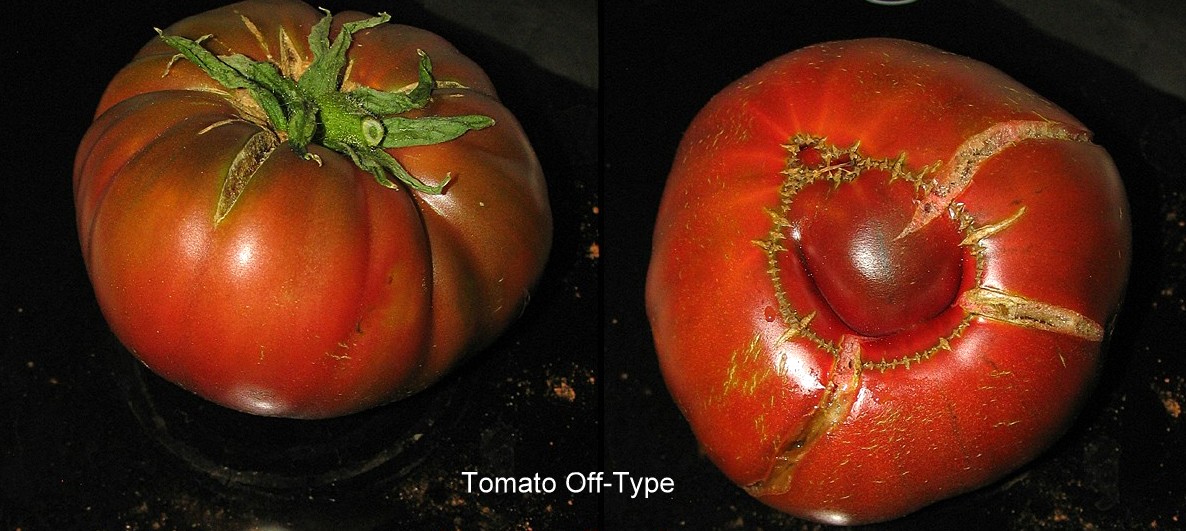
–Potato leaf and black/purple varieties have this blossom structure.
–Blossom bag around cluster if garden is small and isolation distances cannot be met.
–10 plants for sufficient seed quantities
–Seeds are viable 4 – 6 years
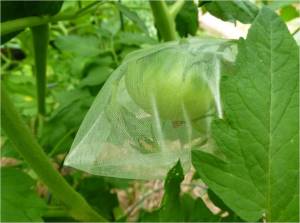
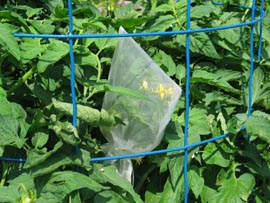
- Make sure to label your bagged tomato fruit when removing bag to identify your seed savers.
- Remember, bags may be removed with evidence of small developing tomato fruit.
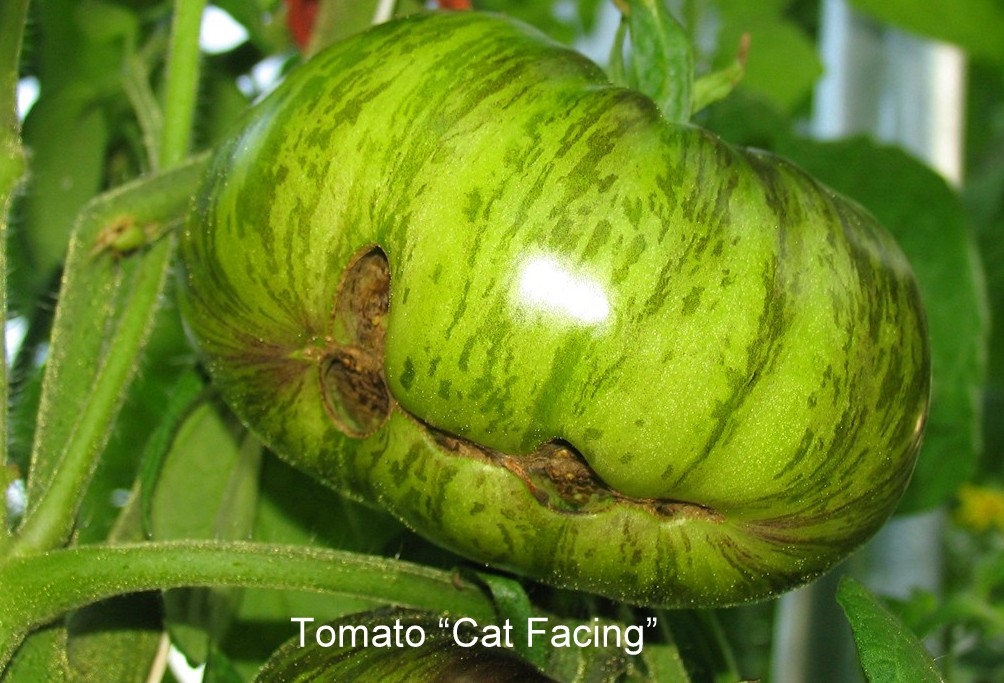
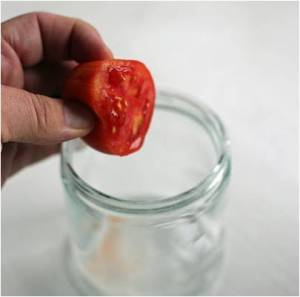
Harvest when fruit is fully colored and ripe. Make sure you harvest fruit that comes from healthy plants and fruit (disease free).
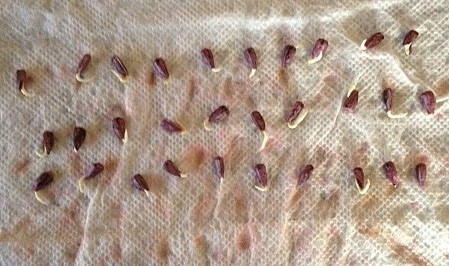
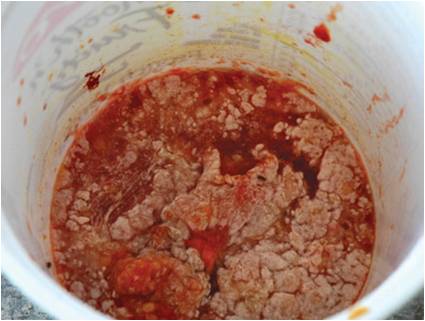
Fermentation of tomato seed is required prior to drying. Fermentation removes the gel coat around each seed. The gel coat may inhibit germination.
Crush tomato fruit into a jar or bowl. Add a small amount of water to the pulp.
Allow pulp to ferment for 2-4 days (2 days if 80°-95° (F), 4 days if below 80° (F)).
 Strain mixture to remove the pulp and fermented material.
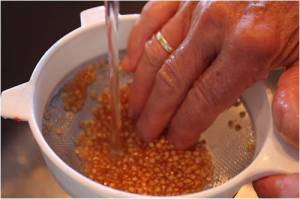
Place the moist seeds on a labeled paper plate and allow to dry for 2 weeks.
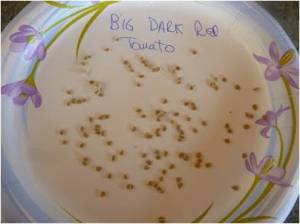 Scrape seed off of the paper plate and place in a labeled paper envelope (place envelope in a freezer zip lock bag) or small glass jar. Place saved seed in a cool, dark and dry place or your freezer.
Saving tomato seed is easily accomplished and low tech. Plus, the saved seed will last for many years.
Papa