Now that you have selected a flowering, shade or fruit tree let it give you years of pleasure by following these steps.
1- Location is essential for flowering, fruit bearing and shade trees.
- Full sun.
- Preferably well drained soil.
- Irrigation source.
- Right tree for the planting site. Where do you desire shade for cooling properties and where do you want full sun during the fall and winter months?
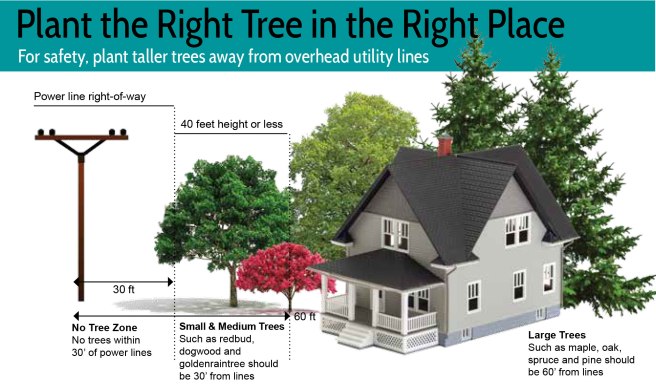
2 – Spacing of the tree in relation to buildings and other trees and plantings.
- Flowering trees: refer to the tag or your local county extension/Master Gardener.
- Shade trees need a very wide spacing due to shading capacity of the tree and its shape.
- Fruit trees are planted depending on their characteristic. Does the tree selected require a pollinator tree? Early, mid-season and late-season fruit bearing trees may each require a season specific pollinator. Your local county extension/Master Gardener will be helpful in your selections.
- Standard should be planted 25 feet apart.
- Semi-dwarf should be planted 12 to 15 feet apart.
- Dwarf should be planted 8 to 10 feet apart.
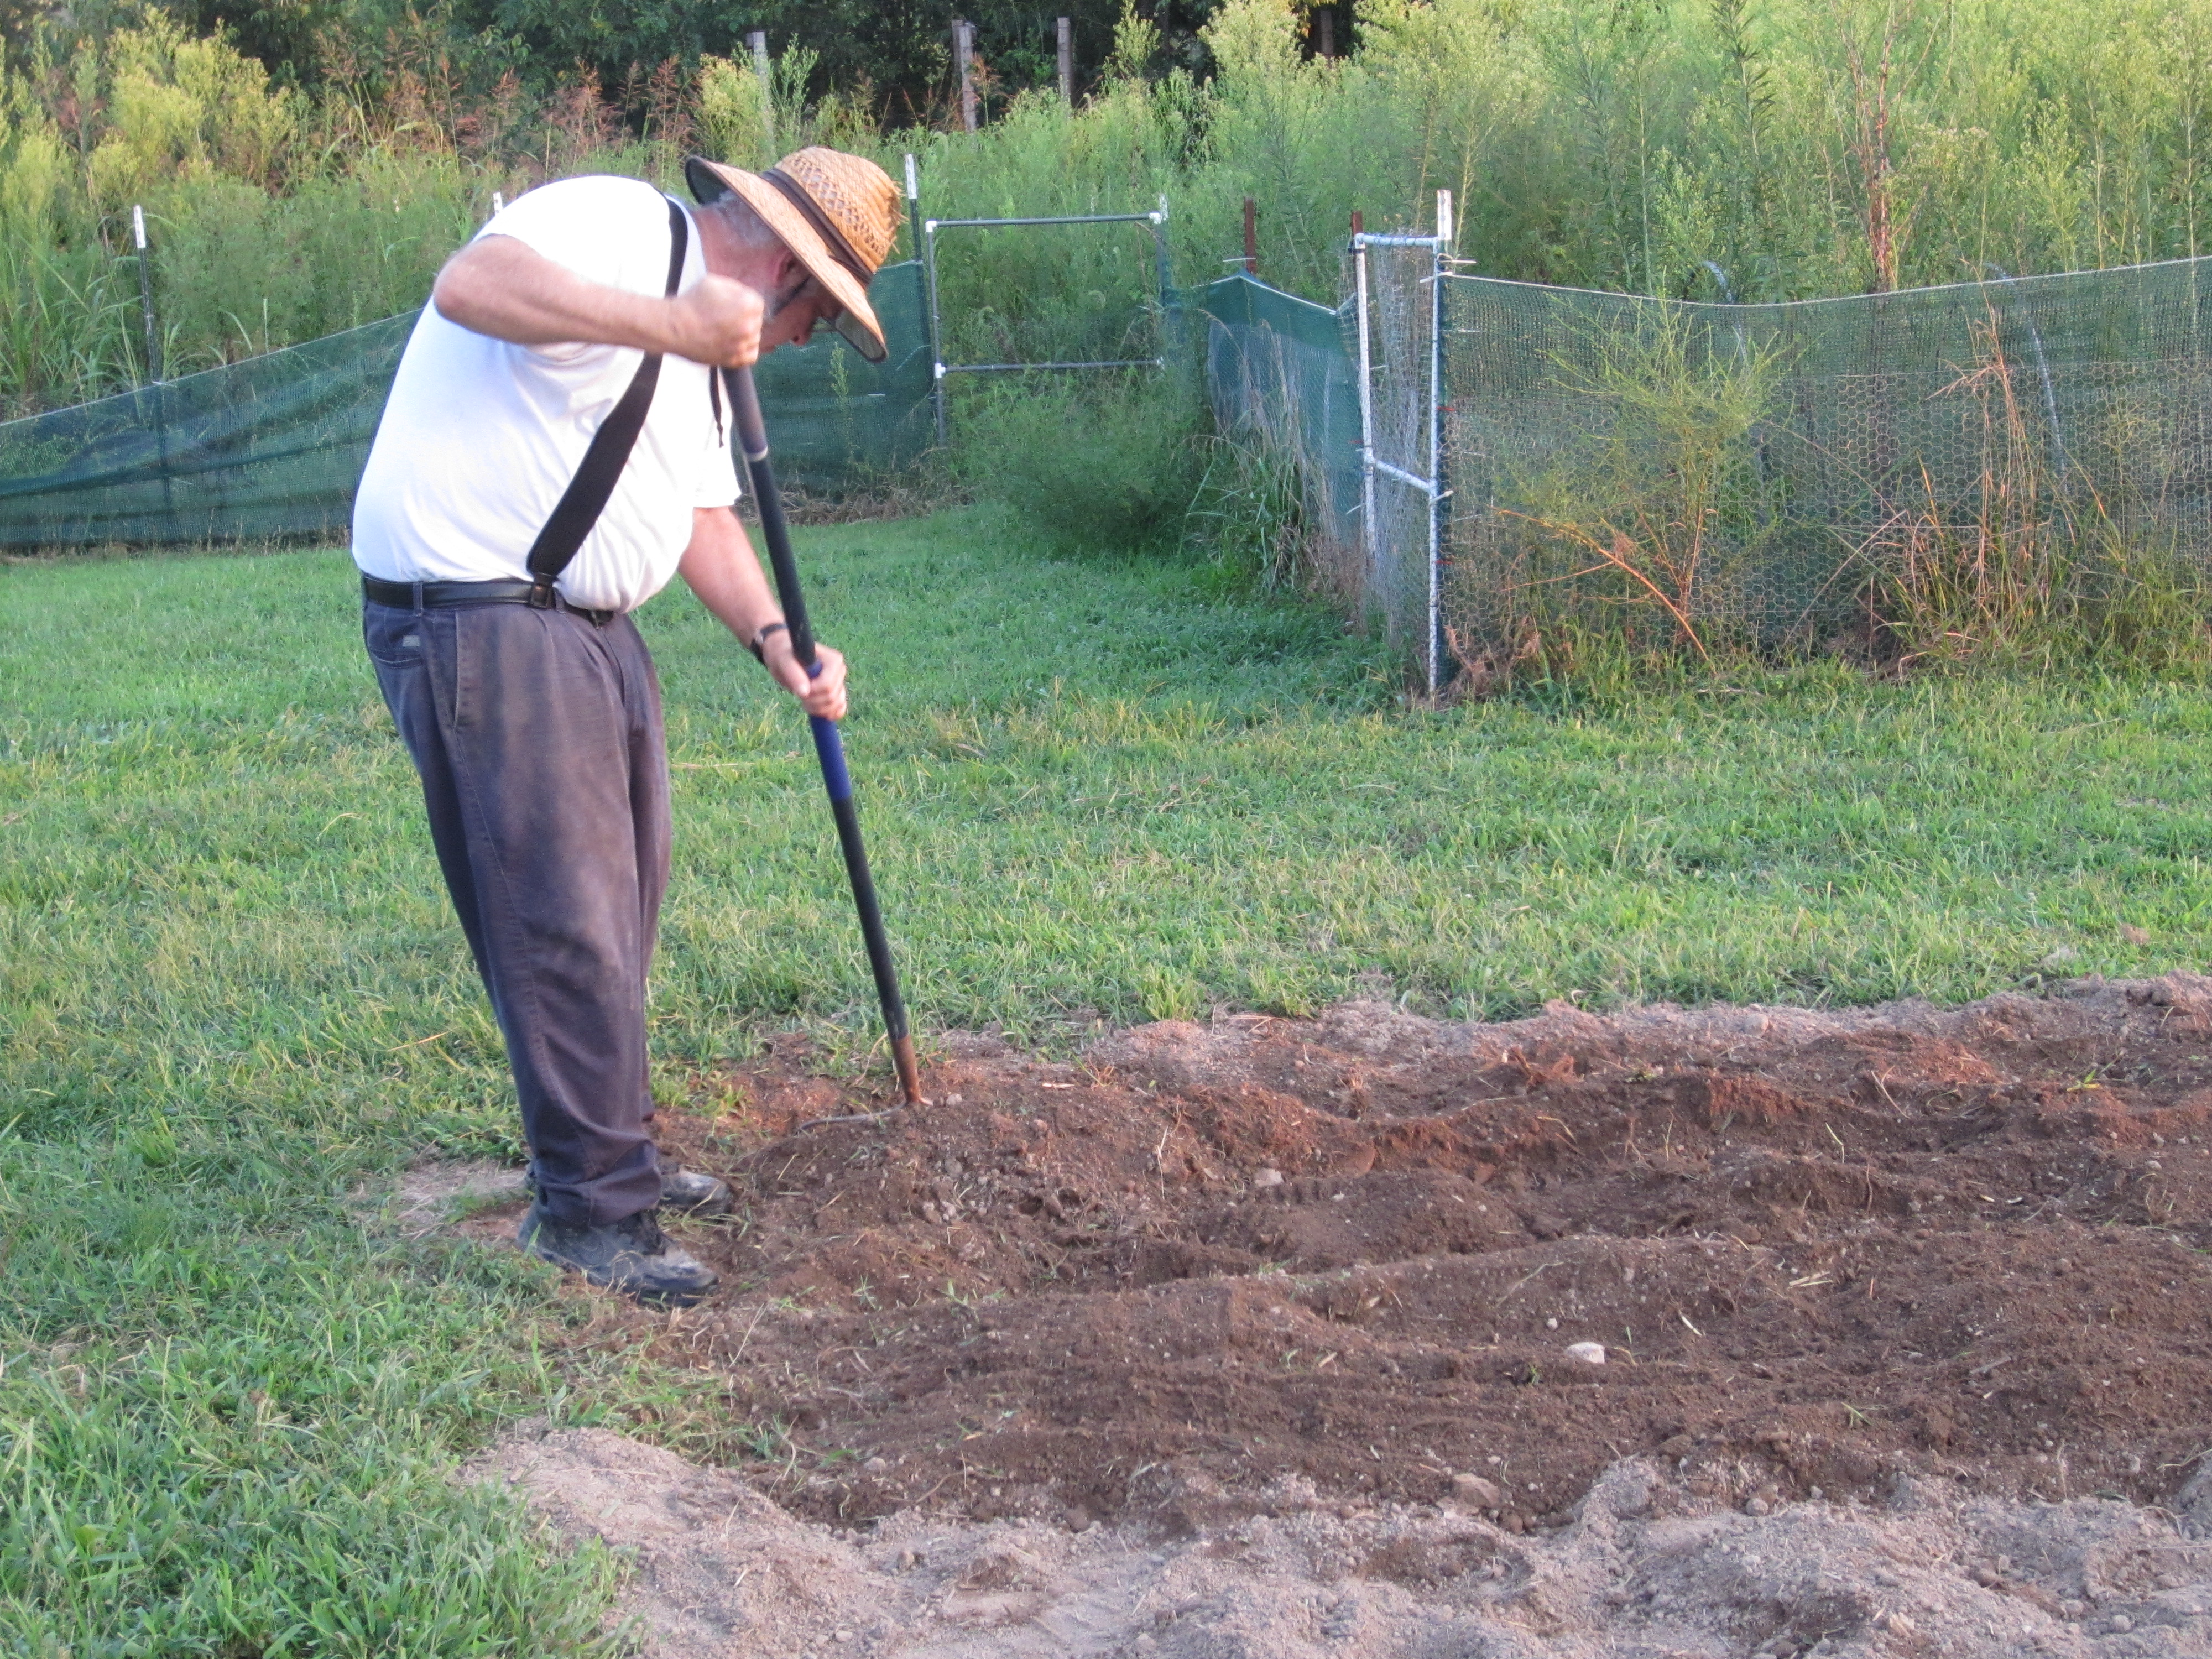
3 – Make sure the planting site is free of overhead/underground utilities, structures and easements.
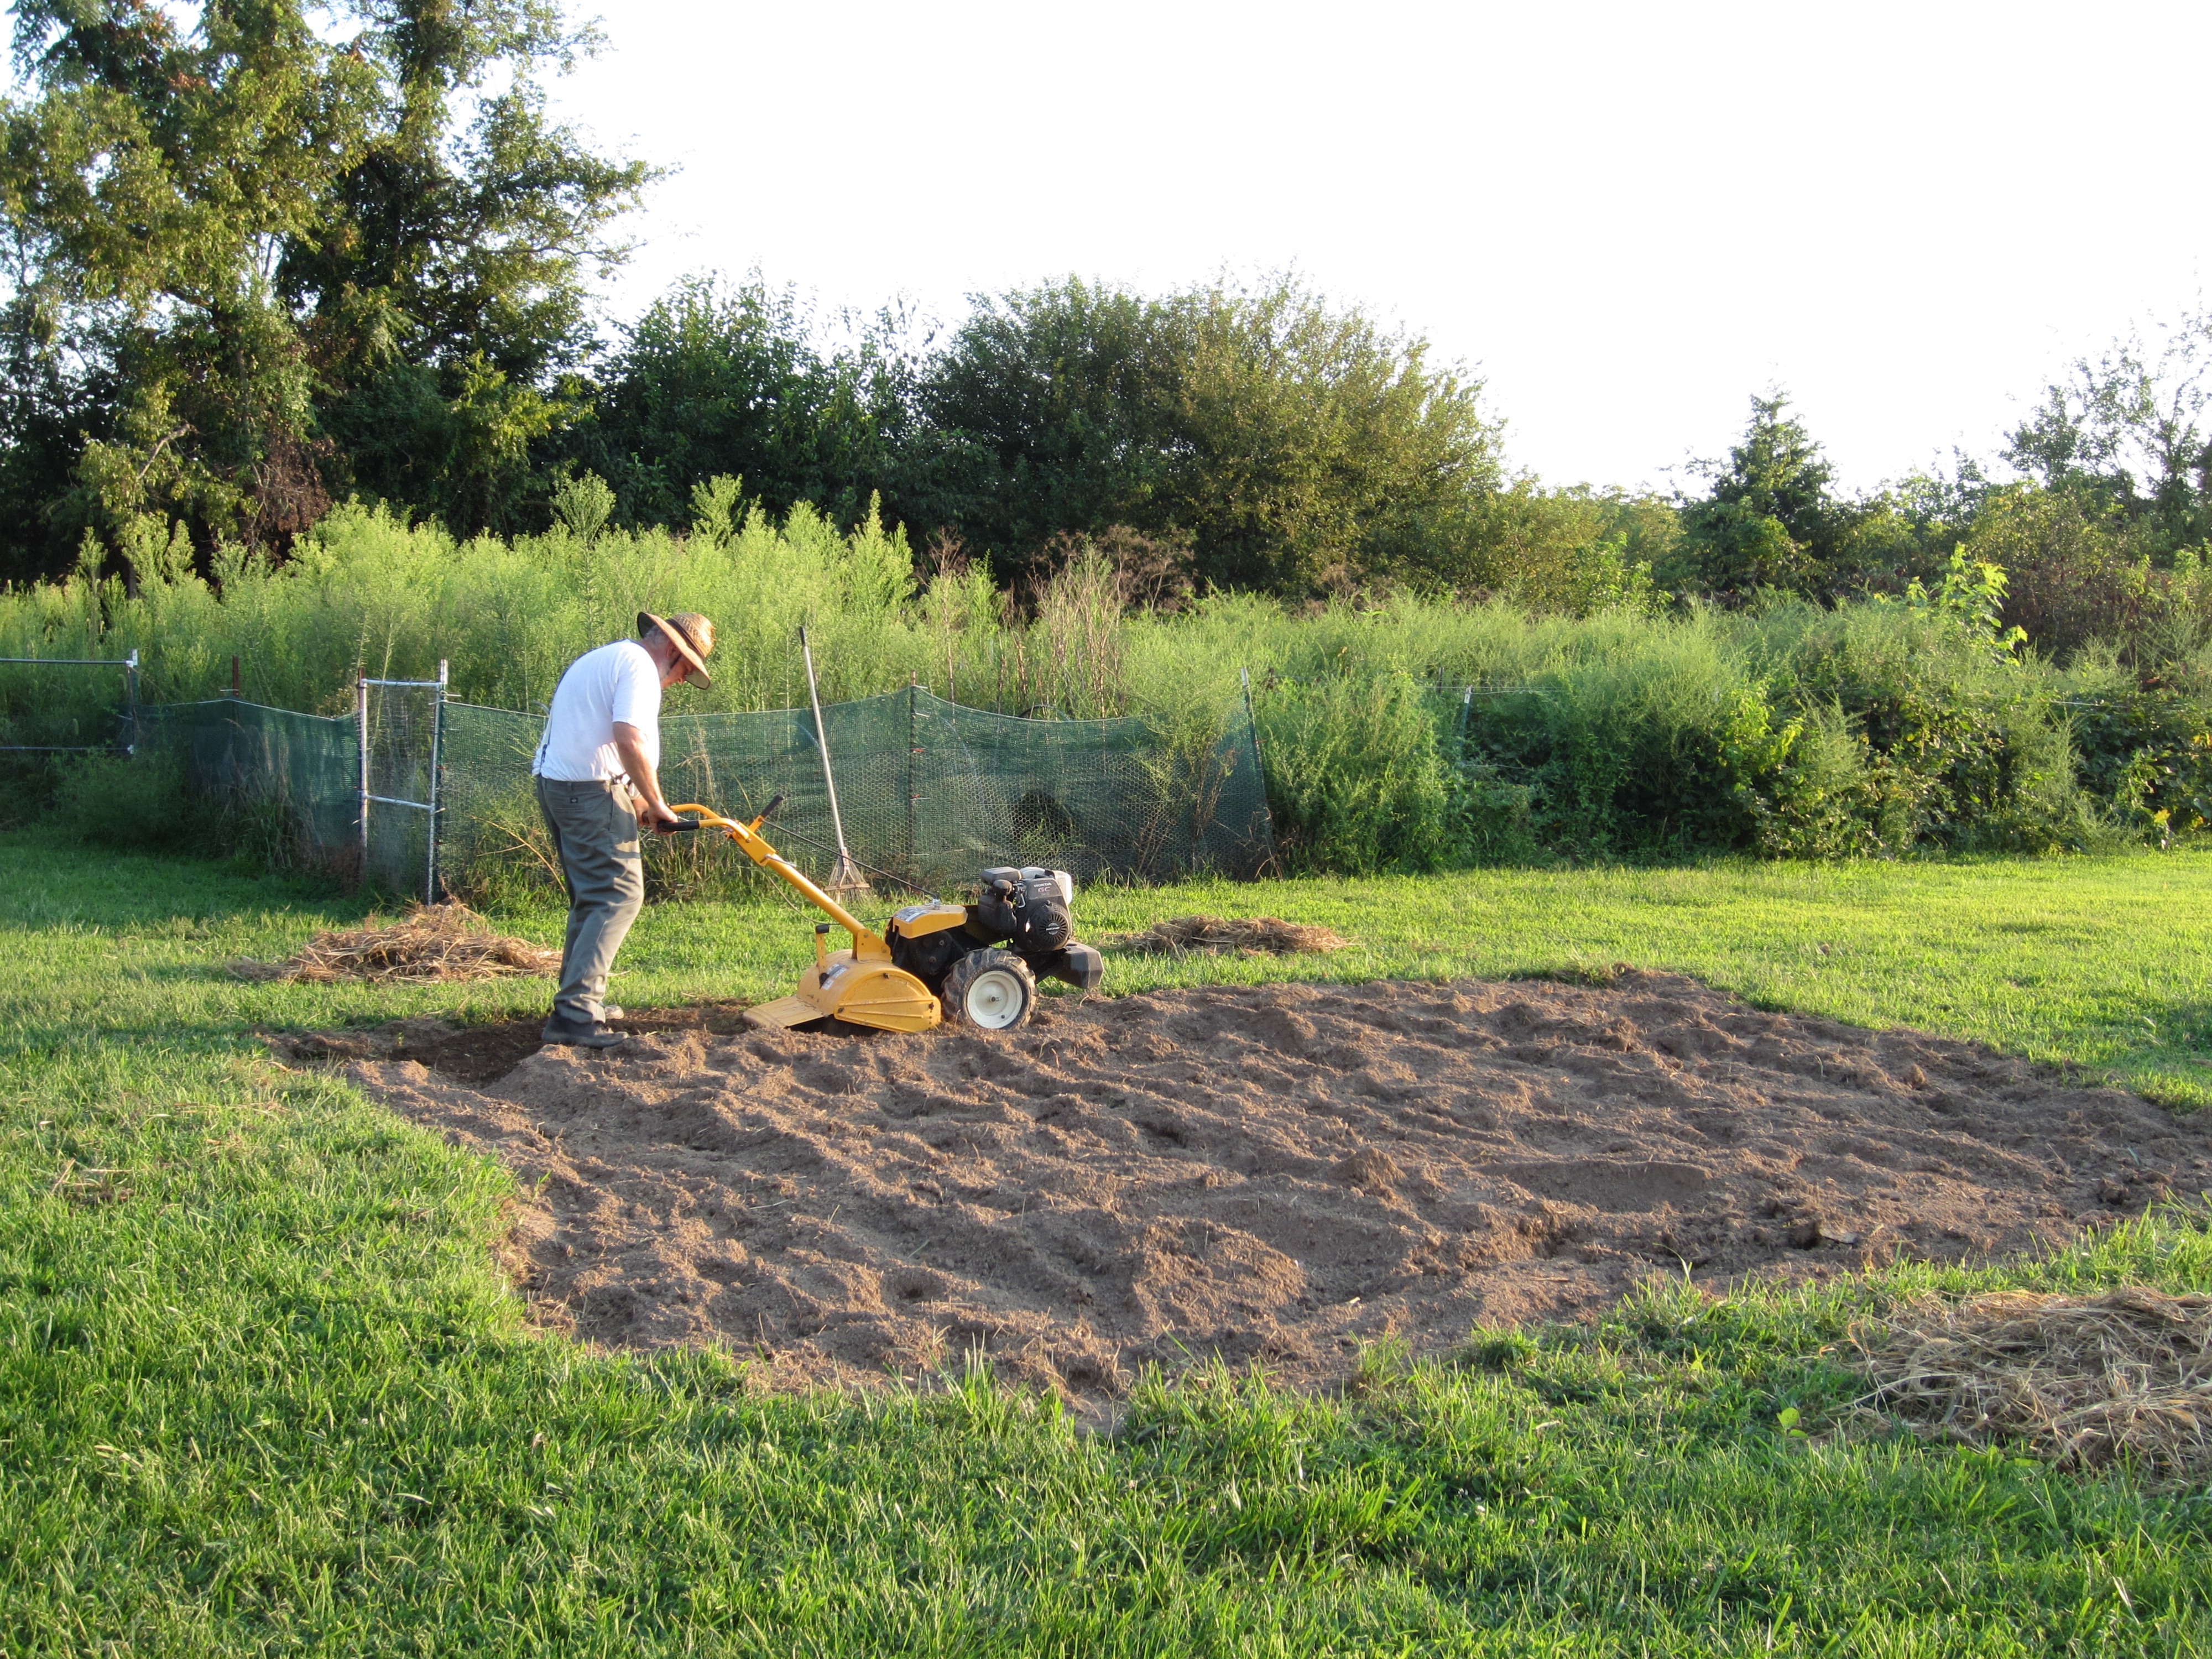
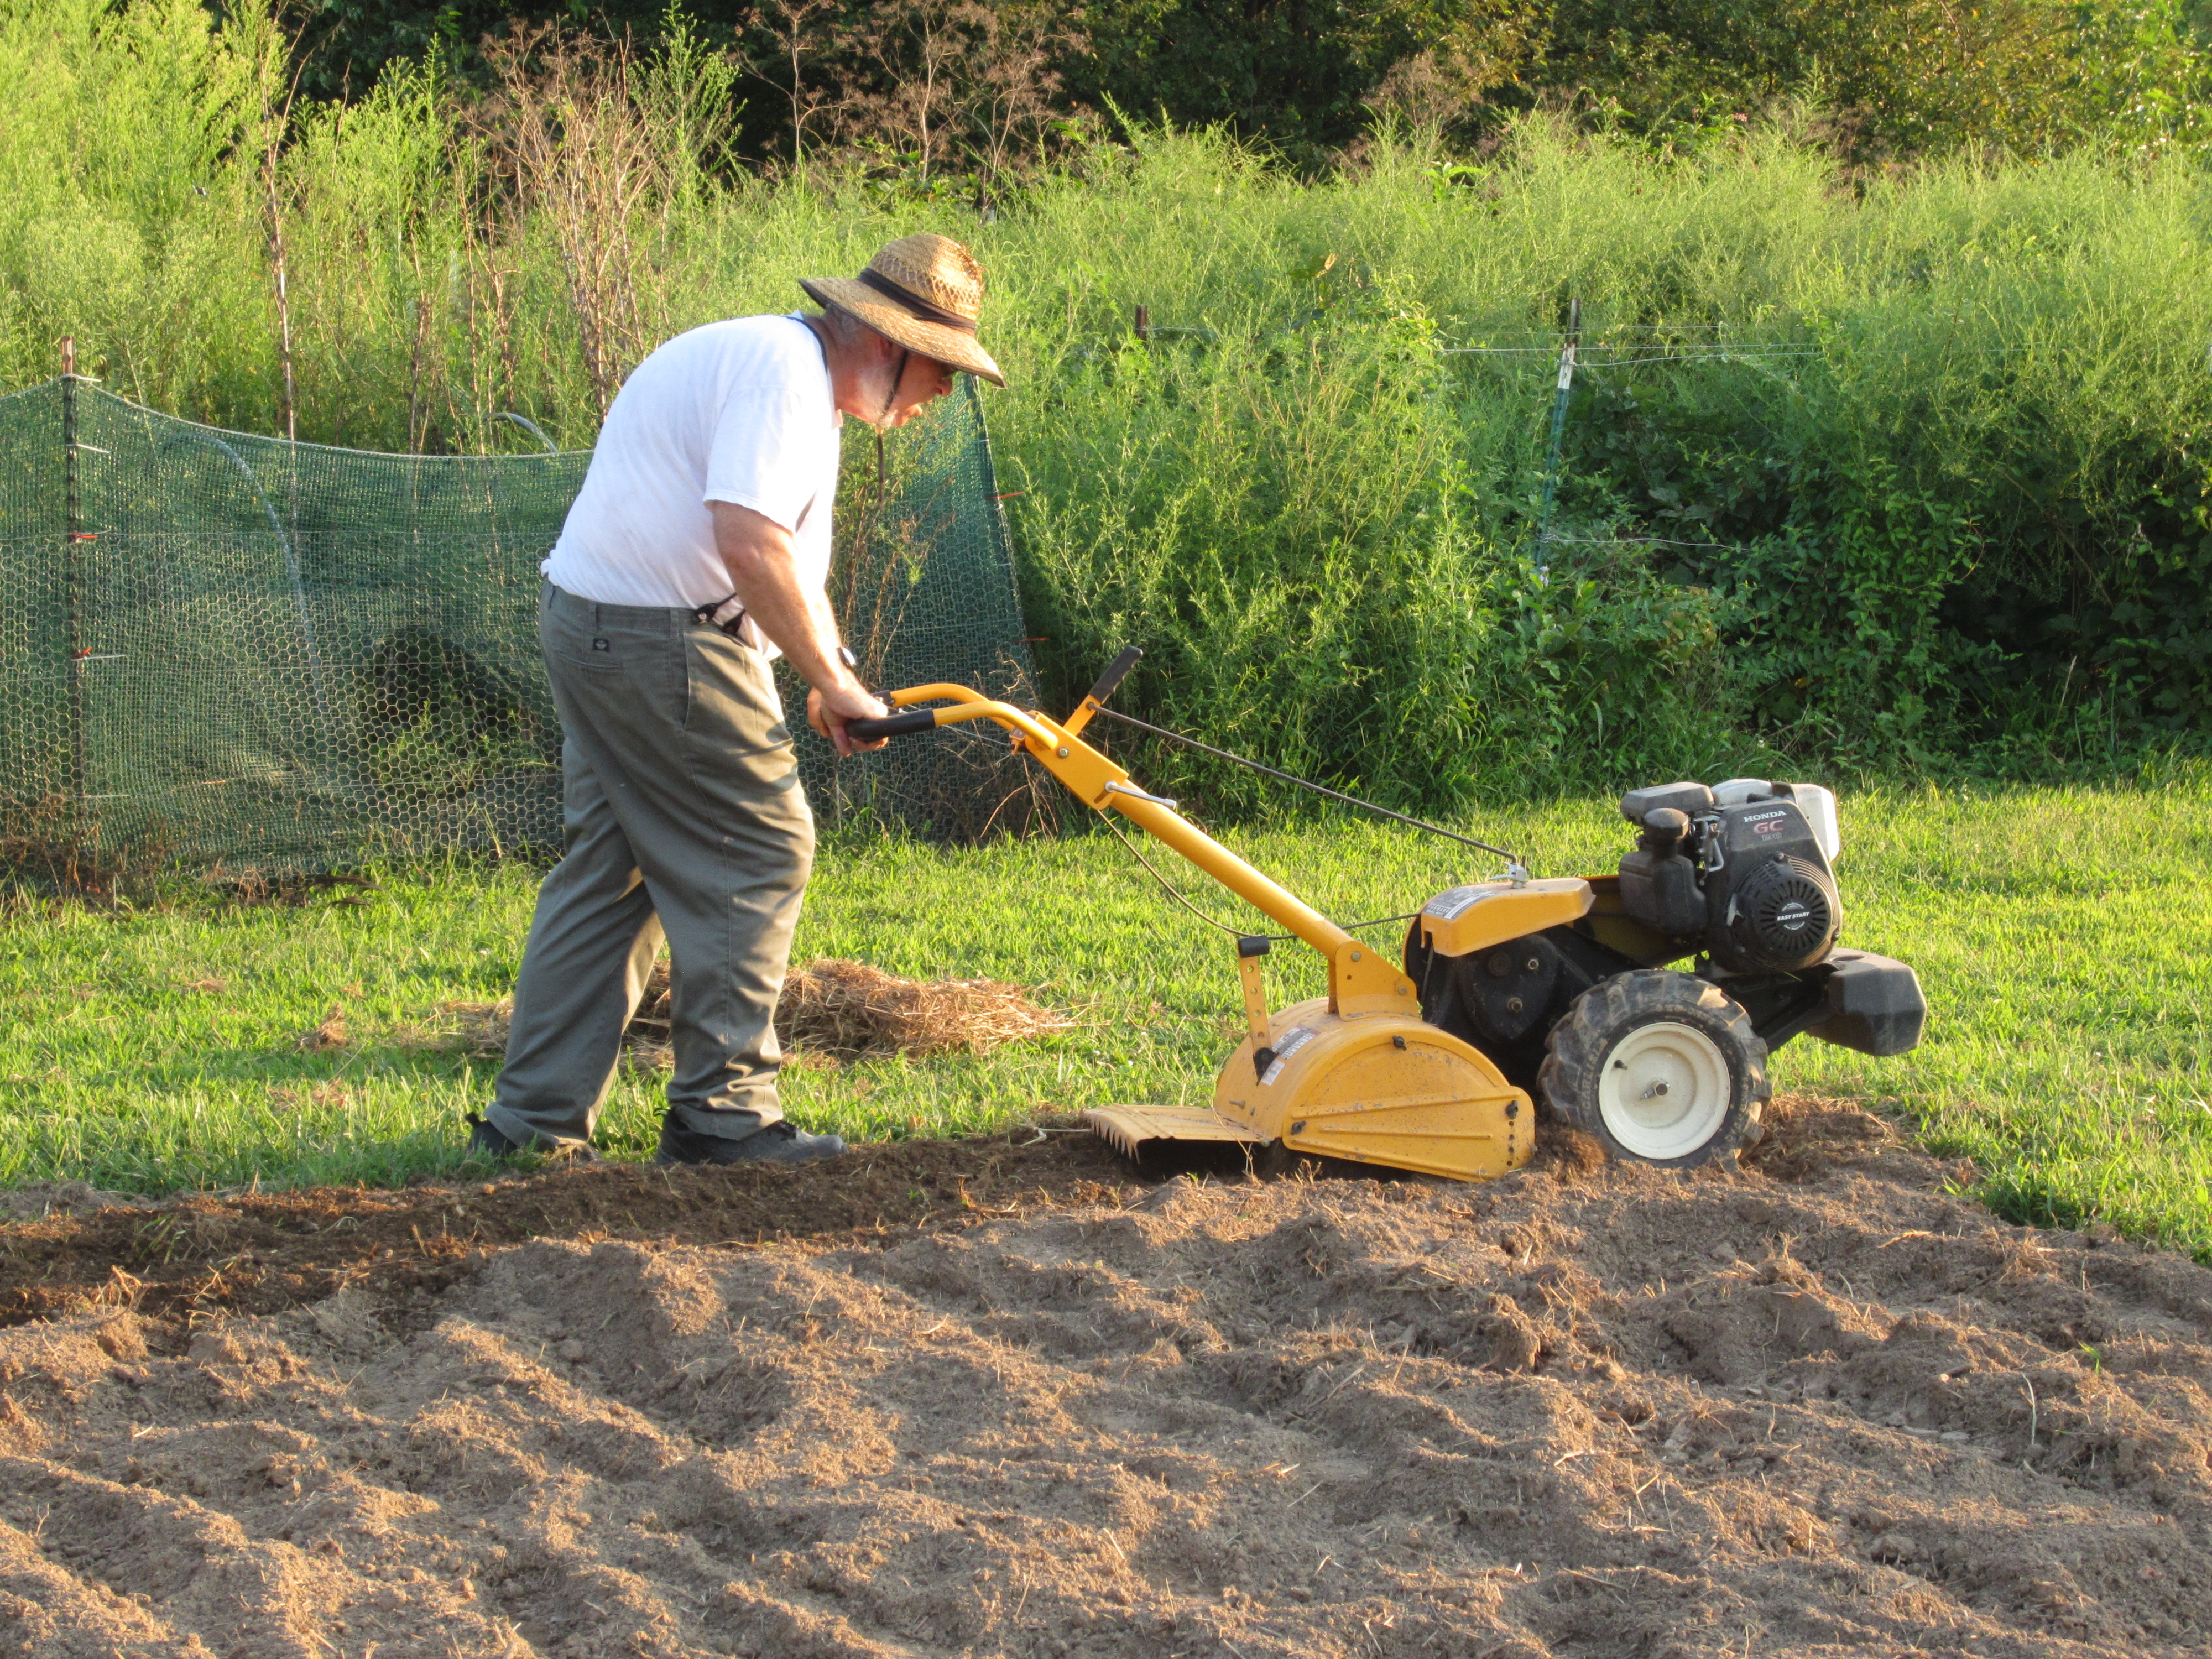
4 – Now you are ready to plant.
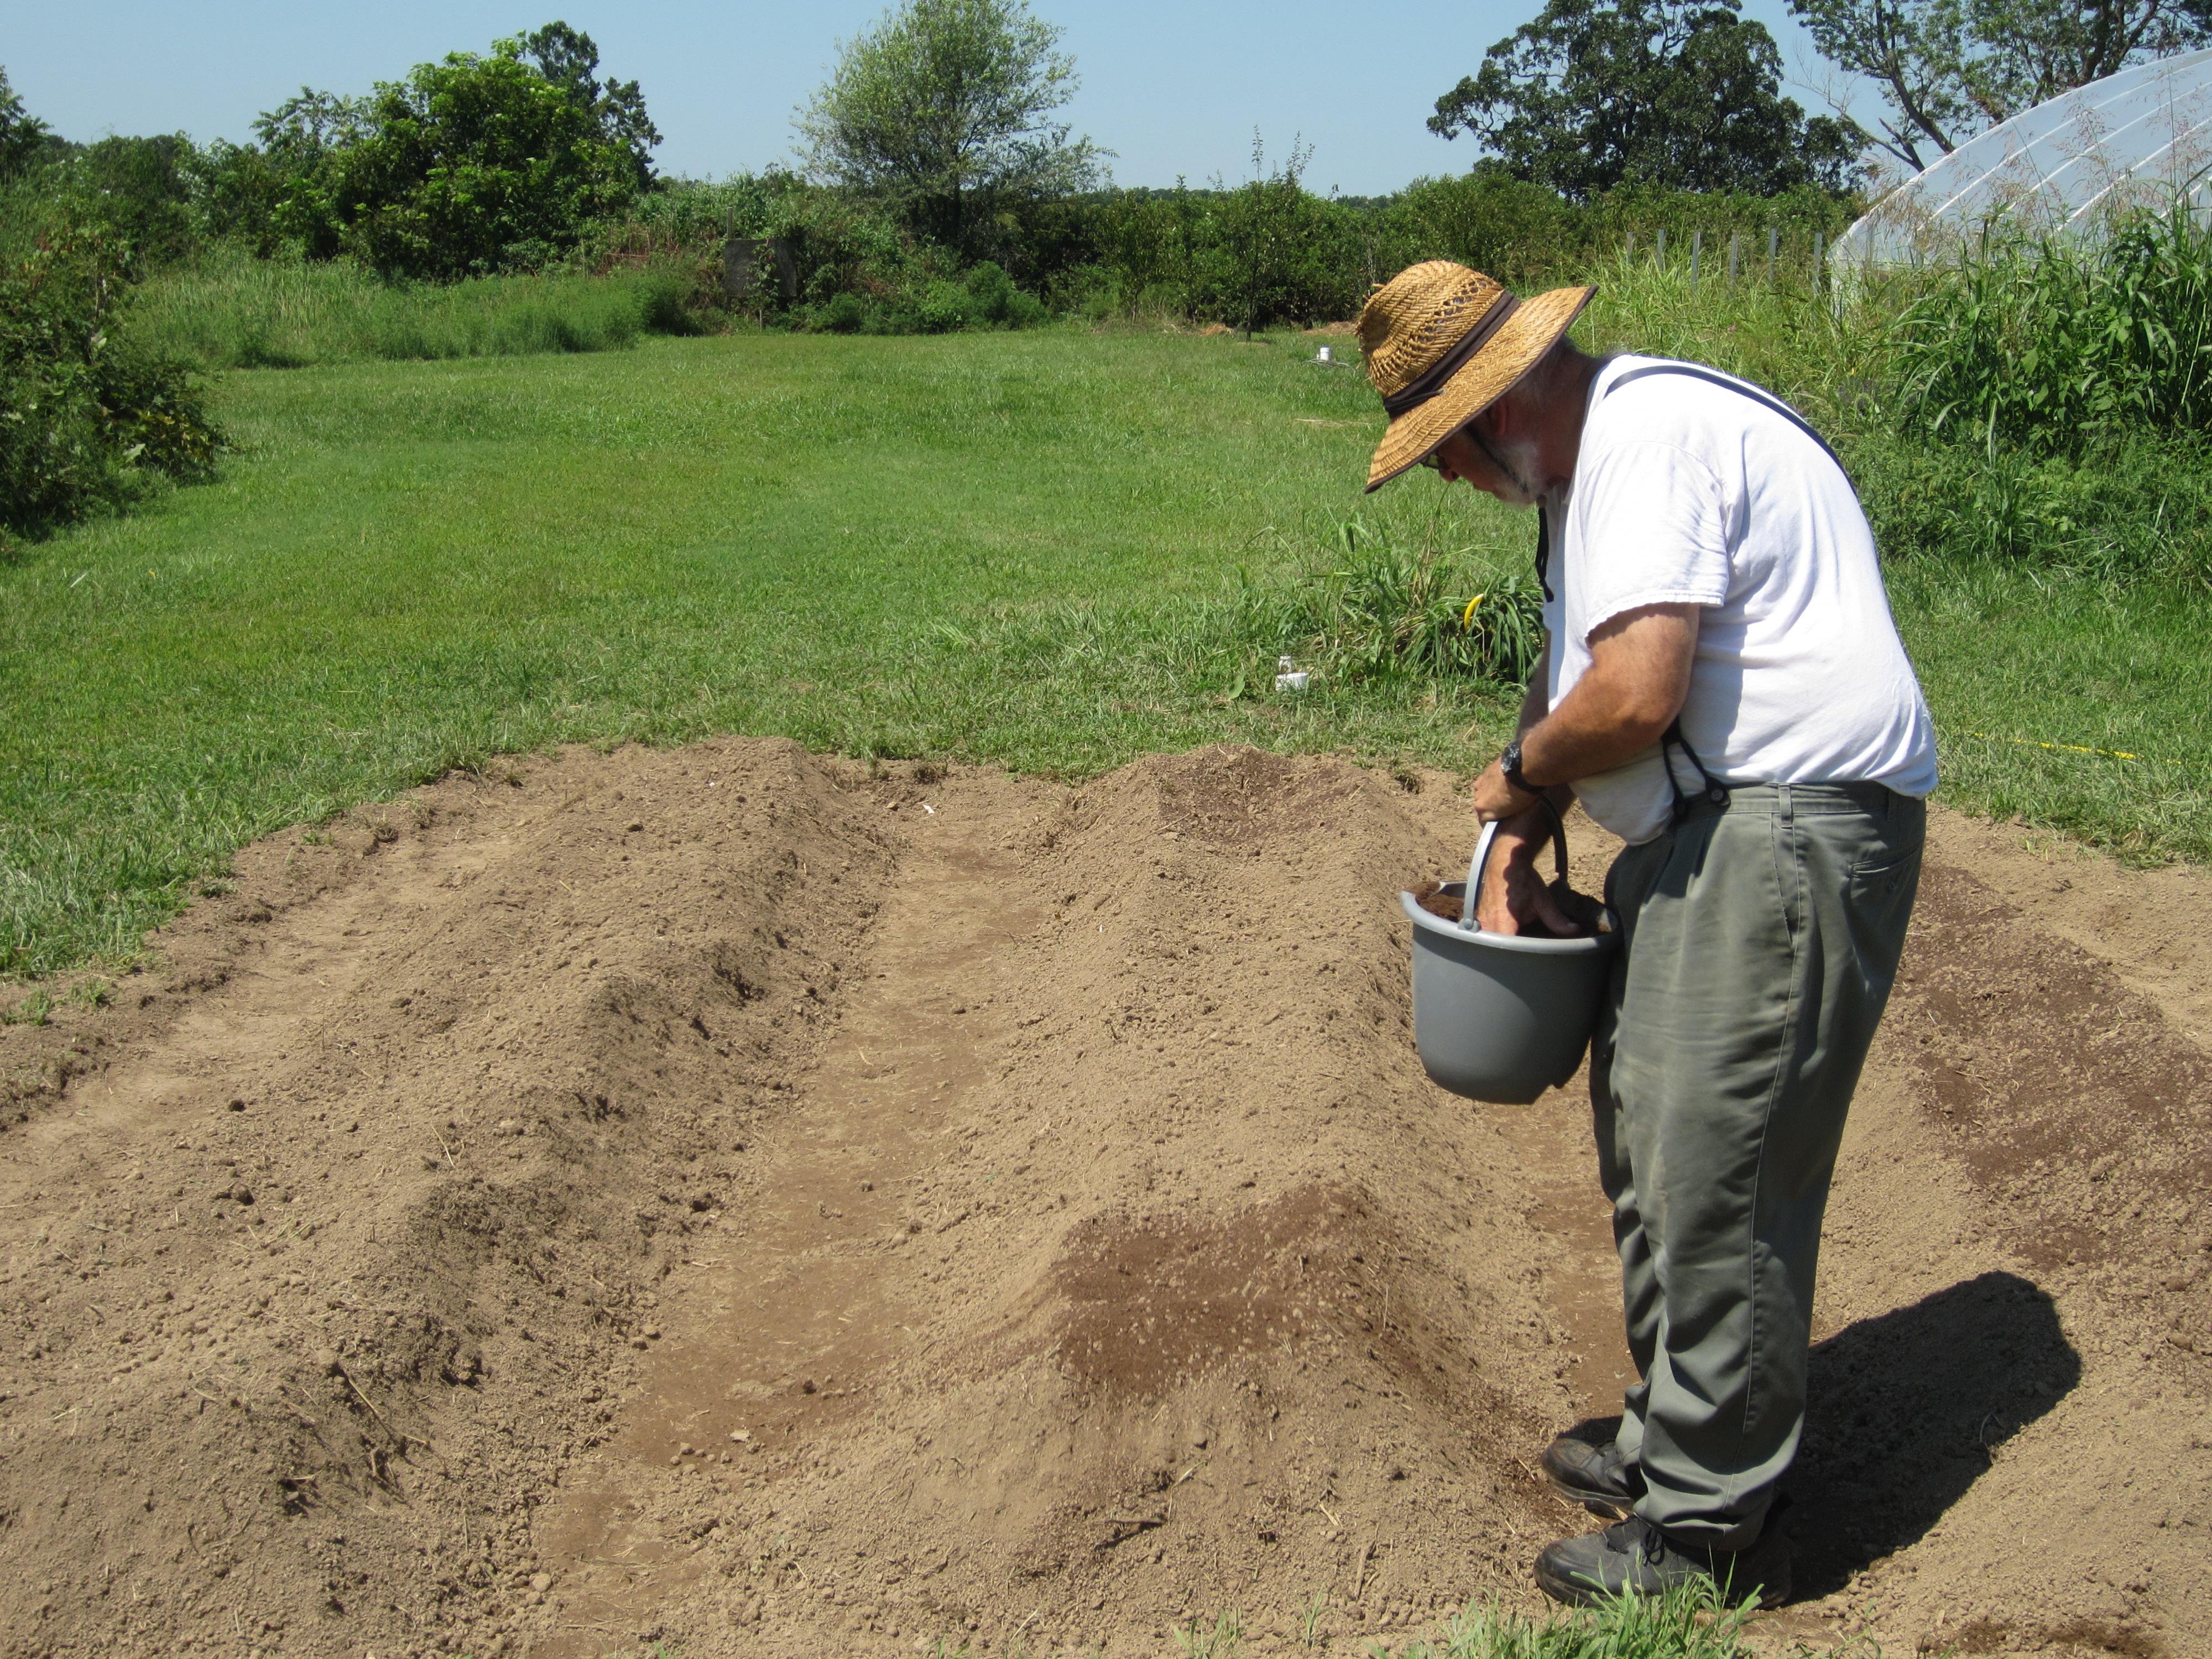
5 – Dig a hole that is as deep as the root ball and doubled the width of the root ball. Notice the tarp? This is the best way to save the soil you have dug plus it makes for an easier clean-up.

- This is the time to add soil amendments such as compost, peat moss, kelp meal, bone meal , sand, etc. These amendments should fill the hole 1/3 to 1/2, mixed with the existing soil. The amounts will vary depending on the size of the root ball.
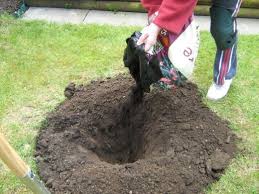
- This establishes a good root system and enhances the transplanting thus reducing stress to the tree.
6 – When placing the root ball in the ground make sure it is 1/2 inch to one [1] inch above the ground level. Planting above the ground level allows for the settling of the root ball.


- Where the trunk of the tree meets the root system is called the root flare. This juncture needs to be 1/2 to one [1] inch above the ground level.
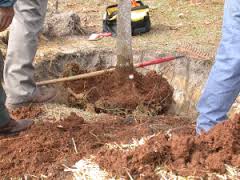
- This step is crucial for a successful tree planting and continued growth and development of a healthy tree.
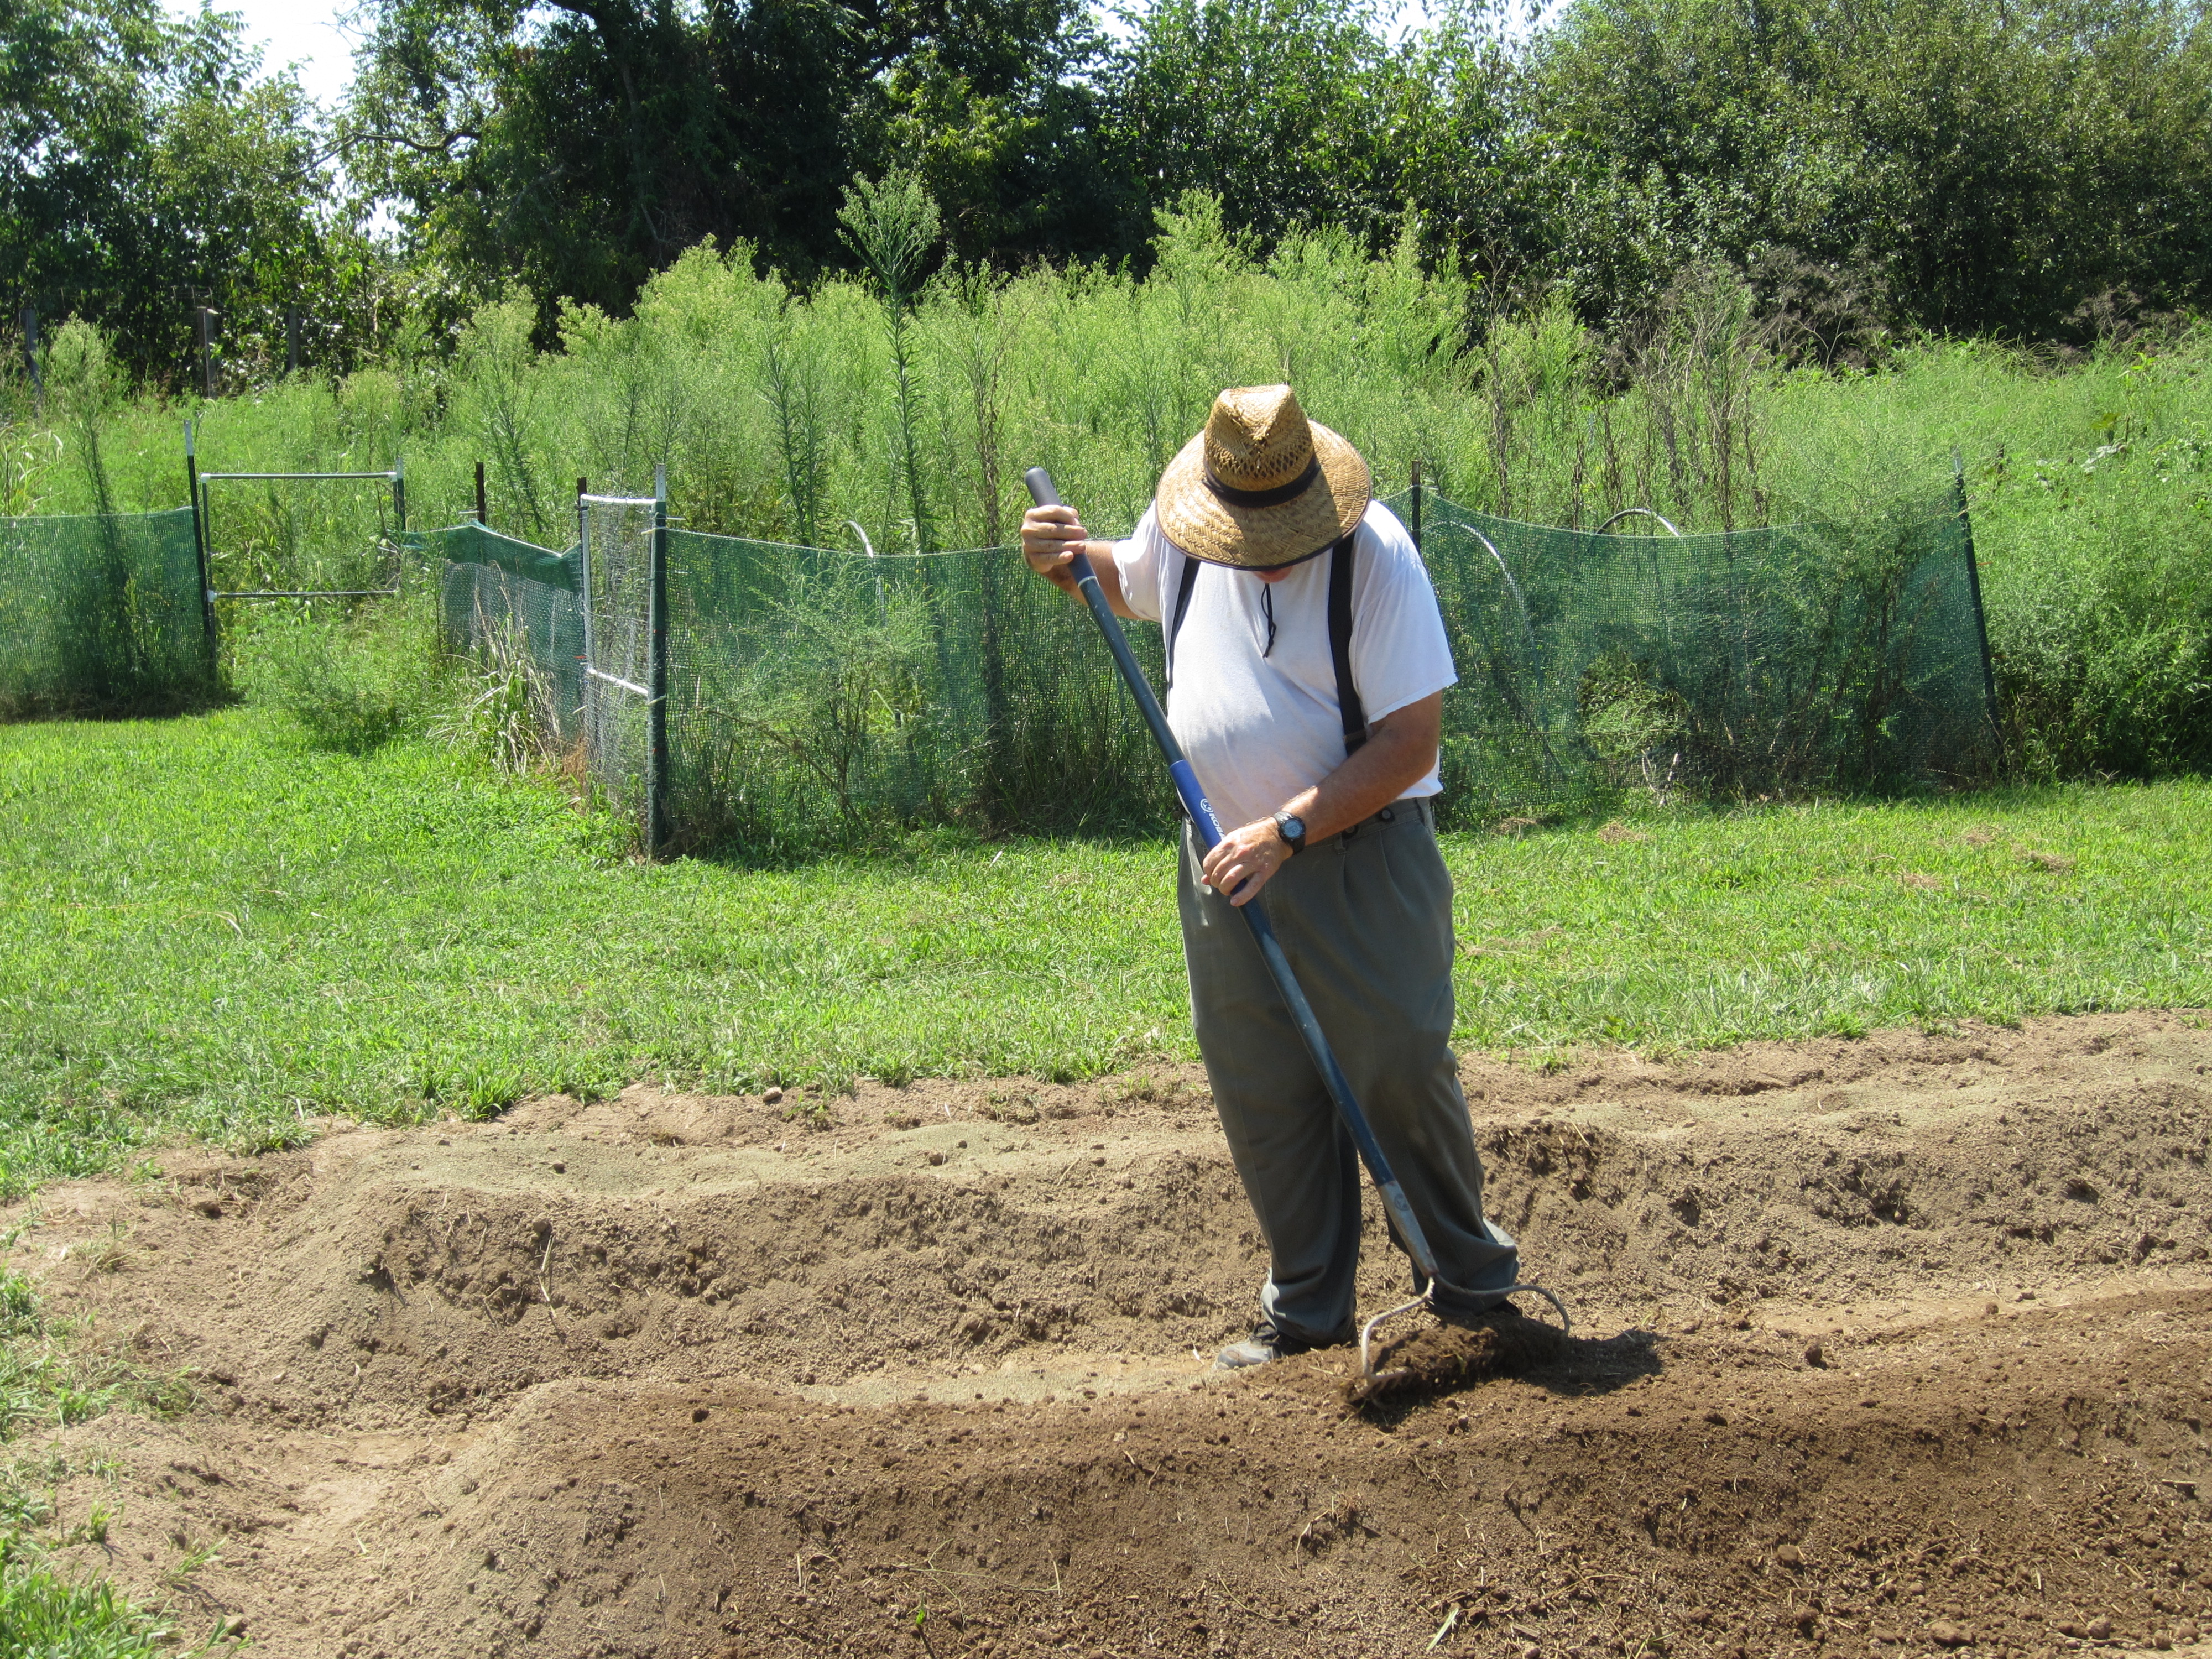
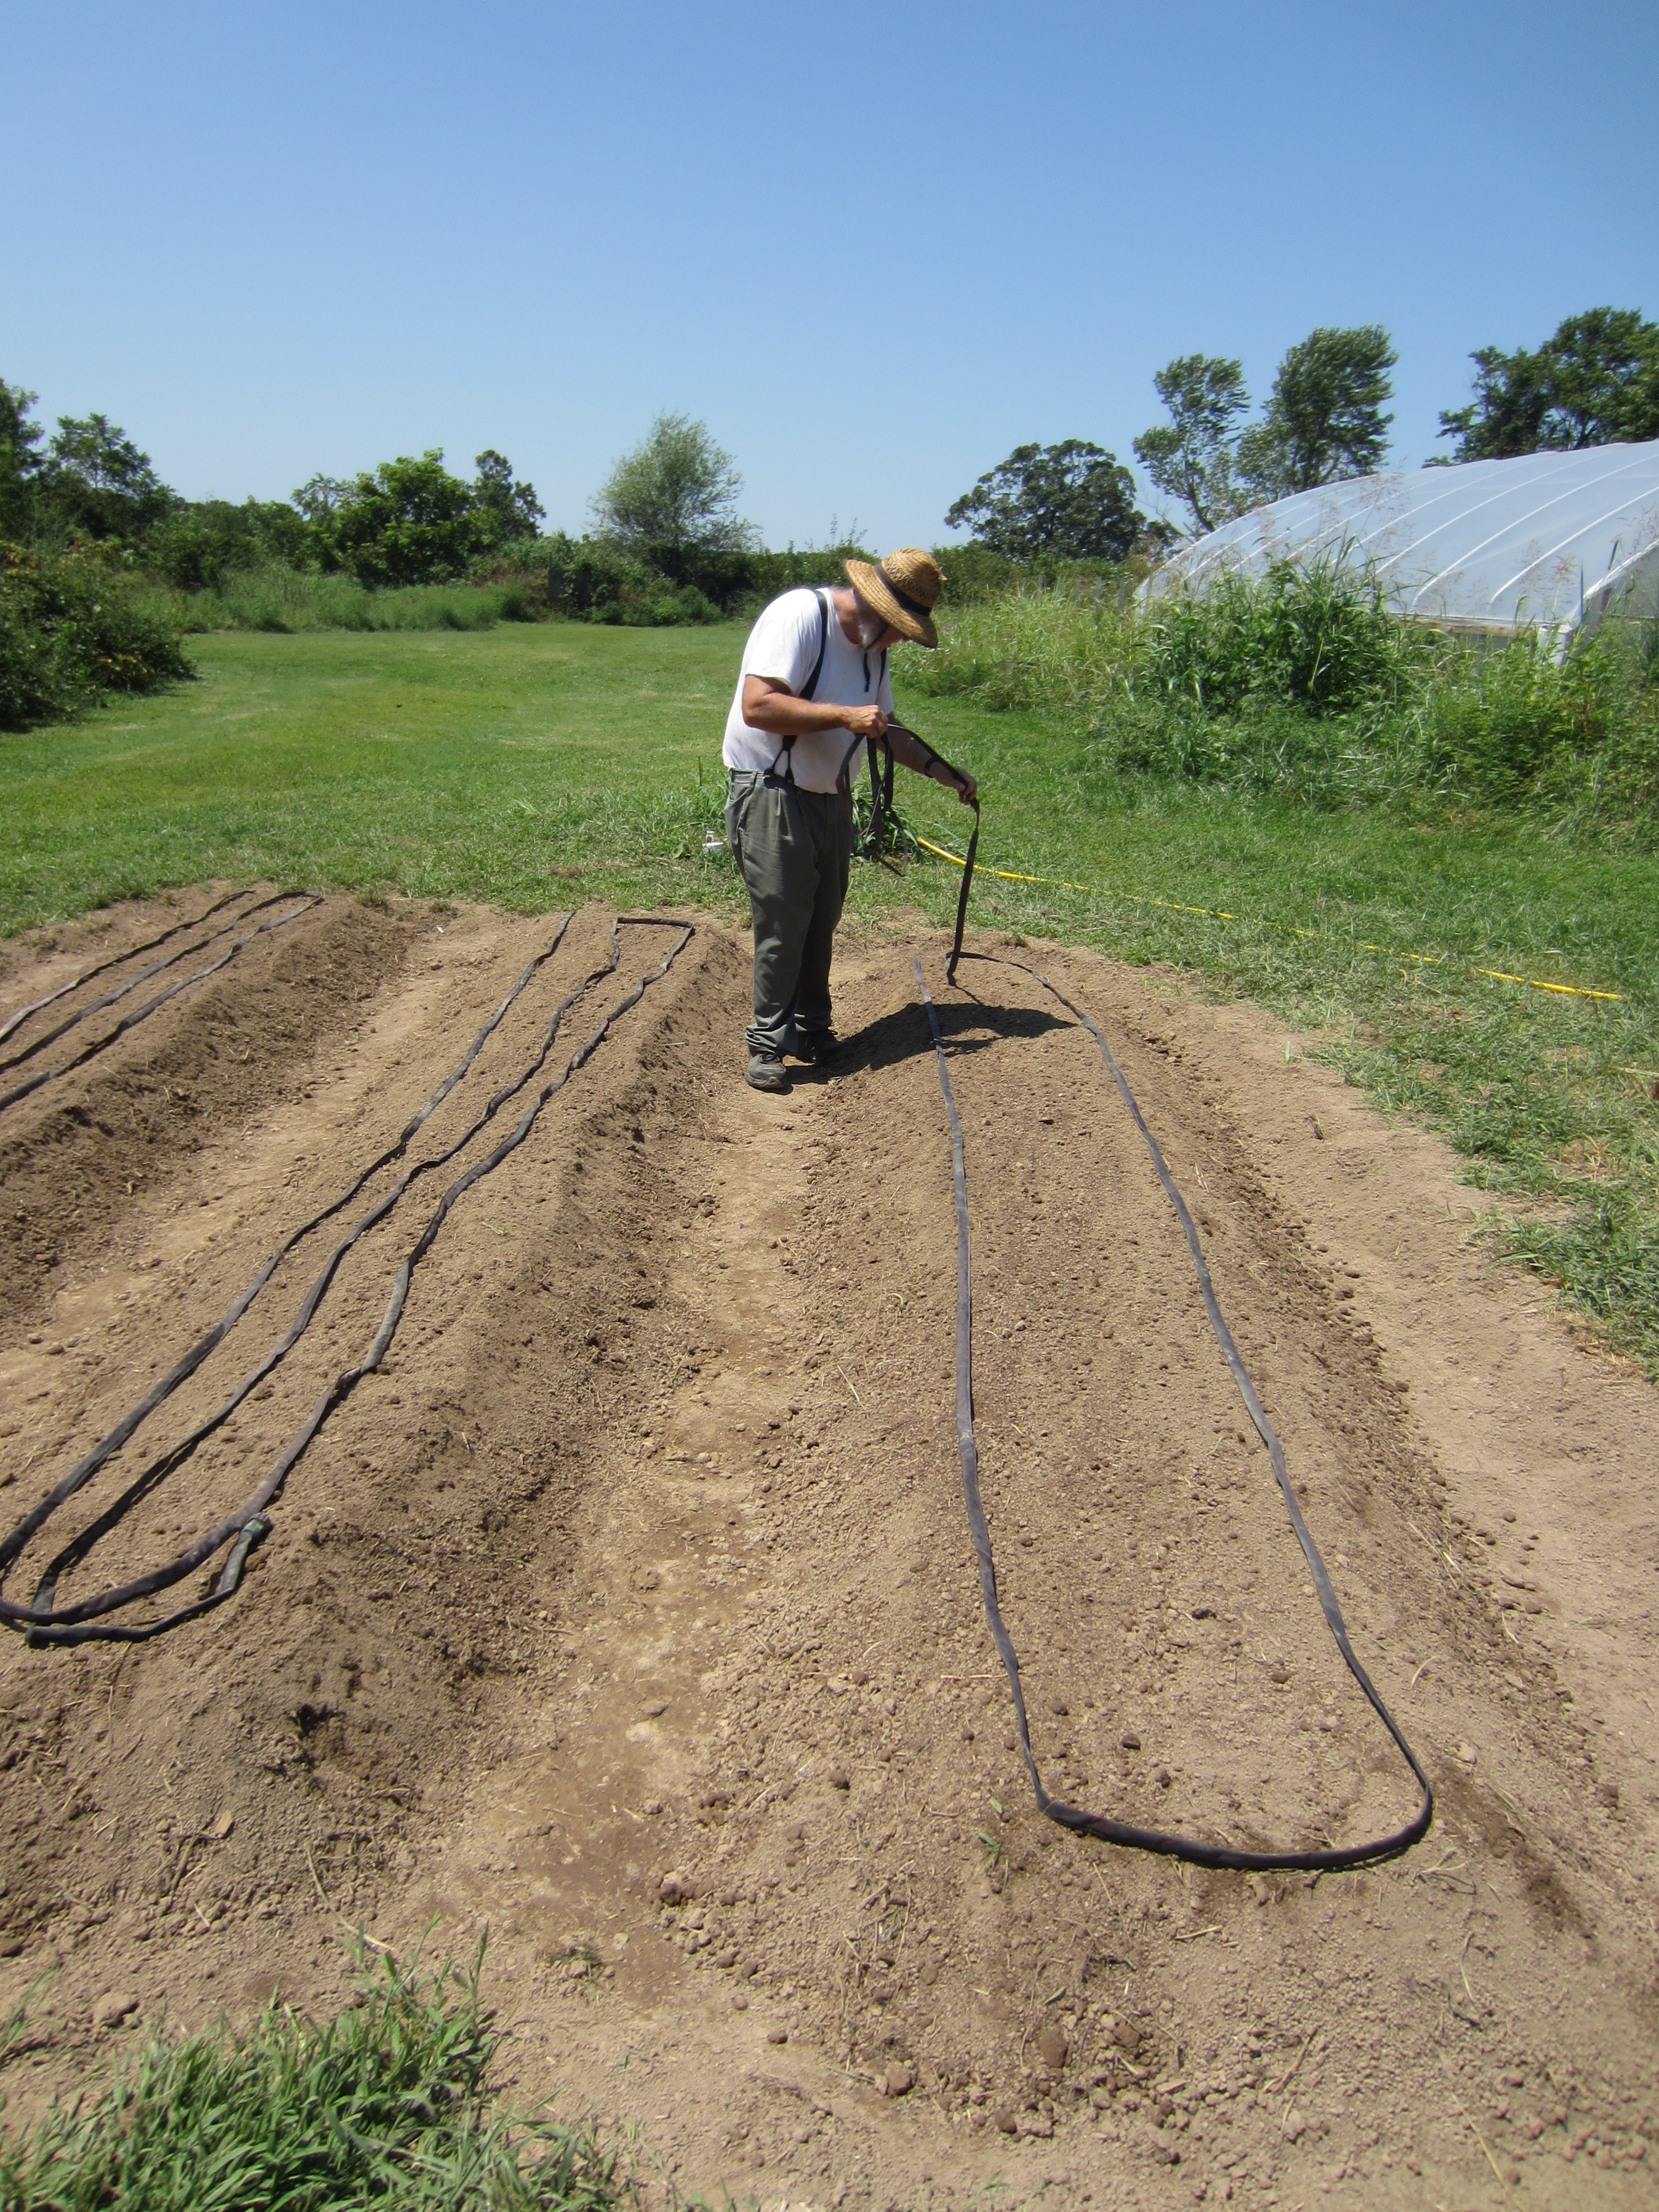
7 – Back fill and make a moat around the perimeter of the hole with the dirt dug from the tree planting. This moat will act as a reservoir and capture water thus reducing run-off and enhance the growth of the tree roots. This insures the tree receives proper moisture.


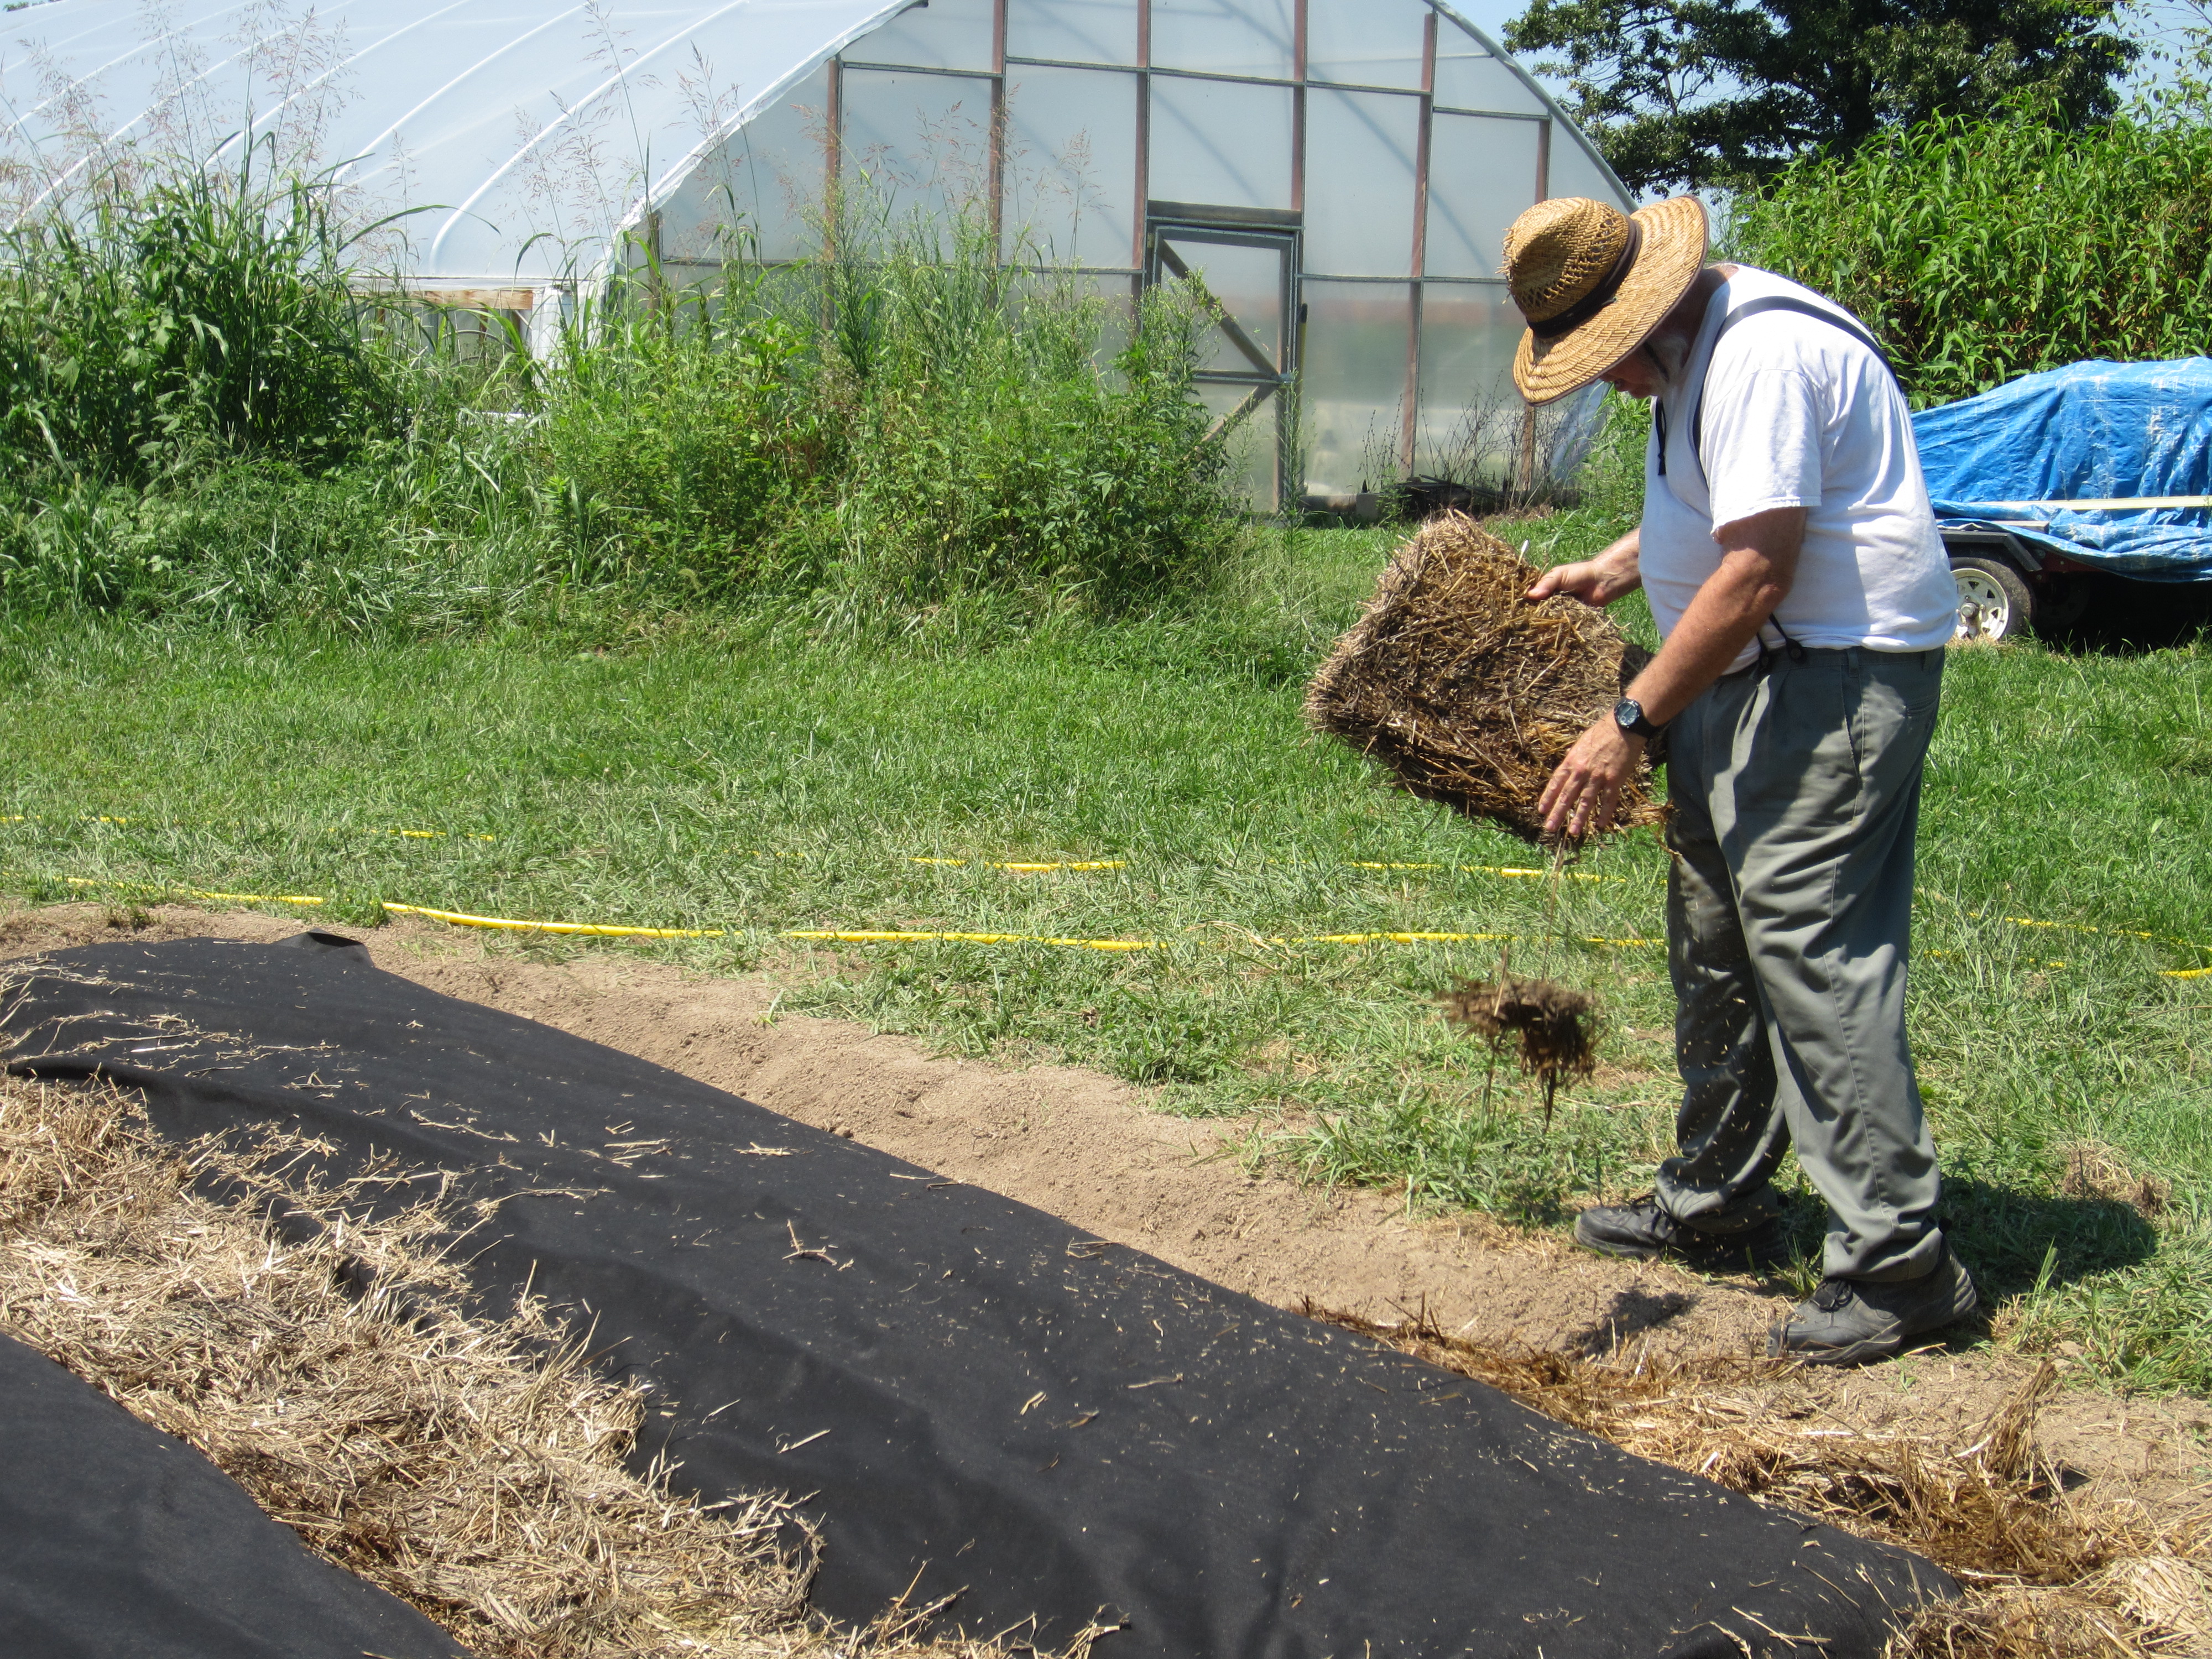
8 – The use of mulch is up to you.
- If mulch is used, do not place the mulch against the base of the tree.
- The base of the tree may respond to this mulch as soil and may stimulate root growth above the tree flare.


- See the possible results from “volcano” mulching. Notice the rotted tree flare. Besides it looks dumb!!!!!
It is important to stick to these steps for a tree you will enjoy for years to come.
Papa