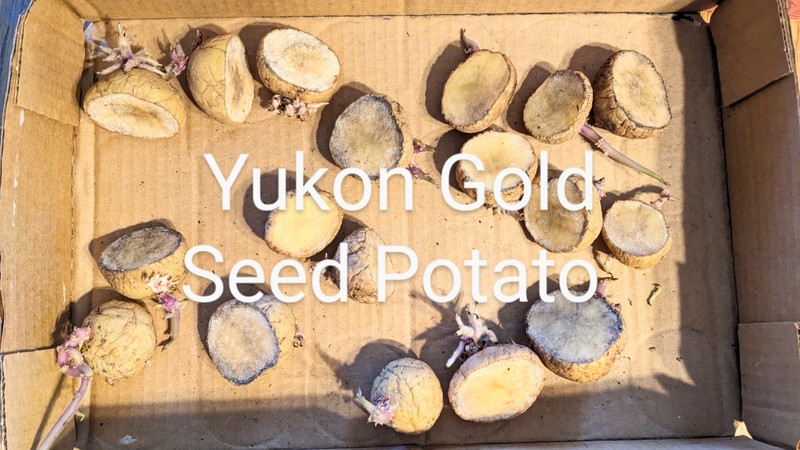
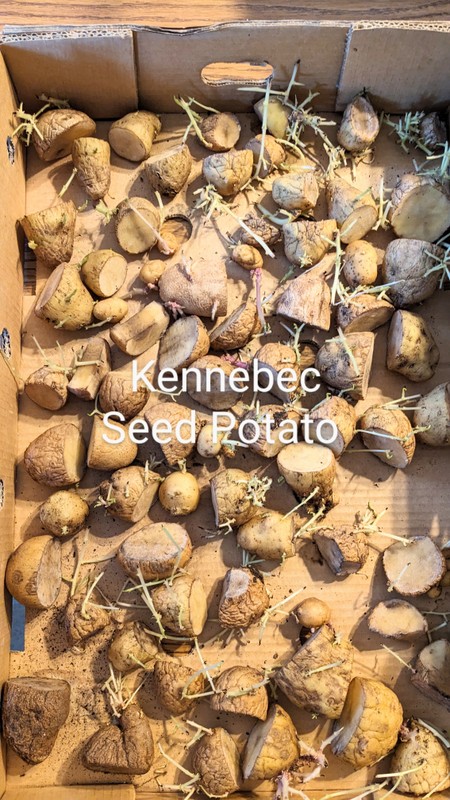
Can anyone tell me please if there is an advantage to not planting them until the cut sides are dry? I heard that it helps to let the cut sides dry? Thanks.
Answer: From Papa
The advantage to waiting for cut seed potatoes to heal, is to discourage disease and mold from infecting the cuttings. Plus, I recommend you sterilize the knife you use to make your cuttings to reduce the chance for disease!
Nine years ago I did a video on YouTube with my grandkids! It is amazing the interest this presentation has garnered.
Spring is early this year. Let’s get busy! You see what’s going on in the grocery stores and supermarkets. All the more reason to start and maintain a vegetable, herb, and flower garden!
I apologize for the time away. Let’s not look back, but forward. I’m ready, when you are!
The groundhog did not see his shadow. So, we have an early spring.
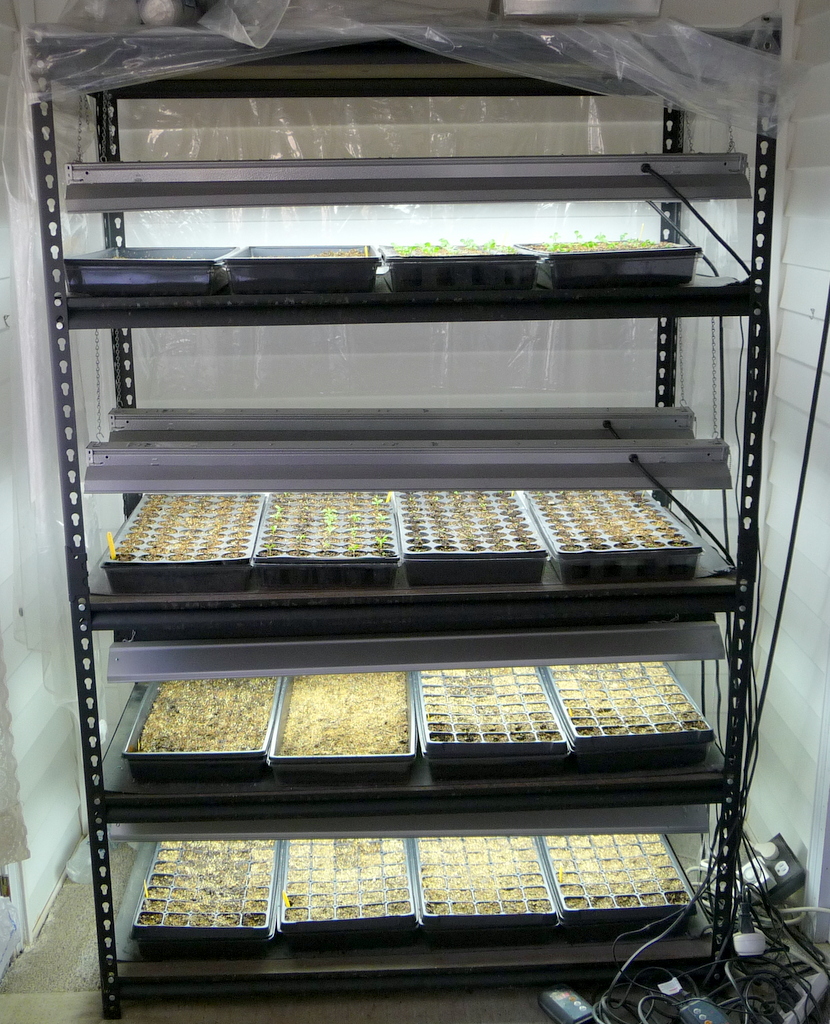
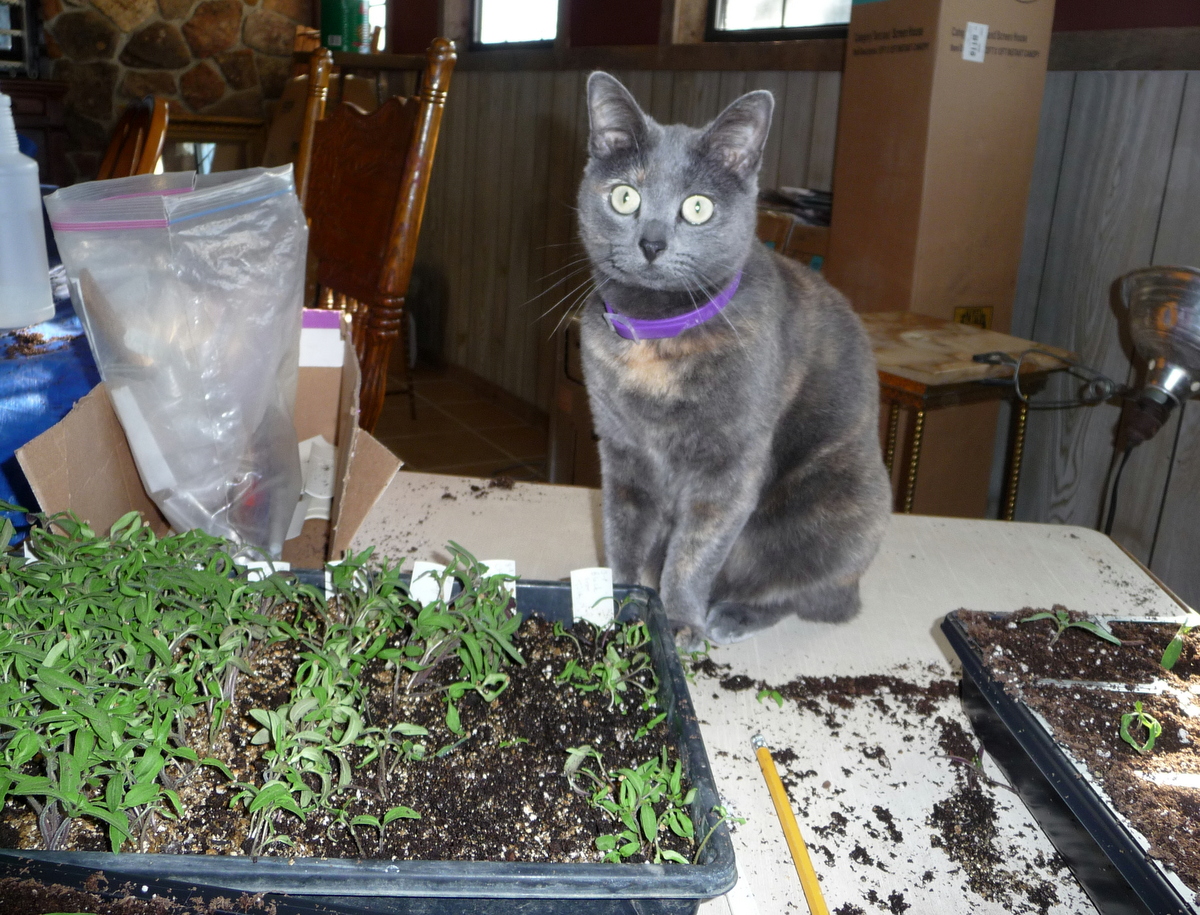
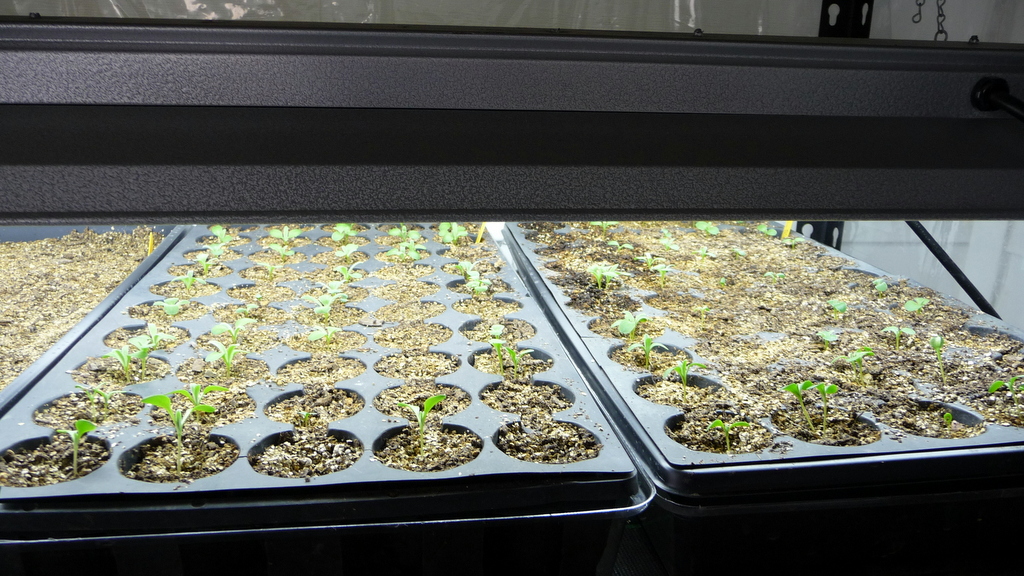
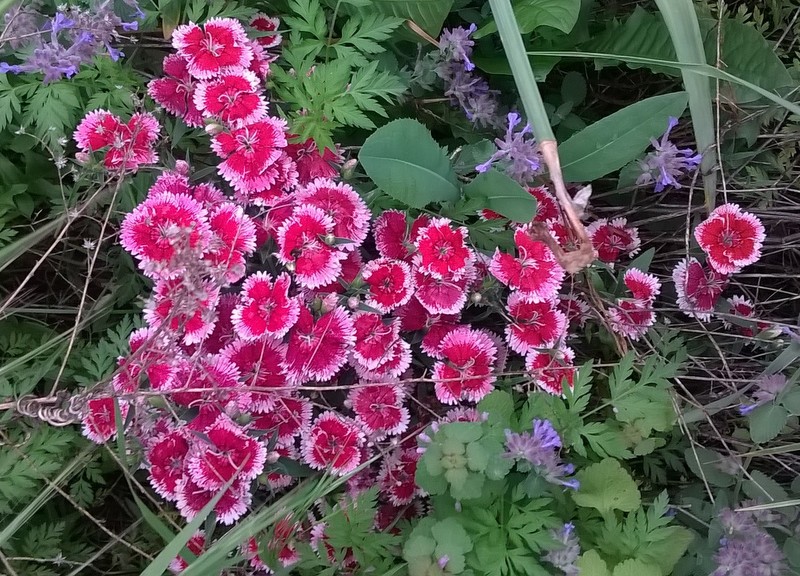
I have started some of my spring flower and vegetable seeds (with the help of Miss Kitty). Let’s see; broccoli, cabbage, cauliflower, and kale for the veggies and bachelor buttons, calendula, dianthus (pinks), hollyhocks, Johnny Jump-Up, Painted Tongue, Zebrina (hibiscus) and pansies for the flowers.
We’re going to be seeing these beauties in the near future. I can’t wait and I’m getting impatient!
What Will Be Your Next Step
Do you have areas marked out for planting? Have you bought your garden seeds and plants? How about your additional supplies? Garden lime, fertilizer, row covers, potting soil, pots, trays, trowels, shovels, etc. will be needed to make your garden a success.
As soon as the ground can be worked, bring in the hoe, rake, tractor and/or rototiller. This is going to take physical effort, so please pace yourselves. By the way, don’t forget your post hole digger, fence posts, and garden wire. The critters will soon be active.
A Quiz for You to Ponder
What are your favorite flowers and vegetables? Do you have a particular tomato that you cannot live without? Almost forgot the herbs! My favorite is Sweet Marjoram. I love the aroma, it is calming to me. Do you know about sweet marjoram flowers? Many of the pollinators are parasitic and parasitoid wasps, which are key at destroying many types of caterpillars.
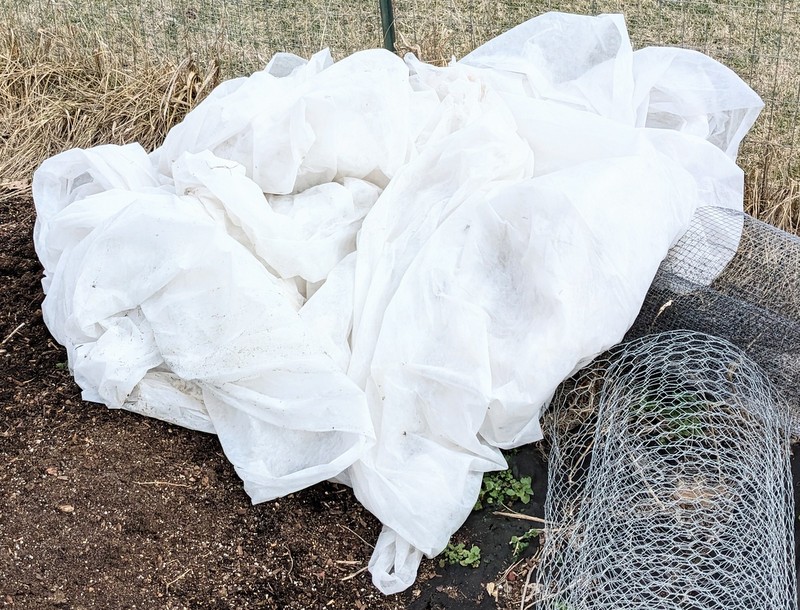
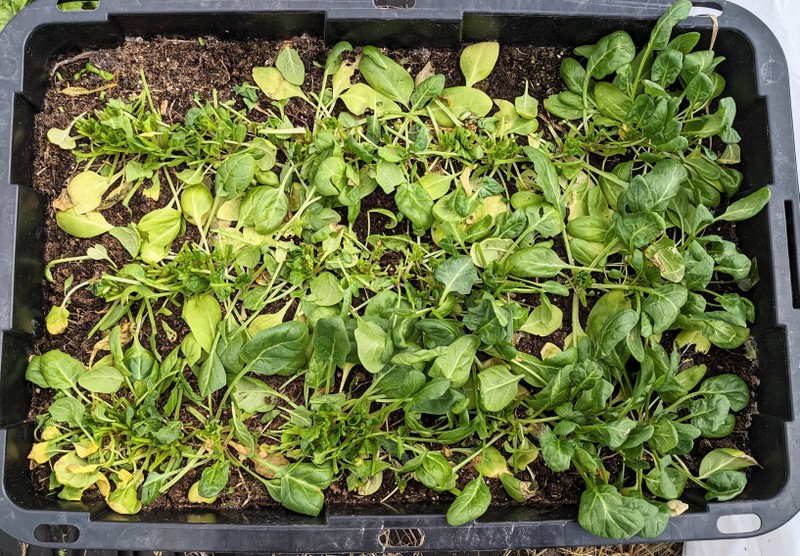
Amazing development today. Here it is, February 22, 2024 and to my amazement I found something I was not expecting. I pulled back three layers of floating row cover and was astonished!
Mind you, we had terrible icy, cold weather in mid January 2024. One day it was -26 degrees below zero. Plus, in February 2024 we had frozen rain the size of peas. Row covers are definitely worth the money!
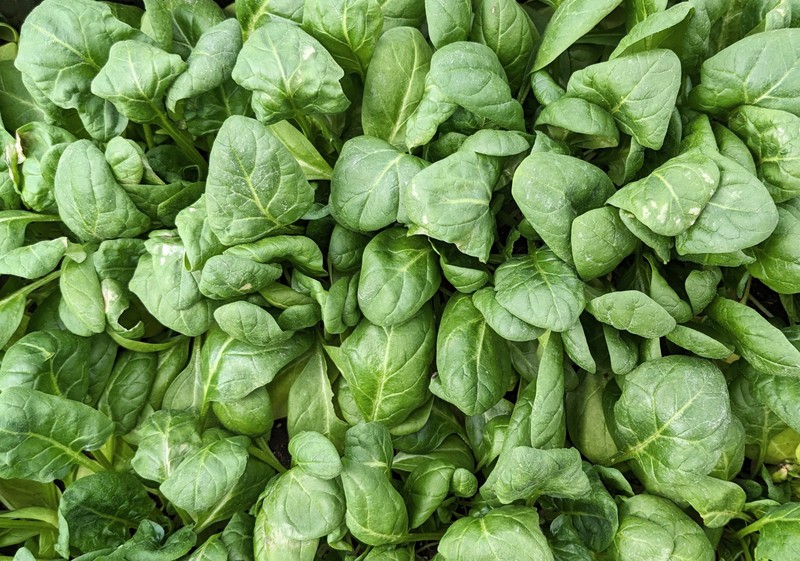
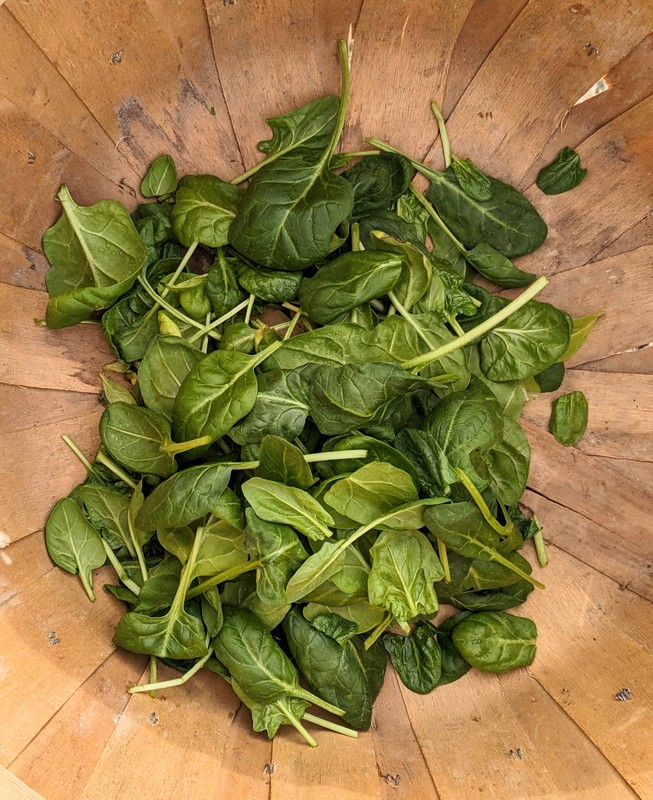
The beauty of growing naturally is you do not have to wash your greens until you use them. The spinach will last in the fridge for up to a month. Use a food grade bag or container to store your greens for further use. I use this method of storage for all my greens (cabbage, collards, kale, lettuce, spinach and swiss chard).
Think about your soon to be garden! Looking forward to hearing from you.
You desire to grow some late tomatoes, but you didn’t start more seed. What do you do?
Take an old shallow container, drill holes in the bottom and root tomato cuttings in vermiculite and water. It’s actually pretty simple. Tomato plants are actually very tough.
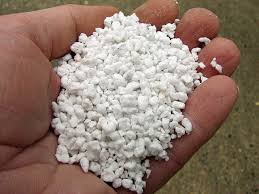
Find a container that will hold coarse vermiculite and water ( a plastic dishpan works great!!). Drill several 3/8 inch holes in the bottom of the container. By the way, you may use a large shallow nursery pot as well. Now place about 3 to 4 inches of coarse vermiculite in the container. Water the vermiculite to supply moisture to the cuttings. Allow excess water to drain prior to taking cuttings.
Carefully take cuttings from desired tomato plants using garden pruners. I have found, the larger the cutting, the easier to root! Place the cuttings in the moistened vermiculite about 3 inches apart. I place my rooting container in the shade to maintain proper hydration of the new cuttings. Usually it takes 10 to 14 days for proper rooting.
You may notice raised bumps or even small roots starting on the stem. These cuttings are the easiest to root.
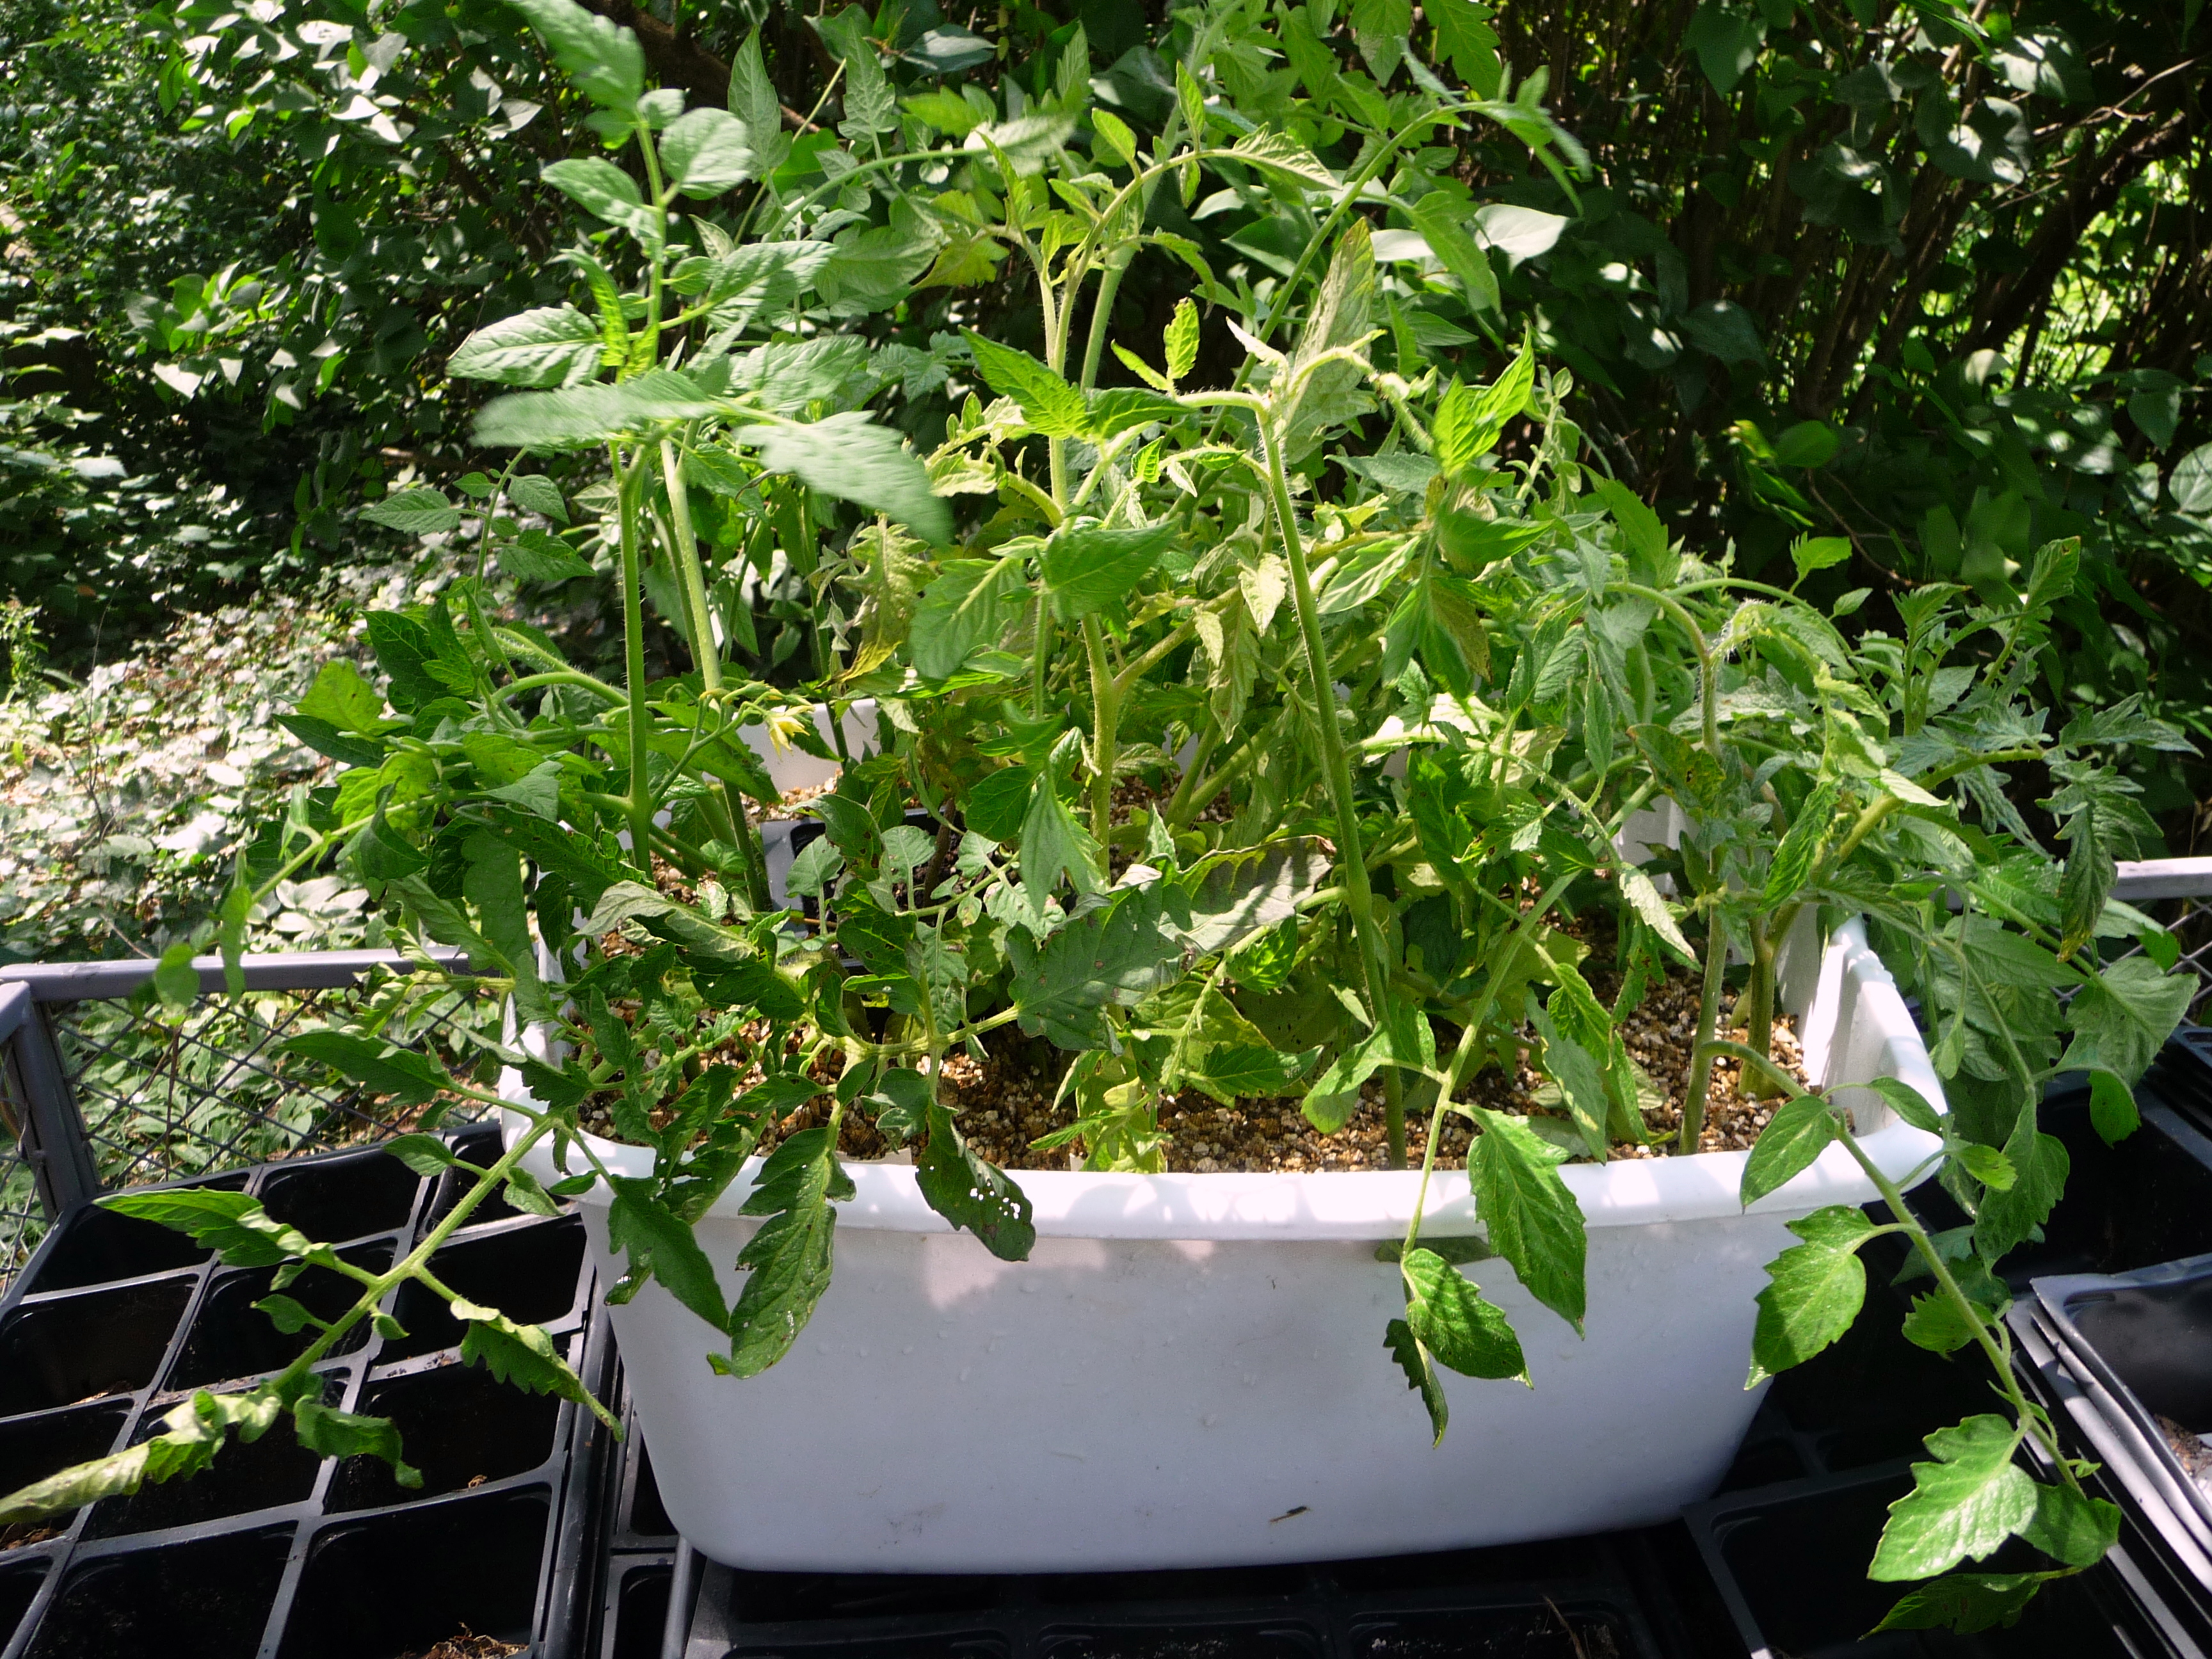
Look at the results after just 10 days.
Now it is time to pot up your rooted cuttings in large containers to use for transplant in 10 days.
Water the newly potted cuttings and place in a lightly shaded area. Gradually move the pots into more sun light. Plant the potted plants as you would any transplant.
This an easy, effective way to start large, quick growing tomato plants.
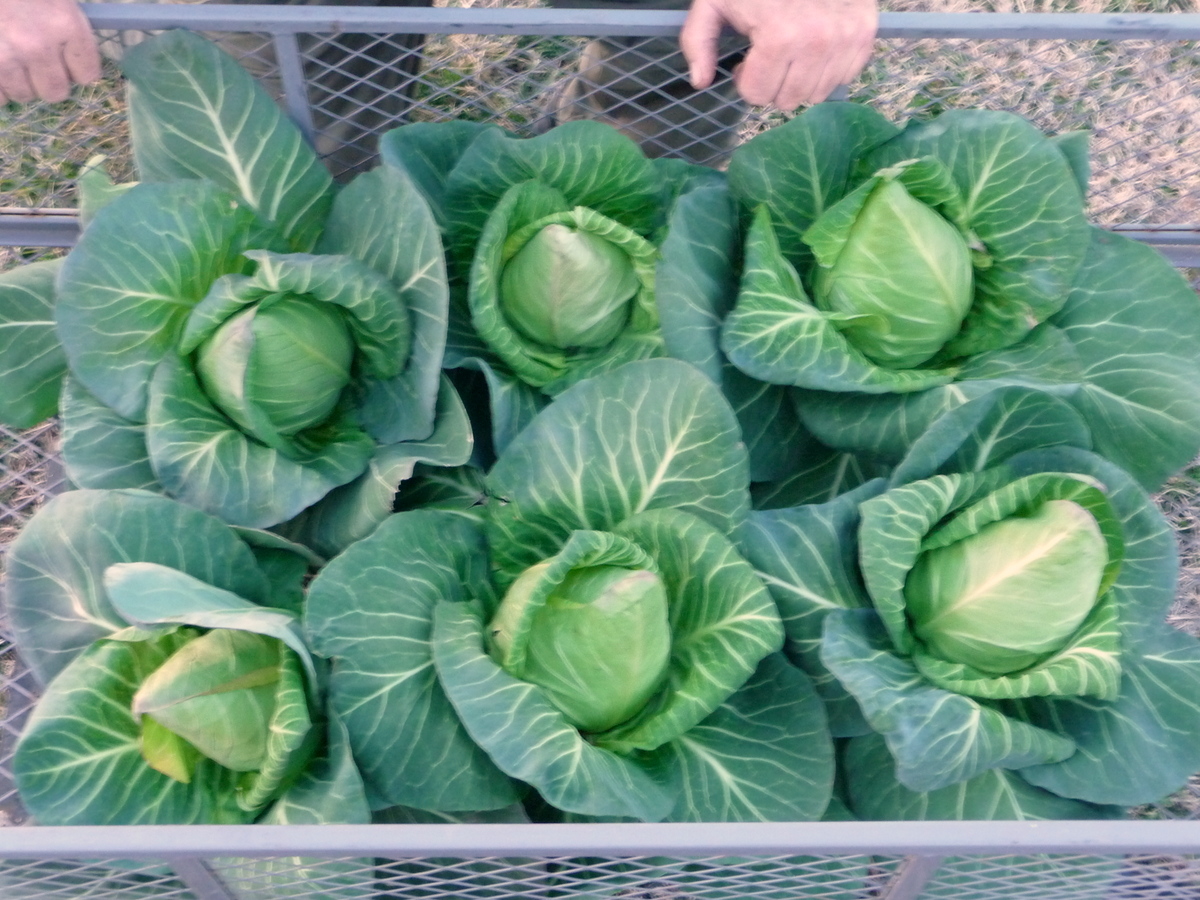
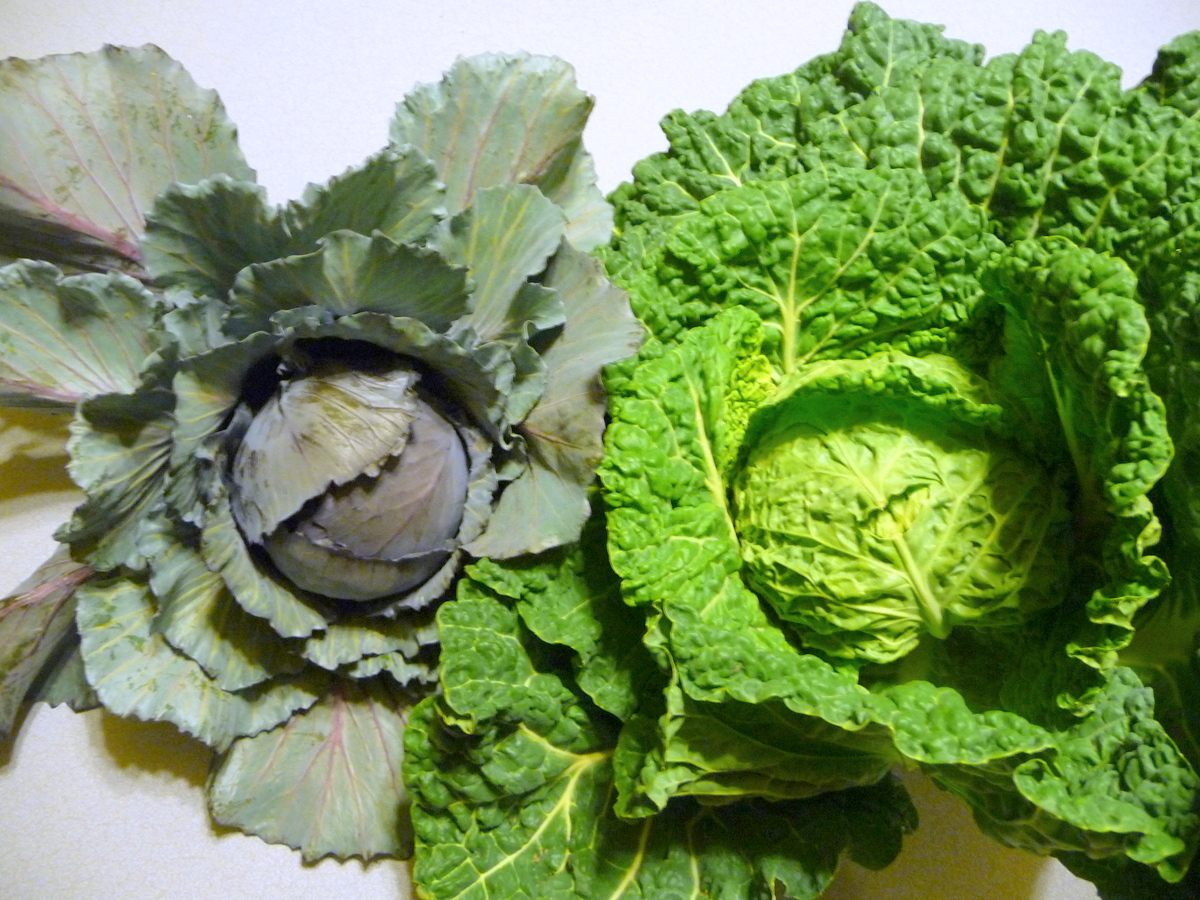
Recently I harvested two varieties of heirloom cabbage.
Red Express cabbage is a compact red cabbage which harvests in 60 – 65 days. The compact nature allow for closer planting which is a plus. Red Express has great resistance to aphids and cabbage worms. The flavor is mildly sweet eaten raw and it is wonderful pickled.
Aubervilliers savoy cabbage produces mature cabbage in 80 days. This beautiful crinkled cabbage has a mild sweet cabbage flavor. The savoy leaves make this variety a good fit for garnishes, stuffed cabbage and coleslaw.
Red Express cabbage and Aubervilliers cabbage.
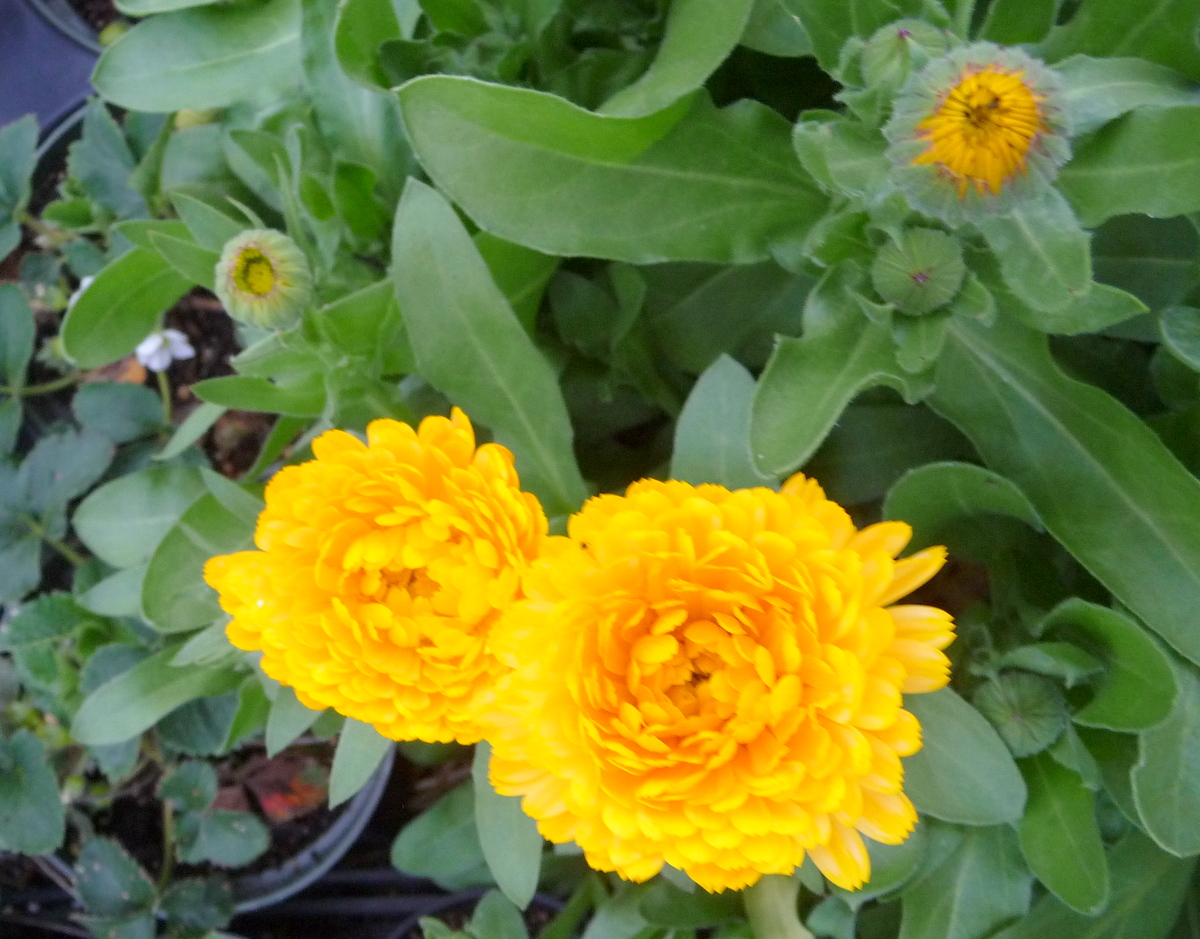
Calendula Kablouna: Heirloom known for mildew resistance.
Originally, Calendula was called Pot Marigold and used as a cool season flowering plant. However, the Indian Prince series is known for flowering June through October. It can be used as a bedding and potted plant. I enjoy them as cut flowers in smaller arrangements and bouquets.
Direct seeding to flower is 70 days. Grow with your cole crops [Cauliflower, Broccoli, Cabbage and Greens] . They make a beautiful border and look equally beautiful interplanted in the garden.
Orange petaled varieties are used as a saffron substitute, a “poor man’s saffron”. Please remember, do not use chemical sprays (insecticide) on the plants or flowers, as this will render them inedible.
Yes, Calendula is an edible flower. Salads, soups and garnishes take on more interest and color when they are incorporated. The greens are edible as well but use sparingly as they can be bitter.
Calendula can been used as a beautiful yellow dye. When the blooms are dried the petals can also be added to potpourris.
Calendula has long been known to sooth the skin and can be used in lotions and oils. Calendula tinctures, ointments, and washes are often applied to the skin to help burns, bruises and cuts heal faster.
This versatile flower is deserving of your garden, don’t you think?
Introducing our newest family member – Oakley (who doesn’t like her picture taken!) She is quite the lady and has started learning the skills of country life.
We like our birds!!!! A small showing of our “regulars”.
Hoop house growing! The spinach and cabbage remain delicious!
Let’s not forget Miss Kitty, our tomato transplant supervisor. As quick as the transplants were re-potted, she would playfully paw them out of the pot. She is a very curious kitty!!
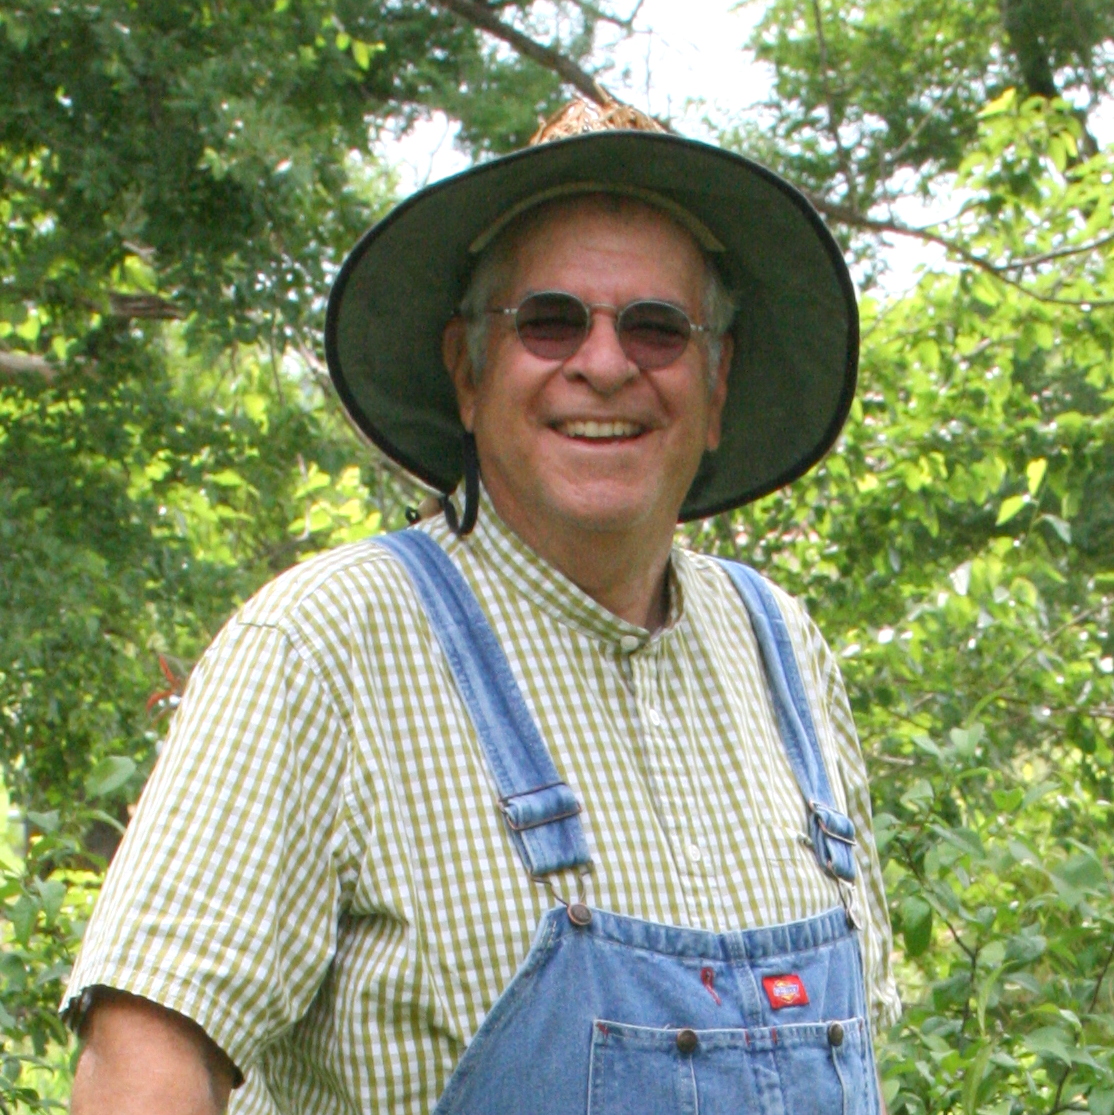
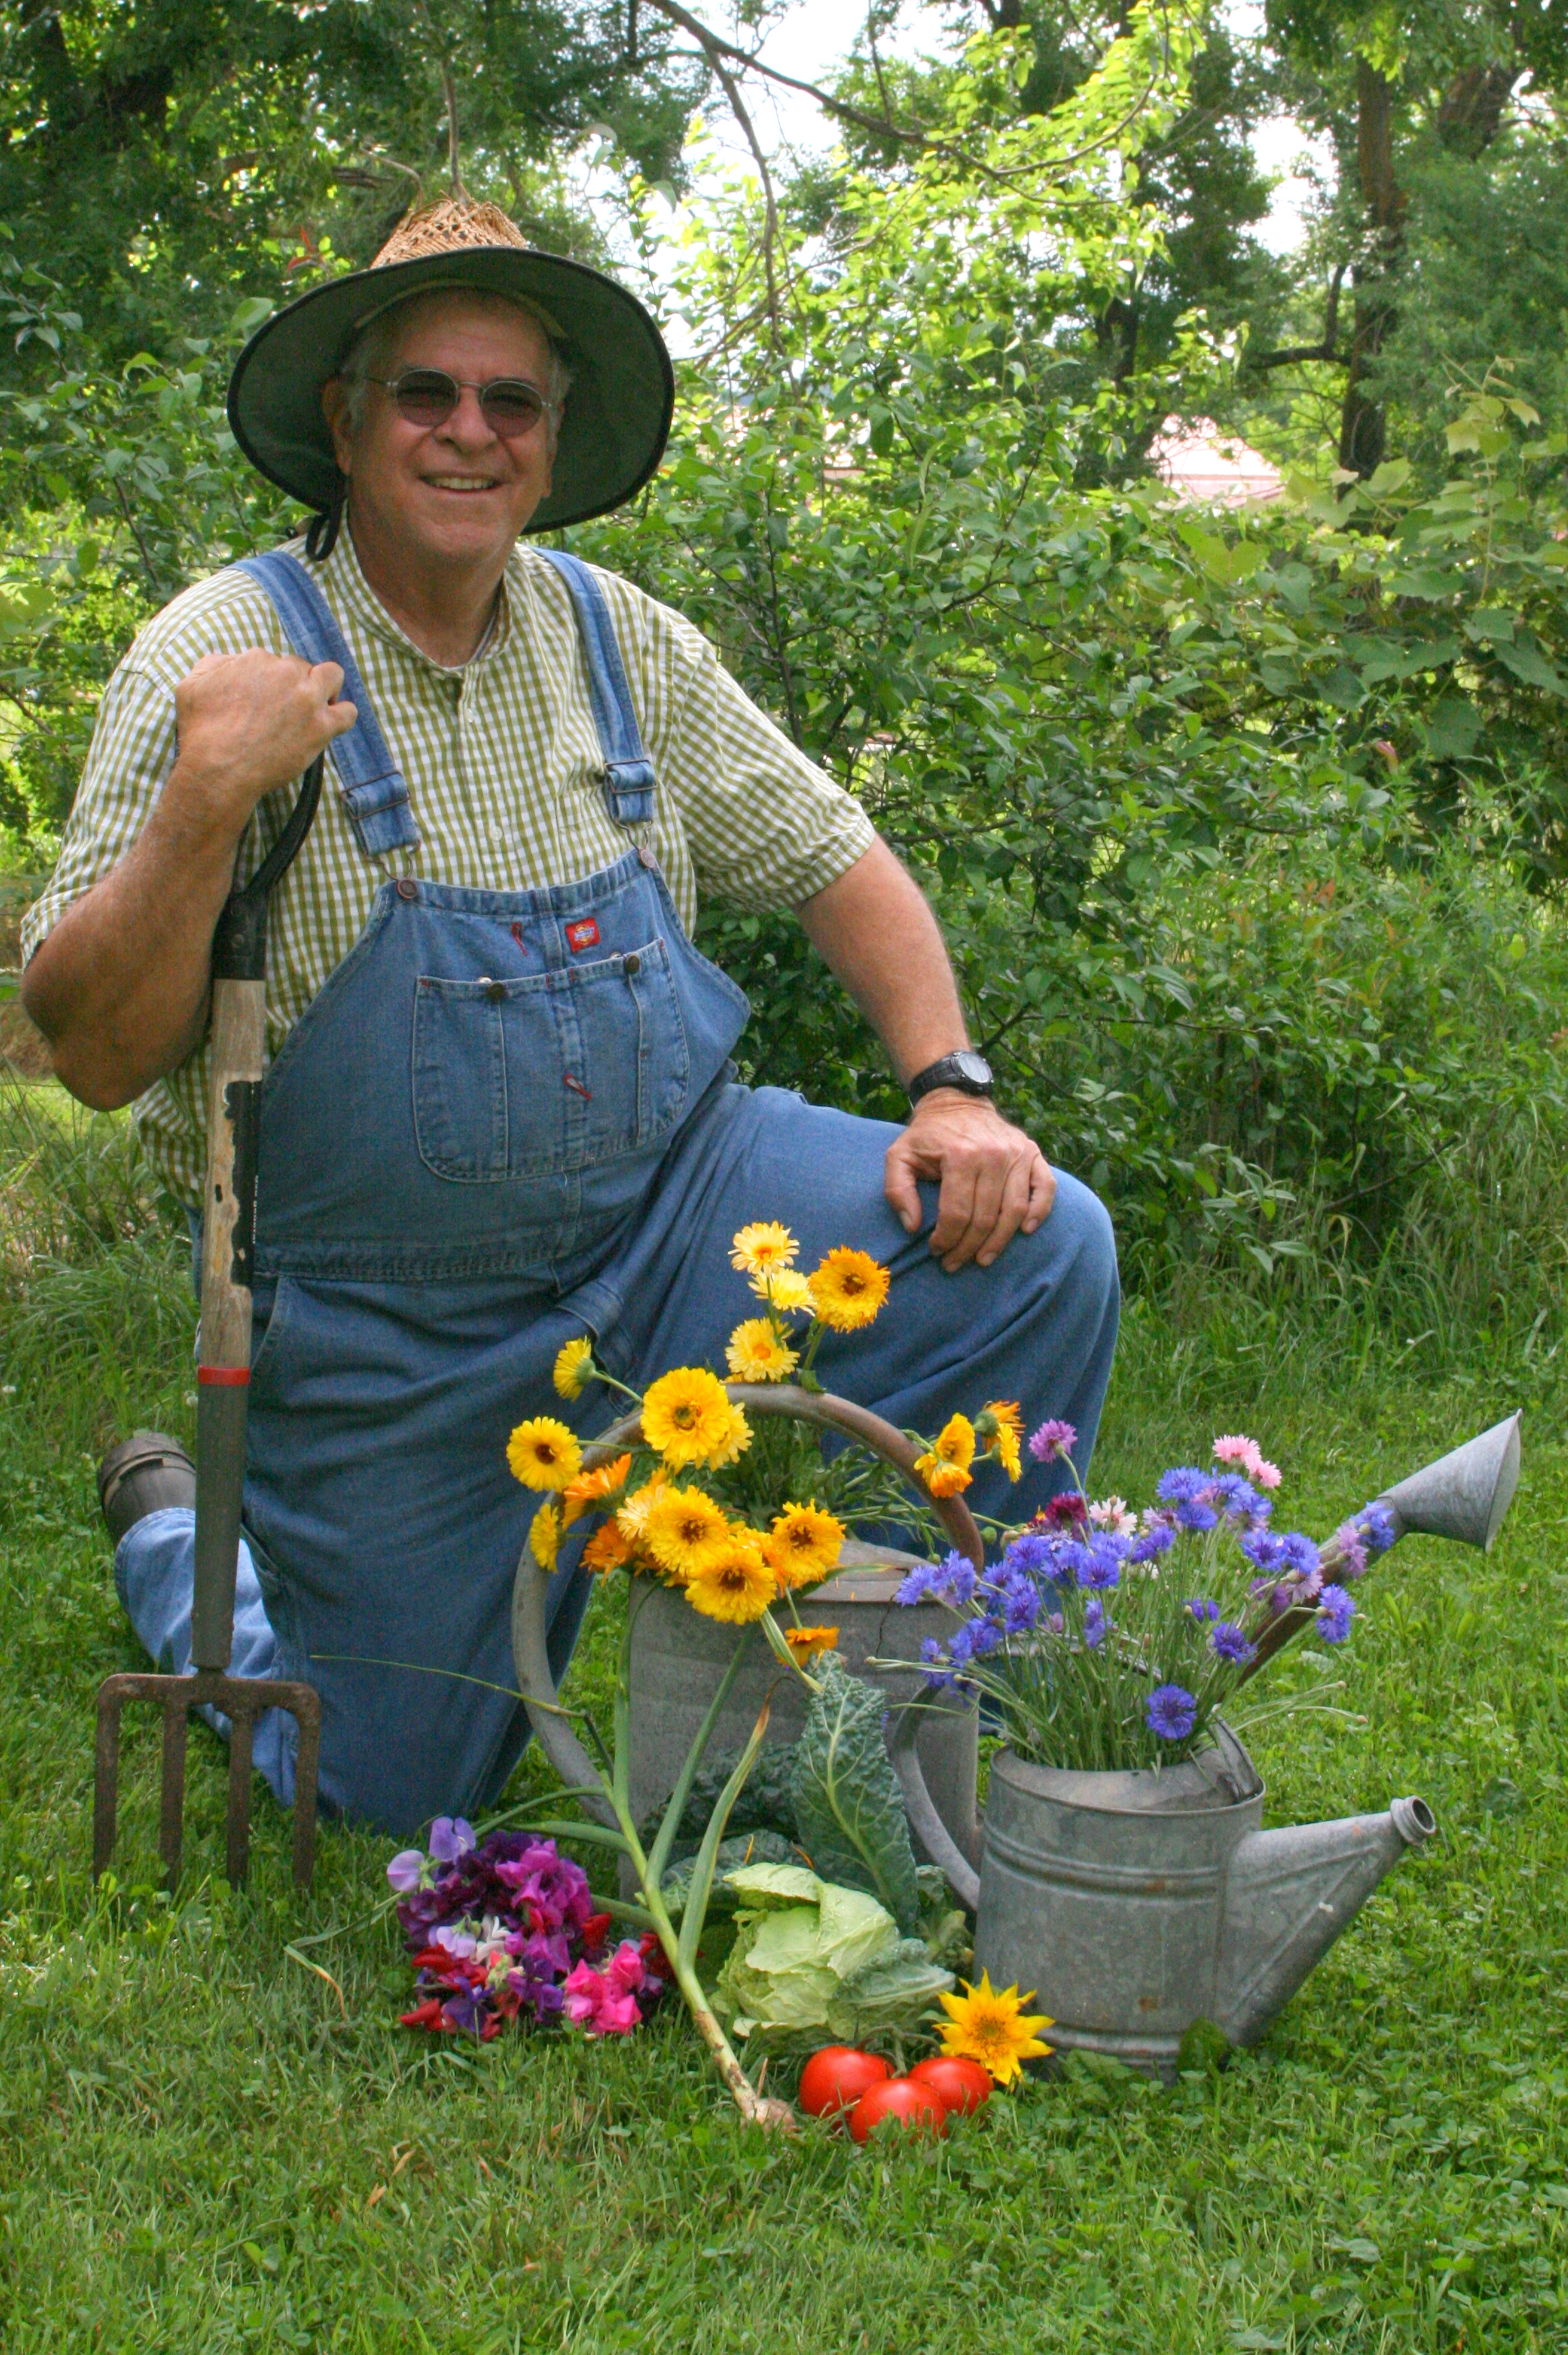
Papa presenting at the Wabash Valley Master Gardener Spring Conference in Terre Haute, Indiana. The topic , “Starting a Seed Saving Garden”. This wonderful group of dedicated Master Gardeners is very active in their community. Kudos to all your community service projects!!
Now that you have selected a flowering, shade or fruit tree let it give you years of pleasure by following these steps.
1- Location is essential for flowering, fruit bearing and shade trees.
Full sun.
Preferably well drained soil.
Irrigation source.
Right tree for the planting site. Where do you desire shade for cooling properties and where do you want full sun during the fall and winter months?
2 – Spacing of the tree in relation to buildings and other trees and plantings.
Flowering trees: refer to the tag or your local county extension/Master Gardener.
Shade trees need a very wide spacing due to shading capacity of the tree and its shape.
Fruit trees are planted depending on their characteristic. Does the tree selected require a pollinator tree? Early, mid-season and late-season fruit bearing trees may each require a season specific pollinator. Your local county extension/Master Gardener will be helpful in your selections.
Standard should be planted 25 feet apart.
Semi-dwarf should be planted 12 to 15 feet apart.
Dwarf should be planted 8 to 10 feet apart.
3 – Make sure the planting site is free of overhead/underground utilities, structures and easements.
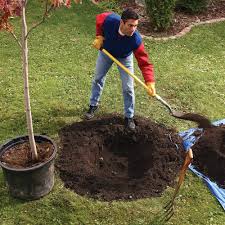
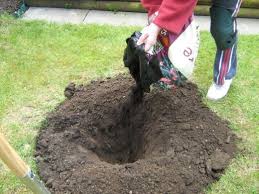
4 – Now you are ready to plant.
5 – Dig a hole that is as deep as the root ball and doubled the width of the root ball. Notice the tarp? This is the best way to save the soil you have dug plus it makes for an easier clean-up.
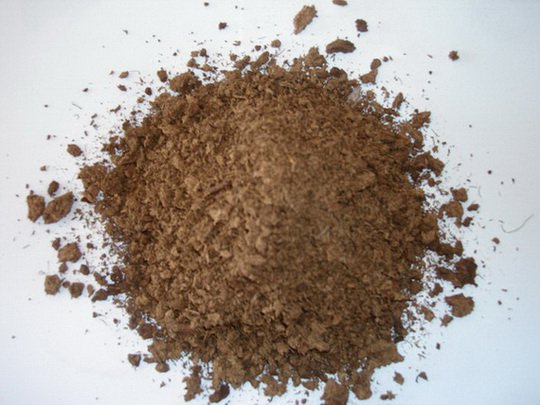
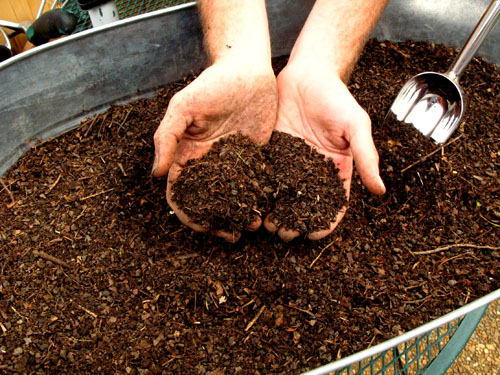
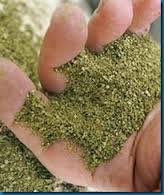
This is the time to add soil amendments such as compost, peat moss, kelp meal, bone meal , sand, etc. These amendments should fill the hole 1/3 to 1/2, mixed with the existing soil. The amounts will vary depending on the size of the root ball.
This establishes a good root system and enhances the transplanting thus reducing stress to the tree.
6 – When placing the root ball in the ground make sure it is 1/2 inch to one [1] inch above the ground level. Planting above the ground level allows for the settling of the root ball.
Where the trunk of the tree meets the root system is called the root flare. This juncture needs to be 1/2 to one [1] inch above the ground level.
This step is crucial for a successful tree planting and continued growth and development of a healthy tree.
7 – Back fill and make a moat around the perimeter of the hole with the dirt dug from the tree planting. This moat will act as a reservoir and capture water thus reducing run-off and enhance the growth of the tree roots. This insures the tree receives proper moisture.
8 – The use of mulch is up to you.
If mulch is used, do not place the mulch against the base of the tree.
The base of the tree may respond to this mulch as soil and may stimulate root growth above the tree flare.