Papas Gardens received a great question from Lorrie near Denver, Colorado. She writes:
I have heirloom tomatoes in my garden beds from your Baker seeds. They were heavily hit by hail shortly after transplanting. Unsure of how they would recover, I lost six plants out of 22, I purchased three WalMart plants and kept them on the deck. One of these three plants, an Early Girl, has been ripening but as soon as the tomatoes begin to turn red a brown rotten spot starts on the bottom of the fruit. What is that? Should I just get rid of the plant? Will it affect others nearby? The heirloom plants are doing wonderfully and are loaded with fruit.
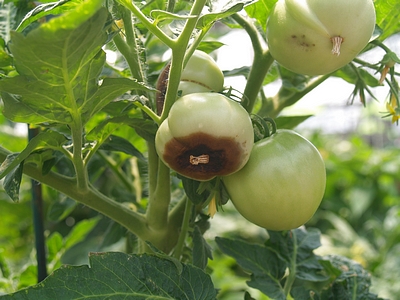
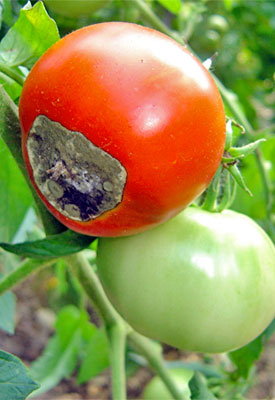
This symptom strongly suggests blossom end rot.
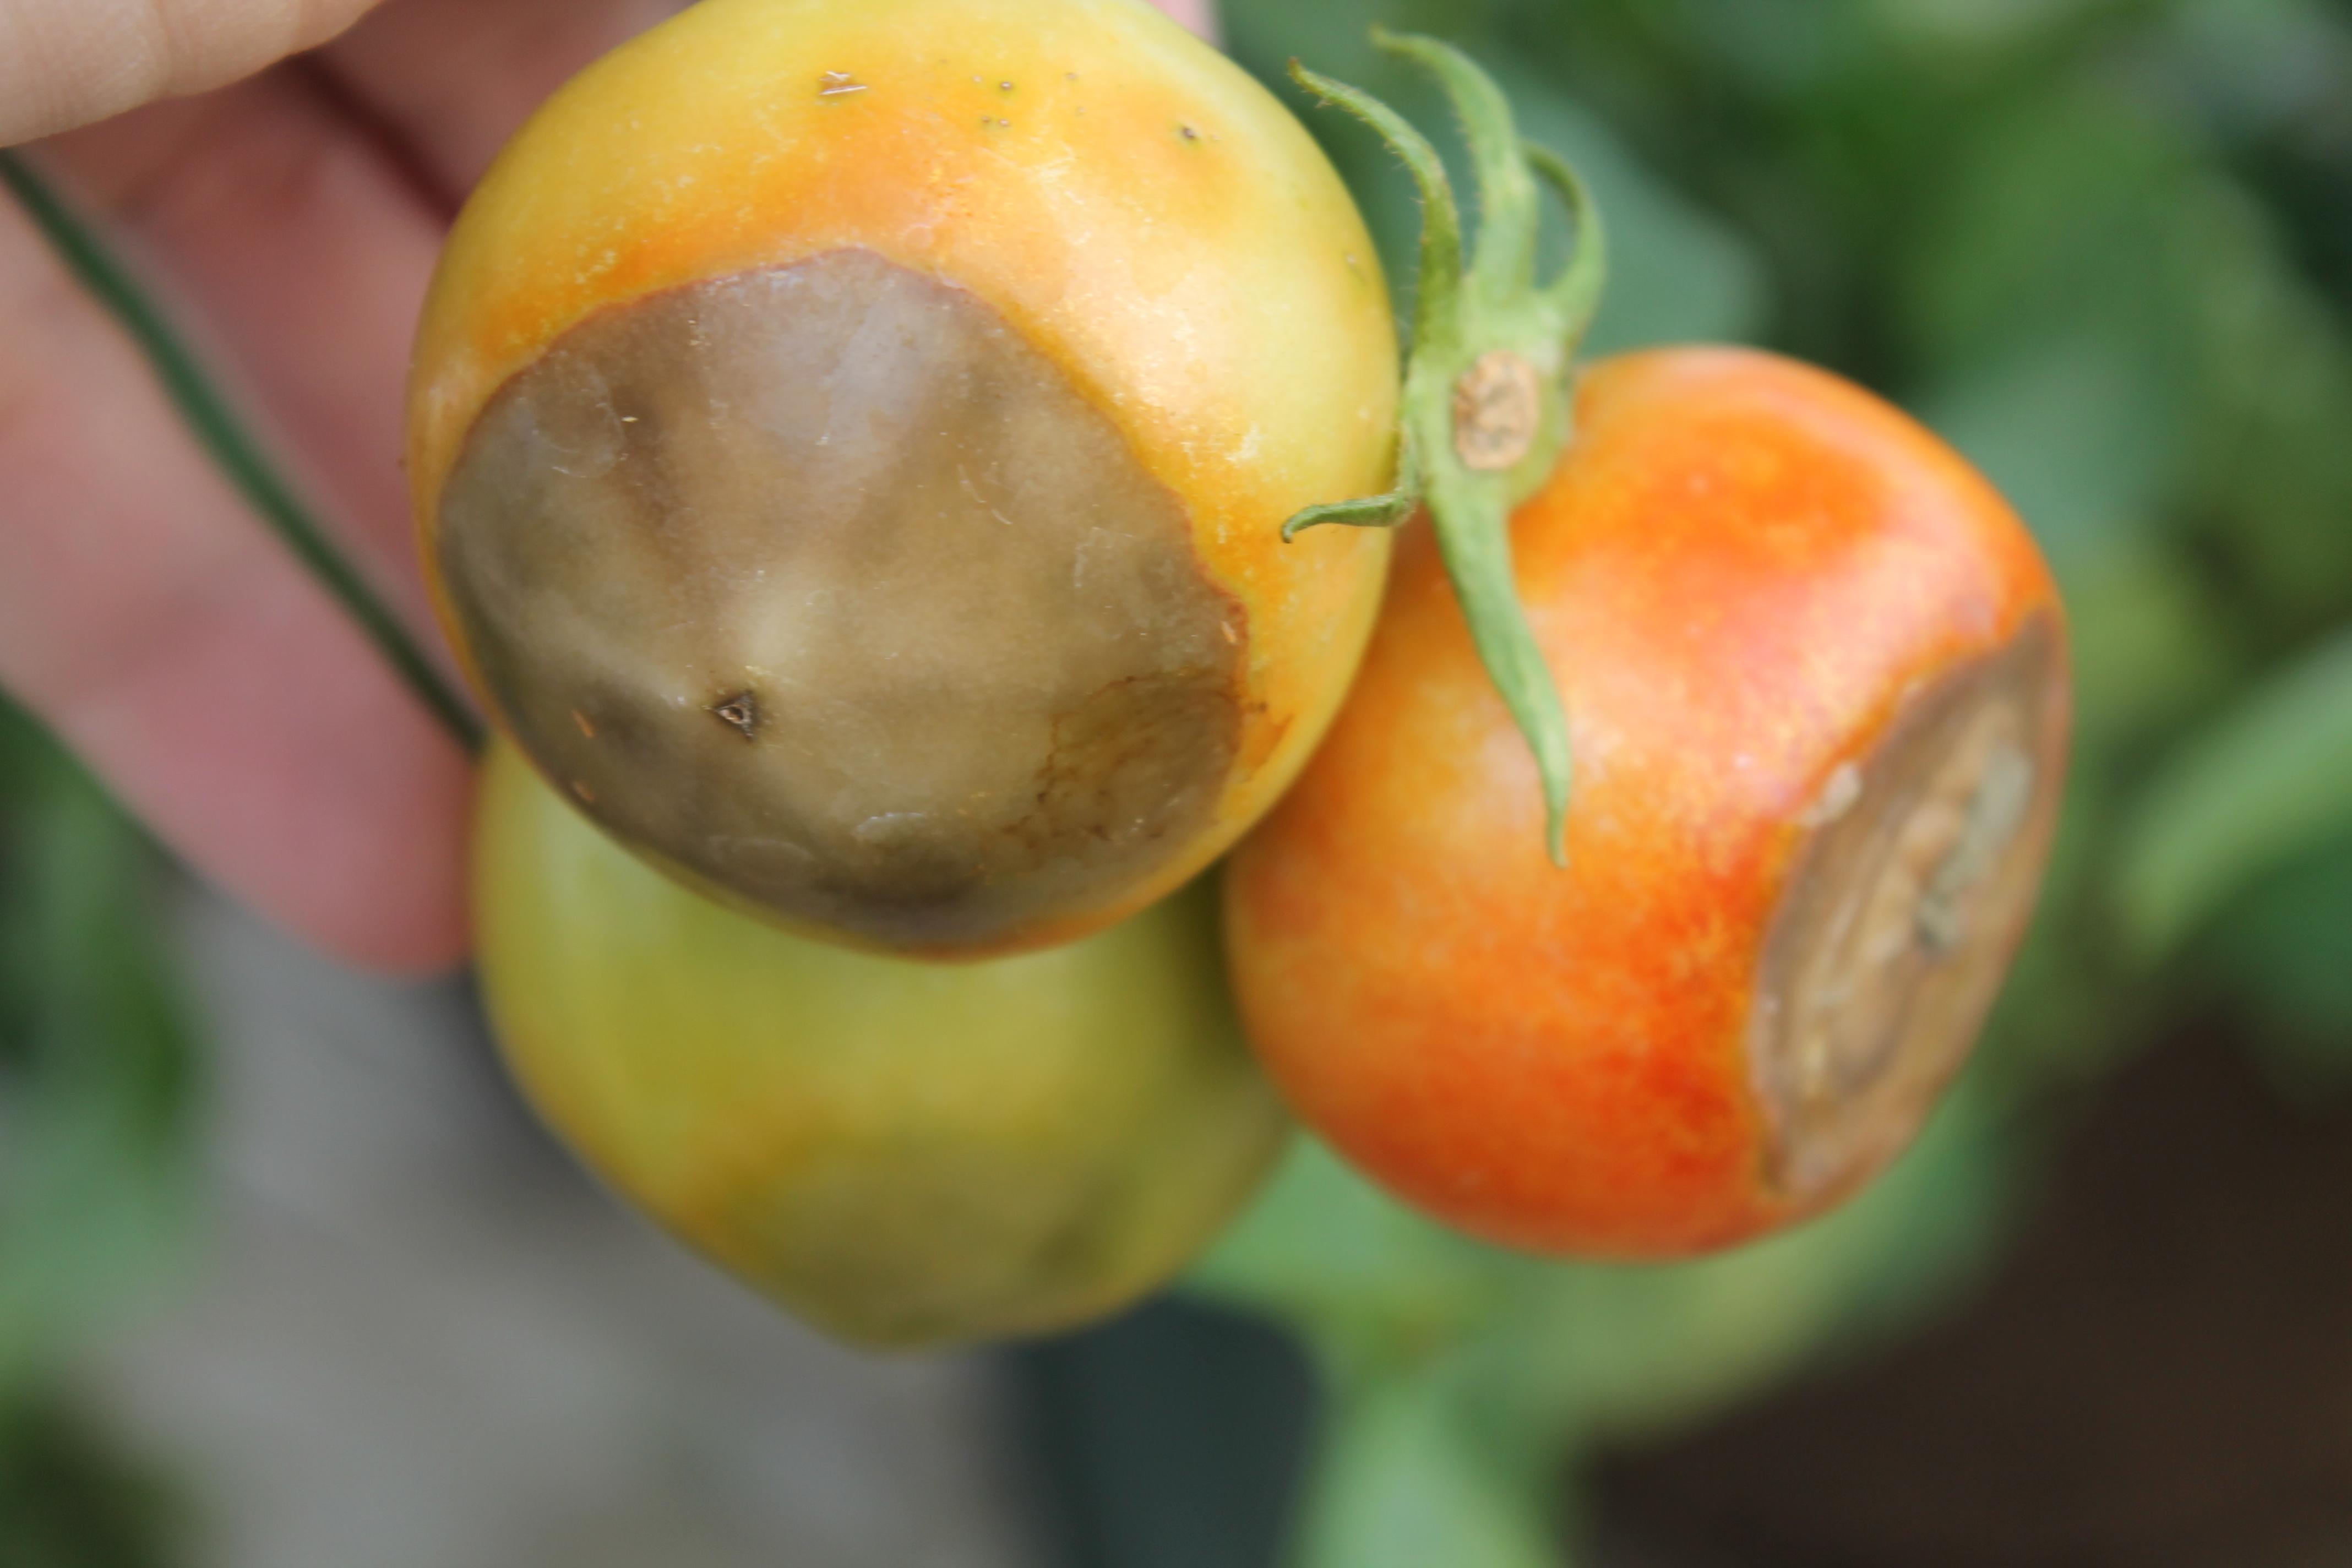
This physiological disorder results in inadequate supplies of calcium for the development of vegetable fruiting. You will notice a watery sunken brown spot developing on the blossom end of developing fruit. This area will widen as the fruit grows and may become black. This fruit must be discarded as the lesion will invite disease.
As this is a physiologic disorder it does not spread from plant to plant. Insecticides or fungicides are of no use.
How did this happen?
– Plants take up moisture/water from the soil/roots and the calcium travels along with the water from the roots to the leaves and flowers/maturing fruit.
– If the water/moisture is limited or excessive the calcium will be transported to the leaves rather than the maturing fruit.
– Maturing fruit need calcium to support new cell growth.
– If the water has been limited due to drought or moisture fluctuations or too much watering (flooding), the blossom end of the maturing fruit will start to show cell death which is called blossom end rot.
Additional factors which contribute to this disorder:
- Genetics. Some varieties are predisposed to blossom end rot.
- Tomatoes planted in cold, heavy soils often have poorly developed root systems. Since the roots are unable to supply adequate amounts of water and nutrients to plants during times of stress, blossom end rot may result. You may see this on the first tomato bloom. This may subside as future fruiting occurs if there is a sufficient supply of calcium in the soil.
- Soils that contain excessive amounts of soluble salts may predispose tomatoes to the disease; availability of calcium to the plants decreases rapidly as total salts in the soil increase. This may be seen when chemical fertilizers are applied.
- Soil ph which is too acidic or too alkaline will interfere with root function thus calcium release becomes blocked to the plant. A soil ph of 6.5 to 6.8 is ideal.
- Fertilizers using ammonia for their nitrogen source will tie up the calcium in the soil. Rapid growth in plant development may cause calcium to be transported inefficiently. You will see lush plant and leaf development and poor or little blossom/fruiting.
- Root damage and /or poor root development. Be careful when cultivating around your tomatoes.
Are there treatments for this disorder?
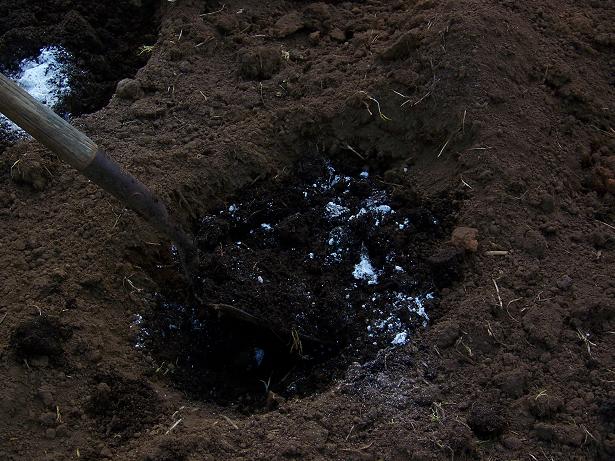
- Some gardeners use a treatment of garden lime (calcium carbonate) sprinkled on the soil around the drip line of the plant.
- A foliar spray of calcium chloride may be applied however it may be phytotoxic (cause burning of the plant) if applied frequently or in excessive amounts.
- Some gardeners use Epsom salts (magnesium sulfate) as a foliar spray to effect calcium uptake and absorption.
- Other suggestions include these drenches: Powdered milk, crushed eggshell tea, bone meal tea and Tums tablets.
Best management practices for your soil and garden
- Soil test at least 6 months prior to planting as calcium enrichment needs 3-4 months to incorporate into the soil. Late fall would be the best time for this.
- Irrigation must be sufficient to maintain steady even growth. Drip irrigation would be ideal.
- Mulching will help with moisture stress.
- Shading is helpful with dry blowing winds/drought/extreme hot temperatures.
- Boosting your soil with organic soil amendments. Late fall is a good time for this as you prepare your garden for the winter months.
- Plant your tomato transplants when the soil has warmed to above 60 degrees.
Did you know?
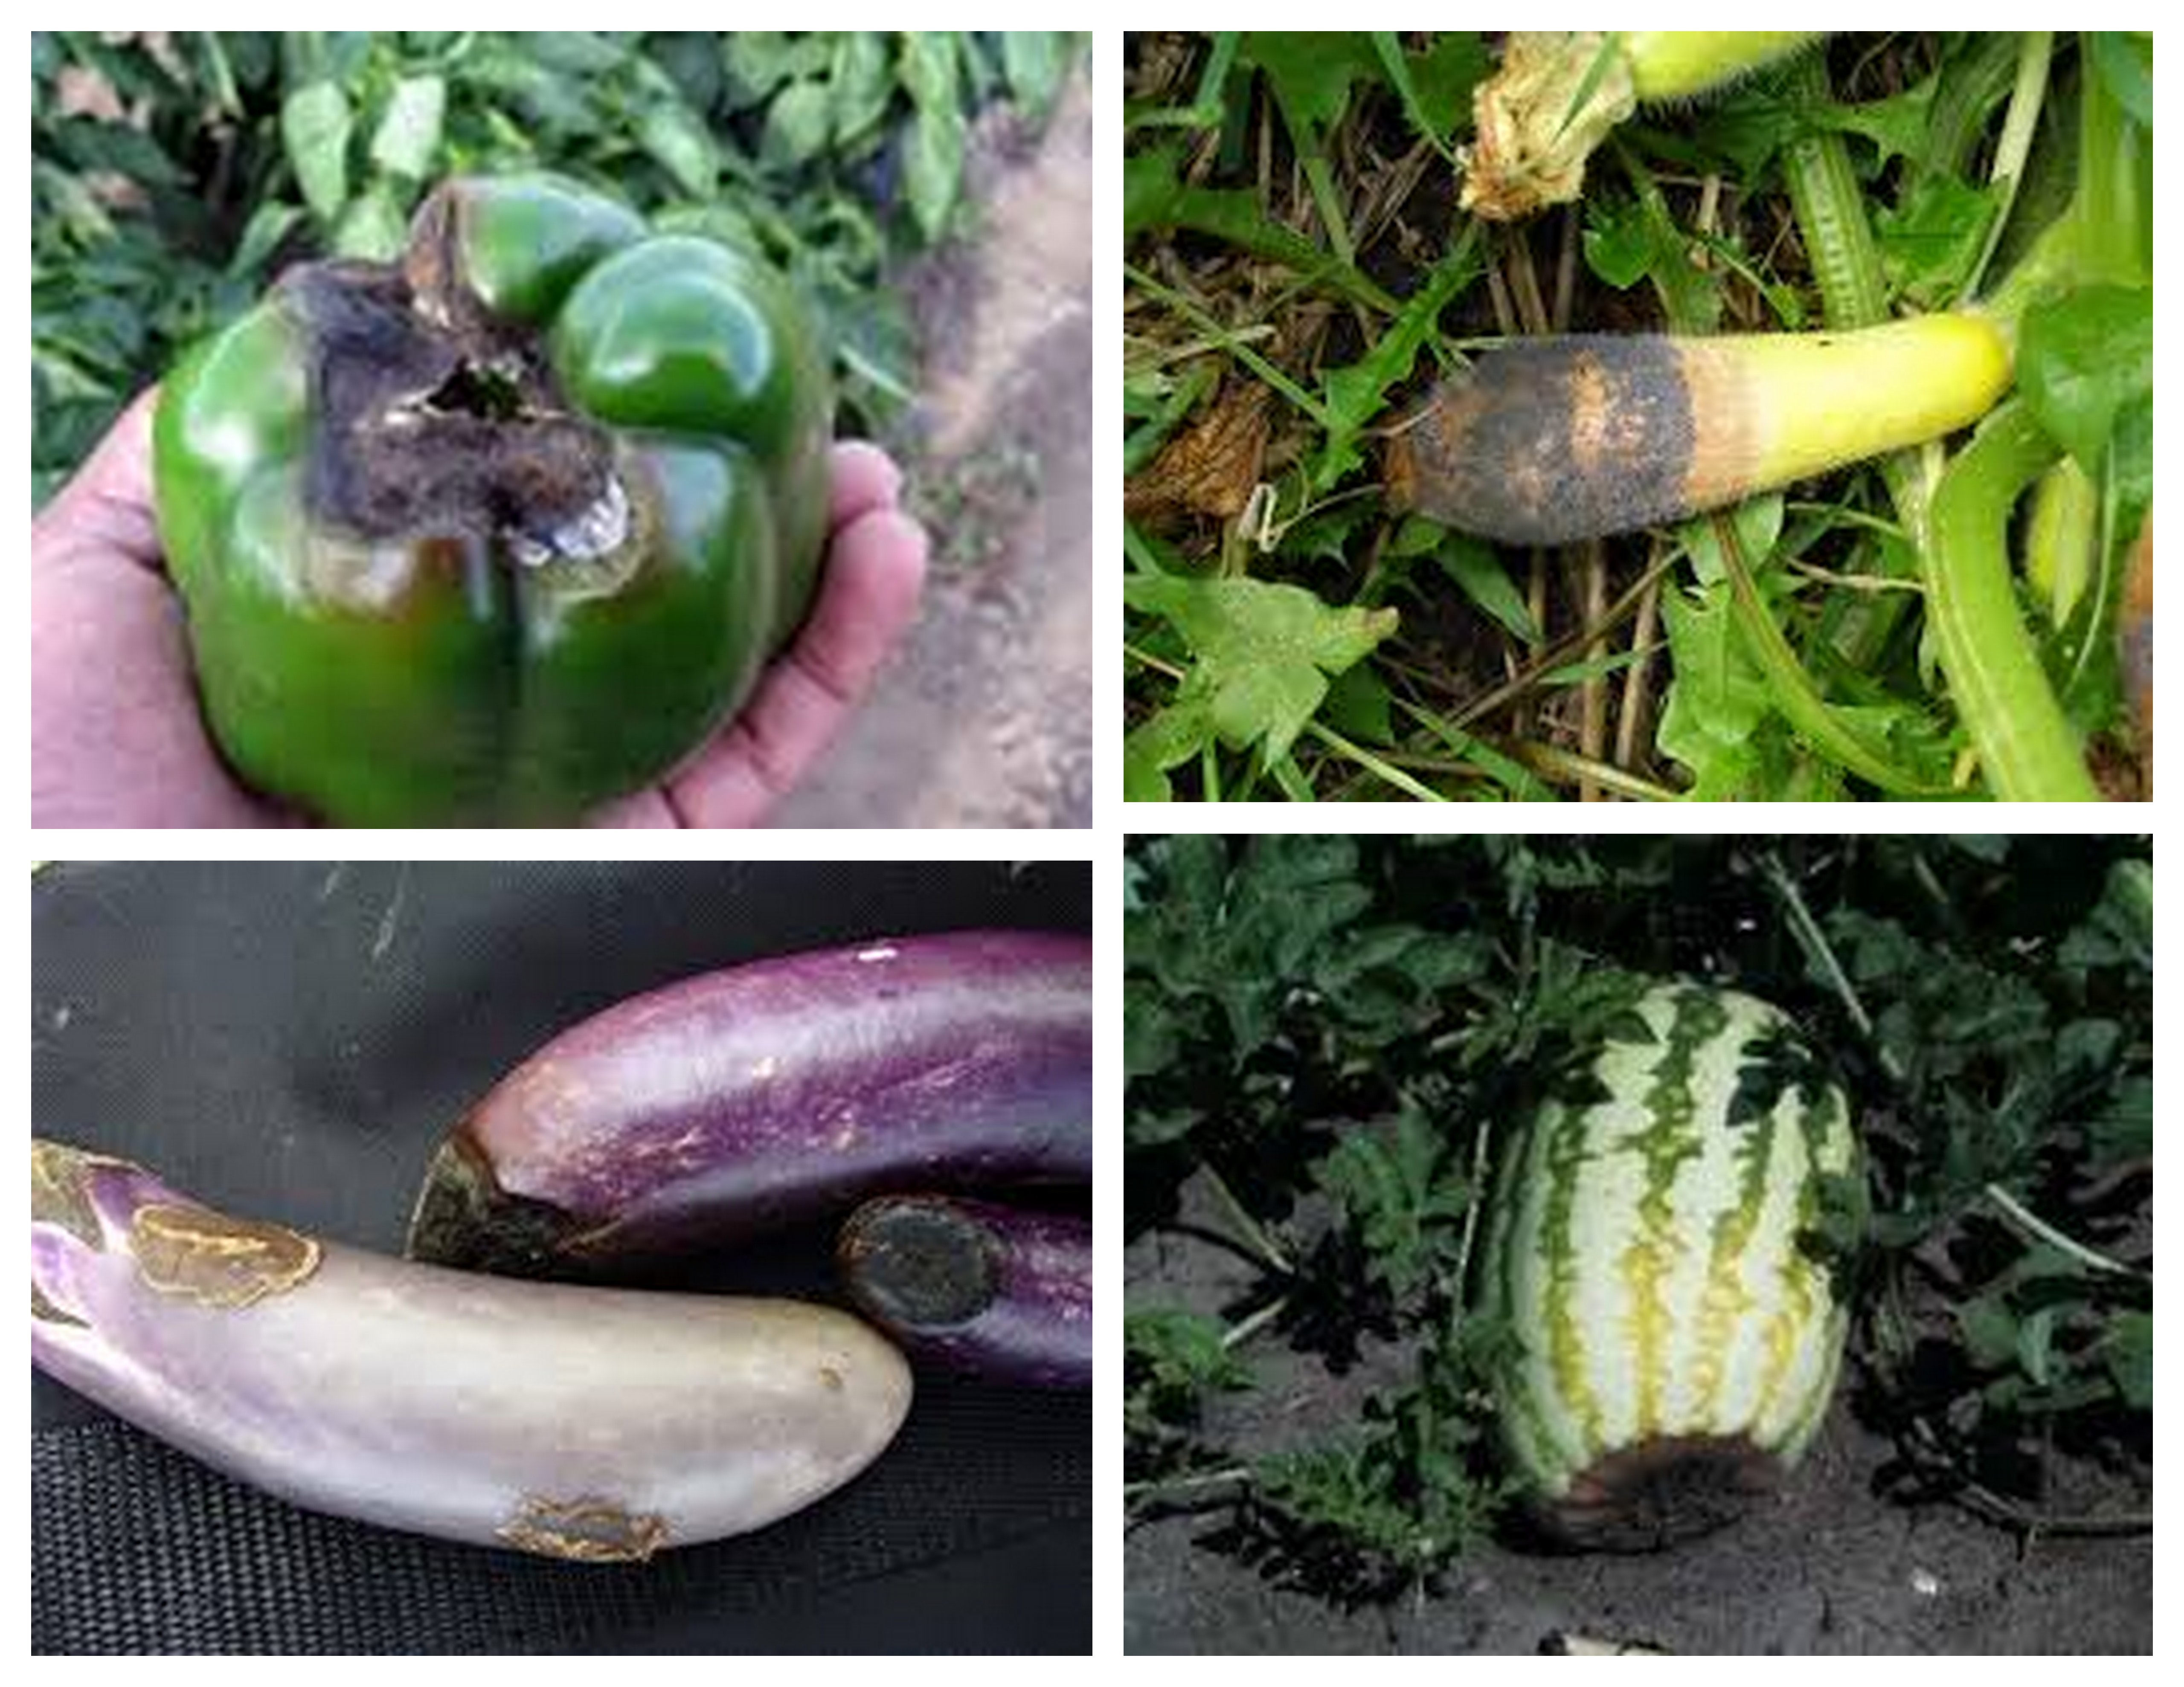
Cucumbers, zucchini, squash, melon, watermelon, eggplant and peppers are prone to blossom end rot as well. All the more reason to check your soil with a soil test before you are faced with this disorder.
 Papa
Papa