
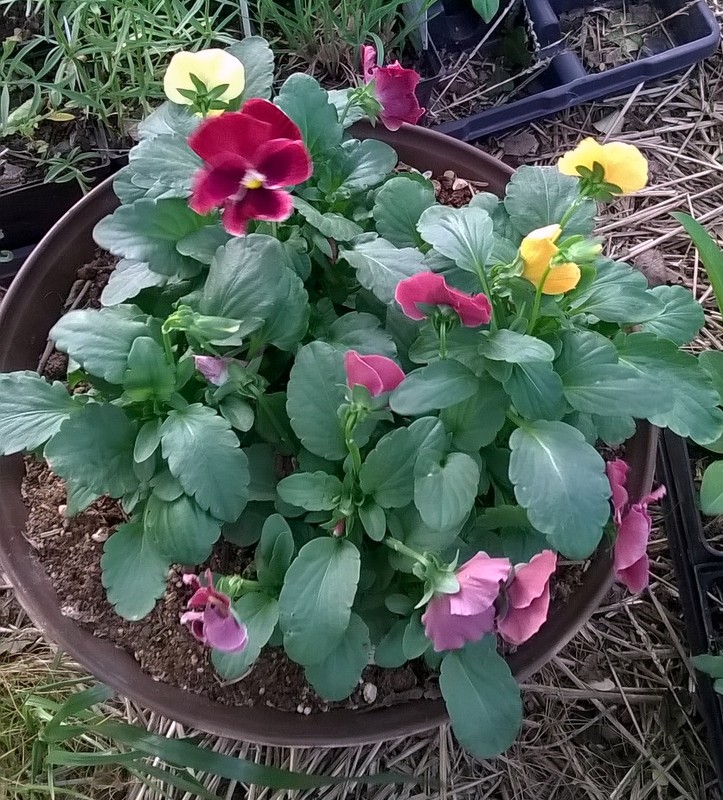
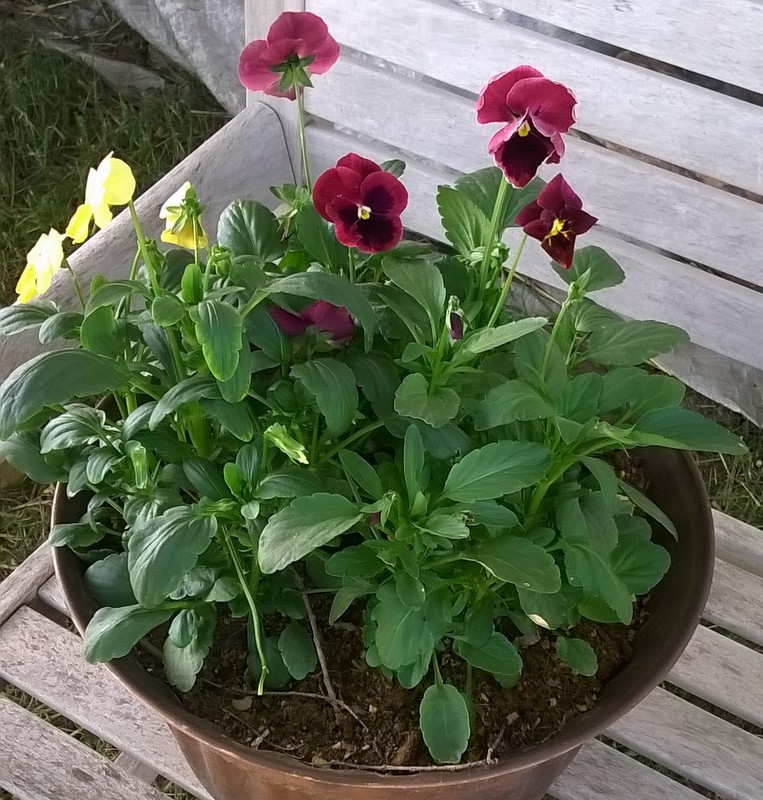
Pansies are some of my favorite flowers. It is worth all the time to grow these cheerful beauties! Plus, they can take a lot of abuse. I have seen them blooming in the snow!
Growing

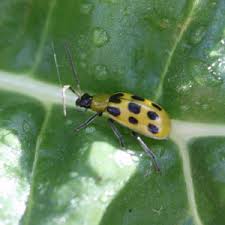
Got Squash Bugs? Use Trap Crops!
Ugh, here we go again. Those nasty squash bugs are back! I really wanted to grow zucchini and yellow crookneck. Why waste my time! I hear this over and over again.
Now, there is a solution. Trap Crops!
- Plants that are planted next to a squash crop to attract pests as either a food source (pollen/nectar) or an egg/larval site.
- Attract pests to the border areas, where they can be killed. Pests on the unsprayed crop will be reduced.
- Exploiting the squash bugs special appetite.
- Intercepting the pest from the edges.
- Check trap crop three (3) times per week.
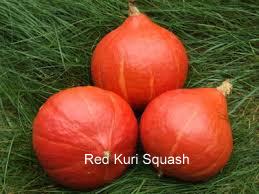
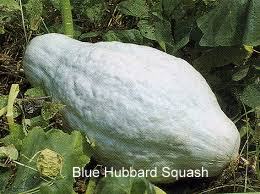
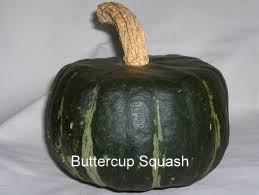
Plant Red Kuri squash, Blue Hubbard Squash and Buttercup squash (as a trap crop) three (3) weeks prior to planting summer squash, winter squash, cucumber, cantaloupe and watermelon. The trap crop should be seeded in pots for transplanting, prior to direct seeding squash, cucumber and melons. Monitor for squash bugs to determine if treatment is needed on the trap crop.
Plant Red Kuri or Blue Hubbard or Buttercup squash transplants either surrounding, adjacent, at the four corners or in containers next to the crop.

Monitor for squash bugs.
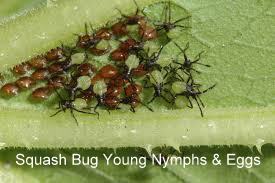
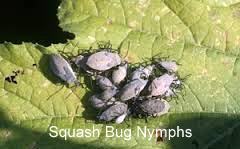
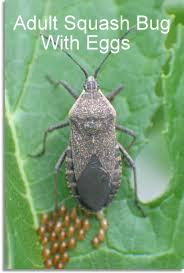
Spot spray the squash bugs on the trap crop with a*pyrethrin insecticide. It may be necessary to spray the entire trap crop when the population threshold is exceeded. In other words, the squash bugs have infested the entire trap crop with eggs, larvae and adults.
*Pyrethrin insecticides – Evergreen Pyrethrum Concentrate, *OMRI Listed
PyGanic® Crop Protection EC 5.0 II, *OMRI Listed
* OMRI Listed: The Organic Materials Review Institute (OMRI) is a national nonprofit organization that determines which input products are allowed for use in organic production and processing. OMRI Listed—or approved—products may be used on operations that are certified organic under the USDA National Organic Program.
Caution – You must read the label!! The label is the law!! Pyrethrins will instantly kill any insect that is sprayed. That includes beneficial insects (honey bees, bumble bees, lady bugs, parasitic wasps, etc.). Be very careful!! Remember, squash crops, cucumbers, and melons are dependent upon pollinators to produce fruit.
When you follow these steps you will enjoy a fruitful harvest. Let me know of your success!
Papa
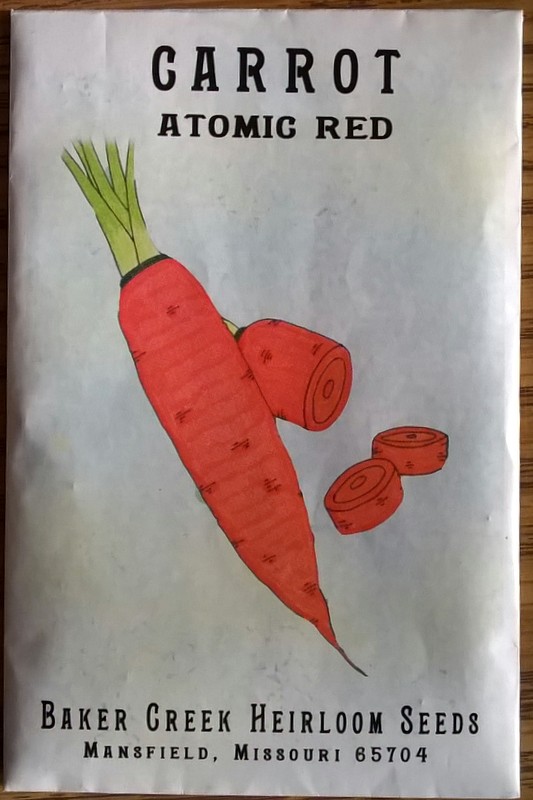
You may purchase the above varieties of squash at Baker Creek Heirloom Seed Company by clicking on the links below.
http://www.rareseeds.com/red-kuri-squa-hokkaido-/
How May I Help You?
I want to thank all of you who have responded to my posts. I genuinely want to hear from you! No question is too large or small. I want to hear from you!! Please make use of my 40 years of horticultural experience!
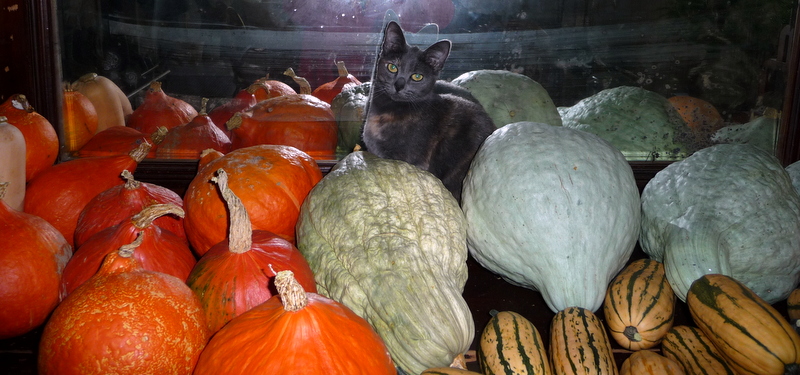
Miss Kitty in the squash harvest October 2014.
Decisions, Decisions Buying Packs of Seed!
You’re poring over your seed catalog, looking at seed online or better yet choosing your seed in the seed store. Hopefully, you’ve narrowed your choices. Making a list is a wise way to finally make your decision.
Let’s see what the seed packet says. The description should entice you to consider your options.
- Title of pack – the variety and color
- Catalog number, Lot number, amount of seed, cost, sell by date
- Days to maturity –
- Direct sowing of seeds- days from the time you sow the seeds to the time of harvest. i.e. – beets, carrots, beans, peas, kale, lettuce, borage, dill, zinnia, sunflower
- Transplants from germinated seed – days from time of transplanting into garden to the time of harvest. i.e. – cabbage, broccoli, cauliflower, brussels sprouts, tomato, pepper, eggplant, basil, thyme, petunia, snapdragon
- A more detailed description of variety – color, height/length, weight, health benefit and overall appeal.
- Detailed planting instructions – seasons for sowing, planting depth, seedling care, possible succession planting (timed, multiple sowing), soil requirements, temperature requirements, moisture requirements.
- Seed company – pertinent company information
Happy Planting!!!!!
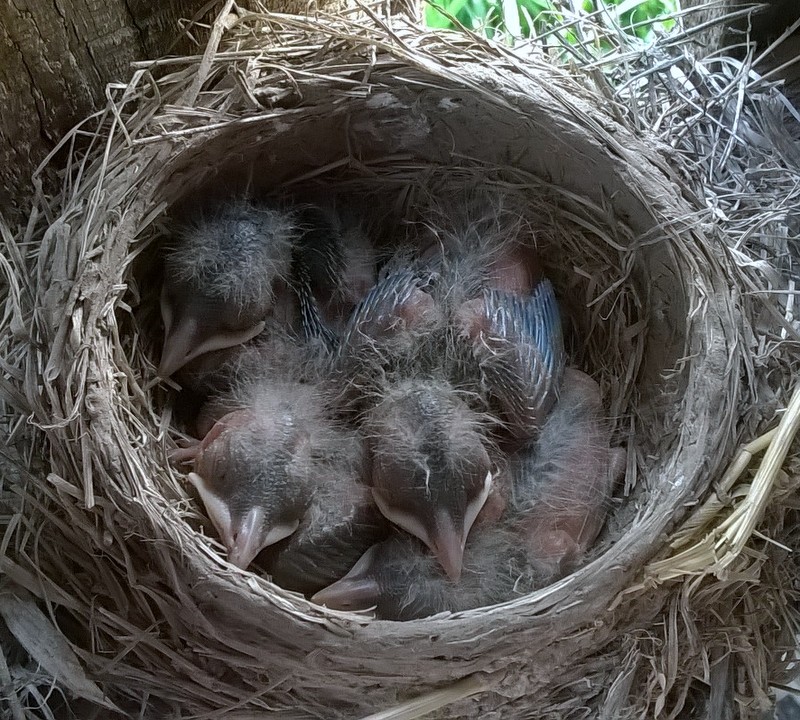
Those Baby Robins Are Really Growing!!
Mama robin is really busy! In just two days the baby robins have doubled in size and they are putting on feathers. We have feral cats around our domain. Mama robin has to make sure her babies are well fed and remain quiet.
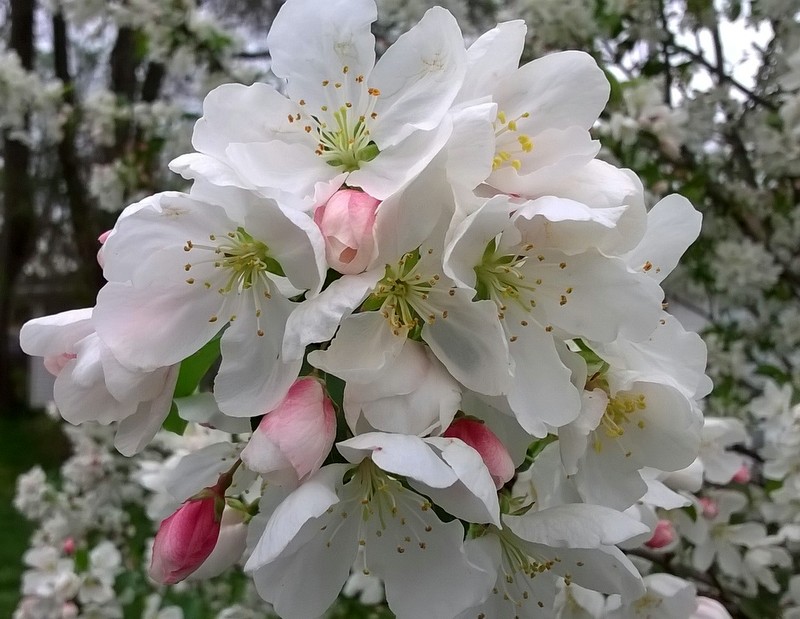
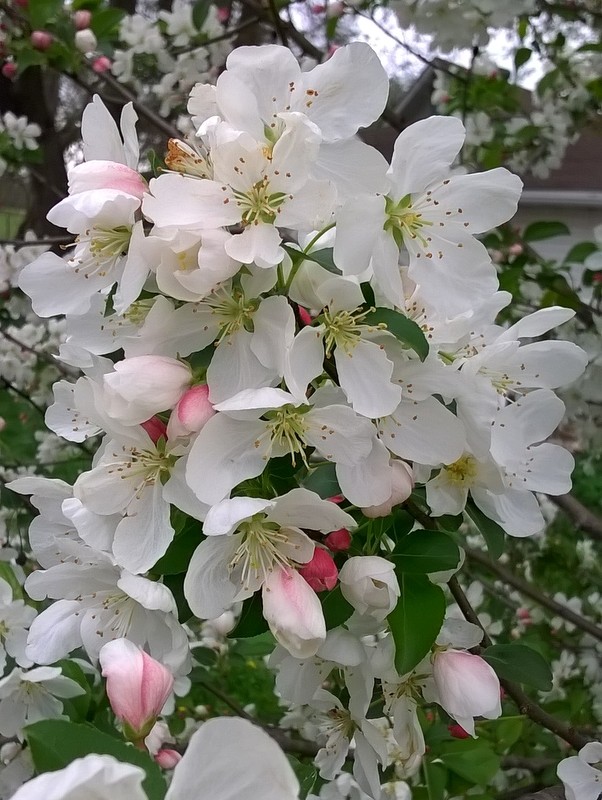
Spring is Busting Out All Over!!
Flowering Crabapples are truly beautiful in the spring! What a dazzling performance! Too bad they do not flower longer. They are well worth the investment for your property.


What Does it Mean to “Harden Off” Seedlings?
I often get this question this time of year. You can hardly wait to get your tomatoes in the ground! You’ve grown the plants out with great care. You’ve babied them.
You desperately want to plant them in the ground. You take your hand or trowel and plant them in the cold ground. You water the seedlings and hope they will quickly grow. Uh oh, something is wrong! For some reason the plants don’t look so good after a couple of days in the soil. They look like they are burnt or dying. What did I do wrong?
Here are the steps you must take for successful transplant.
- A seedling must be 45 – 60 days old prior to transplanting into your garden or container.
- Seven (7) to 10 days prior to transplant, start to wean the plants to use less water. Only water enough to prevent wilting.
- Treat your seedlings with seaweed emulsion, either by spraying or watering with a one (1) tablespoon per gallon of water solution.
- Take the seedlings outside for 2 hours the first day. Make sure you do this on a warm day with little wind. A cold wind could damage the seedlings. If you are using a cold frame*, completely opening the lid. Use the same guidelines as above.
- Each day increase the time outside by one (1) to two (2) hours.
- By the tenth day the seedlings will be tough enough to take the rigors of full sunlight and wind.
- Now you may safely plant your seedlings outside.
*Cold frame – a box with no bottom that has a hinged or removable clear or translucent top. The top may be opened or closed when the temperature outside is too cold or too warm. The box may be constructed out of hay/straw bales, glass, poly carbonate, wood, etc.

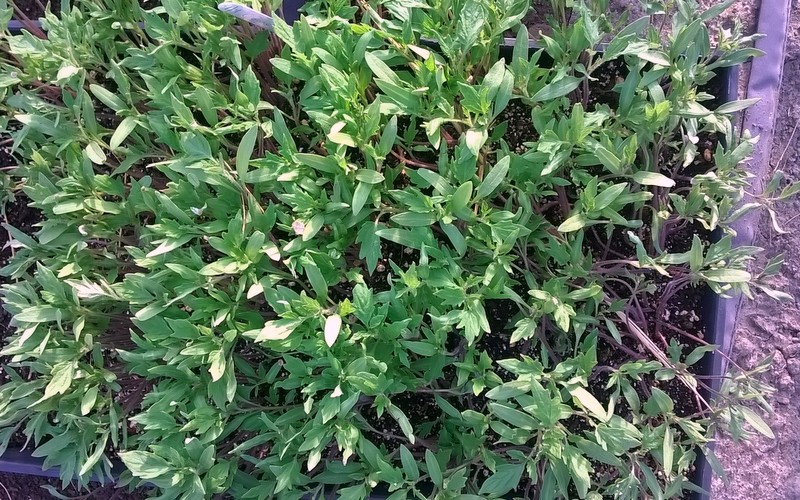
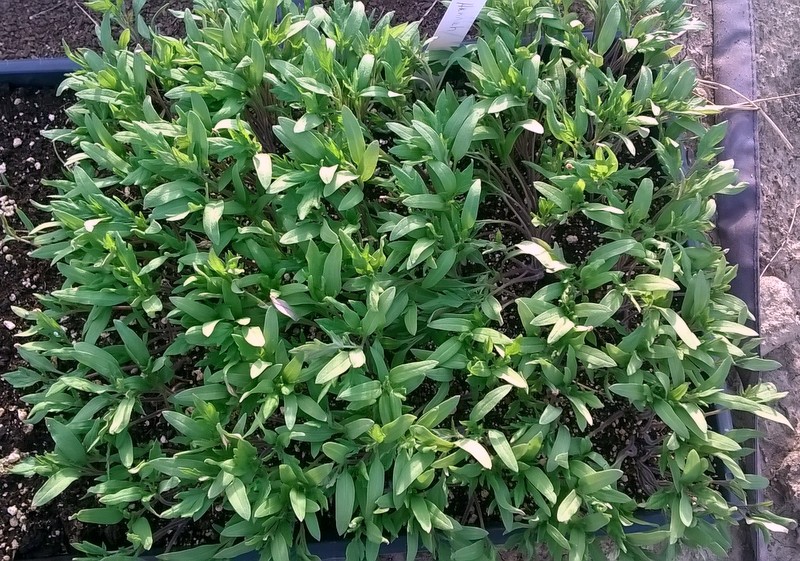
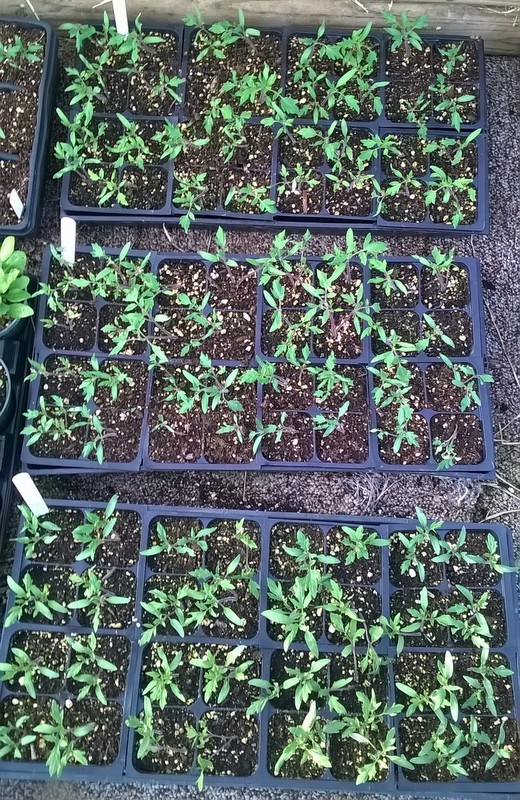
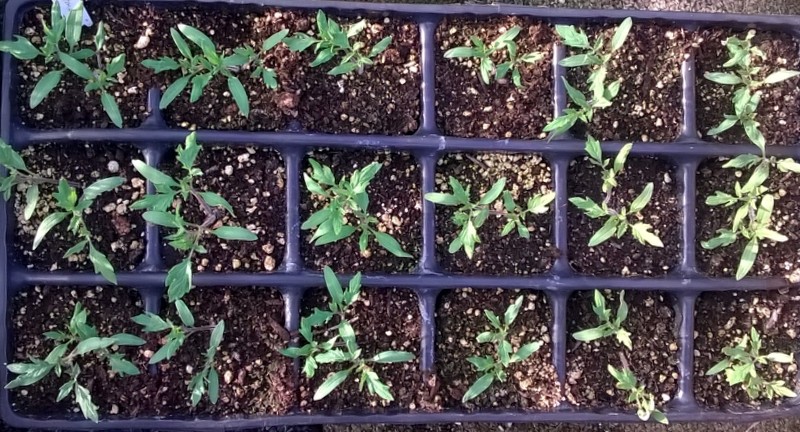
Transplant Progress of Coyne and Hannah Tomatoes
The Coyne and Hannah German Heirloom tomatoes were started on April 4th. It is amazing to see the progress from seed into seed flats, then transplanted into cell flats. They are continuing to grow in the cold frames. Plus, the cooler growing temperatures and fresh air is making the transplants more sturdy. Hopefully, the transplants will be short and stocky when it comes time to plant directly in the garden.
Below you will see the original seed flats and then the transplanted cell flats. Quite a transformation!
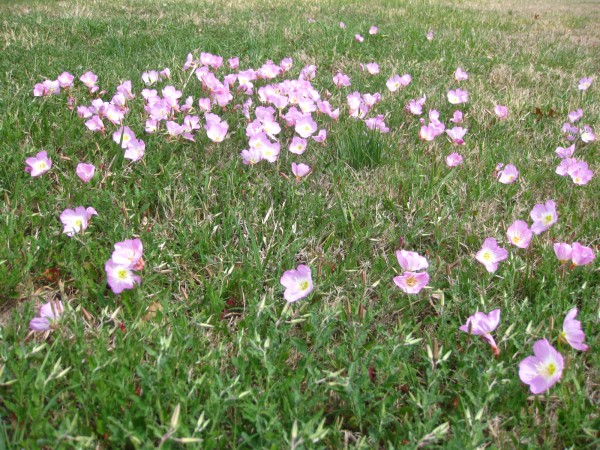
On the Road with Texas Bluebonnets, Indian Paintbrush and Evening Primrose
On I-35 south of Fort Worth to Salado, Texas I was dazzled by Texas Bluebonnets, Indian Paintbrush and Evening Primrose. Everywhere I went there were splashes of blue, orange and pink. The return trip was equally beautiful!!

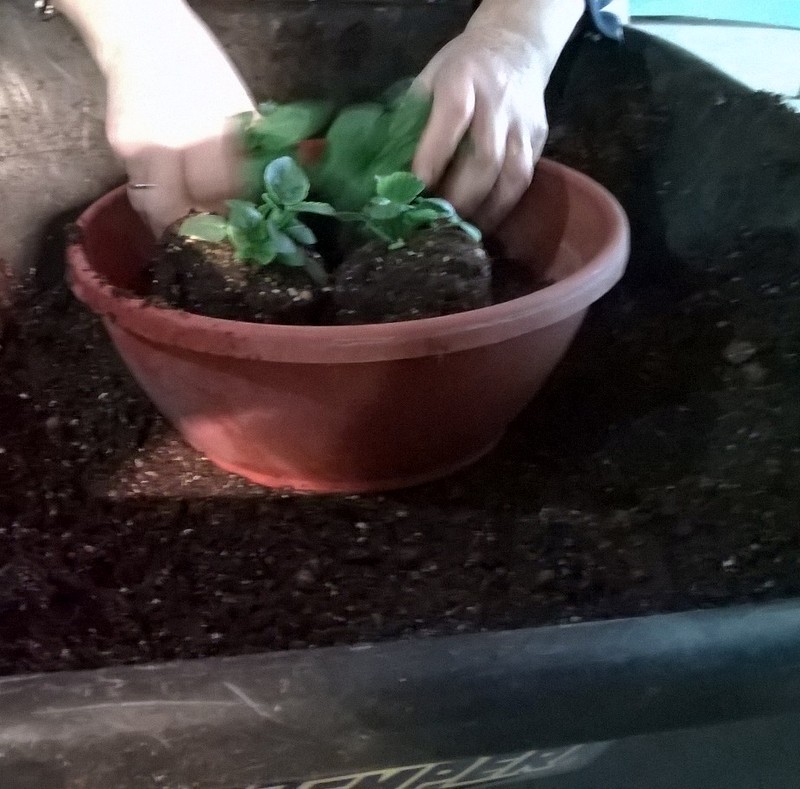
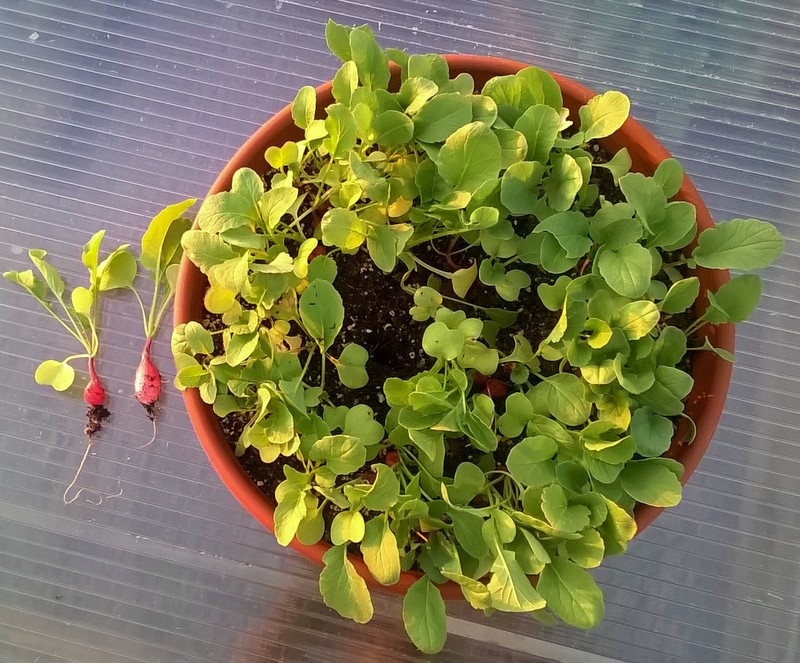
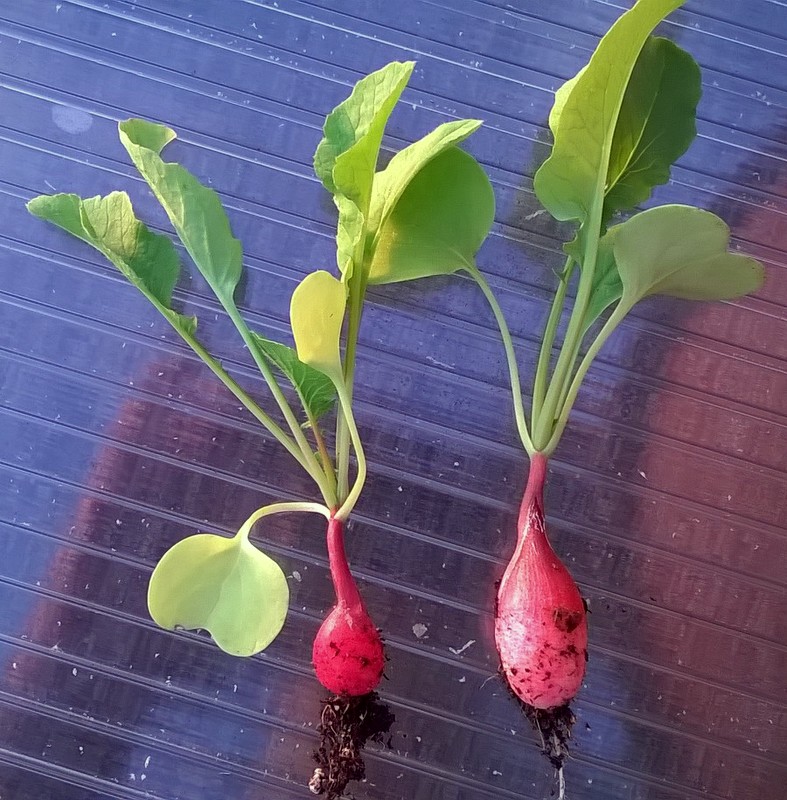
Salad Made Easy!!
Spring time is for salads! An easy way to grow your own salads, use bowls and other decorative containers. Fill the containers with good potting soil and some compost, sow your lettuce or salad mix seeds, water the seed in and watch it grow! Grow in full sun or partial shade, with temperatures between 45 degrees to 70 degrees (F). Cut the greens one (1) inch above the soil and the greens will grow again. We call this “cut and come again”. Sometimes you can do this twice!! You can even raise your own radishes.

